Tutorial
Click on thumbnailed images to enlarge
Note: Alright, I finished the other tutorial, but my computer froze and I lost it and I... I just. I gave up on that one. Anywho...
Have you ever wondered how to make something like this?:

Well this will show you how!
I shall be using the ever sexy Jake Gyllenhaal because I'm obsessing right now... Work with me here. Let's start!
1. First, go here and follow all the steps up to number 6.
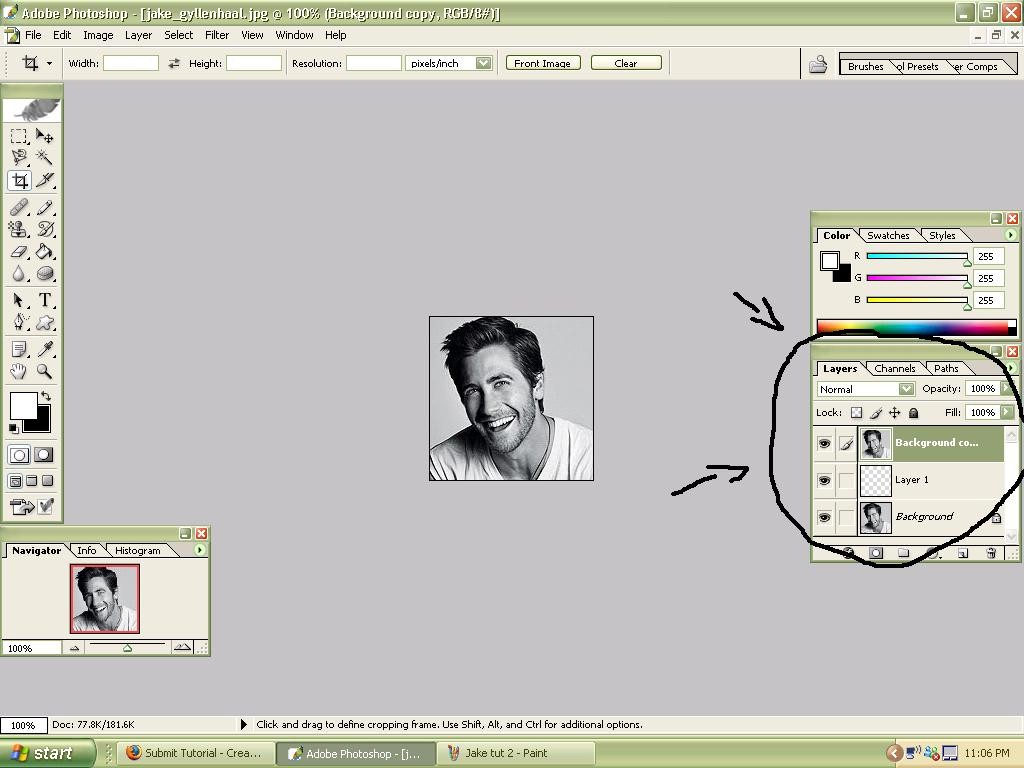
2. Open up your picture and crop it.

3. Don't resize your image yet. Although you can, it will make it hard for the next few steps. So, now, create a new layer and add your scanlines by going Edit >> Fill and you should be on pattern, then go to custom pattern and fine your scanlines.

(Yes it looks stupid for the time being, but trust me, it'll be fine in the end.)
4. Click on your background layer and do a ctrl+J to duplicate it. Drag the newly duplicated layer to the very top. It should now look something like this:
5. Kay, now zoom in at about... Oh, 300-500 should be good and take your eraser tool. Make sure the brush is somewhat solid and have the size at about 13-15. Then erase THE BACKGROUND ONLY. Do NOT erase your subject! It should start to look like this

Notice how the scanlines are starting to appear!
6. Once you've completely erased the background (and COMPLETELY that means the edges around your subject. Sometimes it's hard and you'll miss parts of the edge of your subject. That's okay! You can catch them later.) it's time to add a drop shadow! You can do this by double clicking your duplicated background layer. OKAY, if you have a picture where your subject is facing more to the left, set your angle to 30, if your subject is facing more to the right, set the angle to 120.

(Also, remember what I said about missing the edge? Here's where you can nick them. Once you add the drop shadow, it makes it ten times easier to see any spots you've missed.)
7. Now, zoom out, go ctrl+shift+e to merge all layers, and resize the image to 100x100 by going Image >> Image Size.
And there you have it! You can add some more stuff if you like, but where you go with it from here is entirely up to you!

Have you ever wondered how to make something like this?:
Well this will show you how!
I shall be using the ever sexy Jake Gyllenhaal because I'm obsessing right now... Work with me here. Let's start!
1. First, go here and follow all the steps up to number 6.
2. Open up your picture and crop it.
3. Don't resize your image yet. Although you can, it will make it hard for the next few steps. So, now, create a new layer and add your scanlines by going Edit >> Fill and you should be on pattern, then go to custom pattern and fine your scanlines.
(Yes it looks stupid for the time being, but trust me, it'll be fine in the end.)
4. Click on your background layer and do a ctrl+J to duplicate it. Drag the newly duplicated layer to the very top. It should now look something like this:
5. Kay, now zoom in at about... Oh, 300-500 should be good and take your eraser tool. Make sure the brush is somewhat solid and have the size at about 13-15. Then erase THE BACKGROUND ONLY. Do NOT erase your subject! It should start to look like this
Notice how the scanlines are starting to appear!
6. Once you've completely erased the background (and COMPLETELY that means the edges around your subject. Sometimes it's hard and you'll miss parts of the edge of your subject. That's okay! You can catch them later.) it's time to add a drop shadow! You can do this by double clicking your duplicated background layer. OKAY, if you have a picture where your subject is facing more to the left, set your angle to 30, if your subject is facing more to the right, set the angle to 120.
(Also, remember what I said about missing the edge? Here's where you can nick them. Once you add the drop shadow, it makes it ten times easier to see any spots you've missed.)
7. Now, zoom out, go ctrl+shift+e to merge all layers, and resize the image to 100x100 by going Image >> Image Size.
And there you have it! You can add some more stuff if you like, but where you go with it from here is entirely up to you!
Tutorial Comments
Showing latest 8 of 8 comments

-drool-
jake. gyllenhaal.
looks. incredible.
this tut is awesome ^^;
By egduf8 on Jan 1, 2009 6:41 am

thanks! this works so well
By xxoalexsays on Oct 25, 2008 1:25 pm

haha, i never thought of this. nice job.
By creole on Aug 17, 2008 6:22 pm

How did you make your scanlines go from horizontal to sideways?
By pinki3ros3 on Mar 25, 2008 9:31 pm

I mean cs3
By RyanChronicles on Feb 16, 2008 10:52 am
Dude on the scanlines part im using cs3 and i can't find my scanlines
By RyanChronicles on Feb 16, 2008 10:50 am

Haha, no problem!
By skywalkers on Jan 26, 2008 2:41 am

i LOVE this tut.
also thanks for using my tut! "D
By manny-the-dino on Jan 25, 2008 9:24 pm
Tutorial Details
| Author |
skywalkers
|
| Submitted on | Jan 25, 2008 |
| Page views | 14,105 |
| Favorites | 61 |
| Comments | 8 |
| Reviewer |
S-Majere
|
| Approved on | Jan 25, 2008 |