Tutorial
Click on thumbnailed images to enlarge
This is my very first tutorial, so feedback is encouraged! Good or bad, I can handle it =)
Now on with the tutorial!!
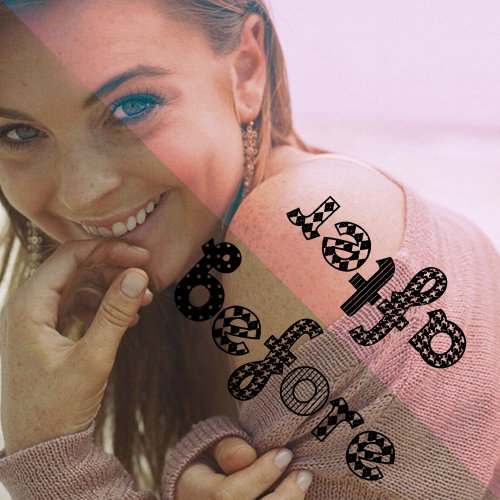
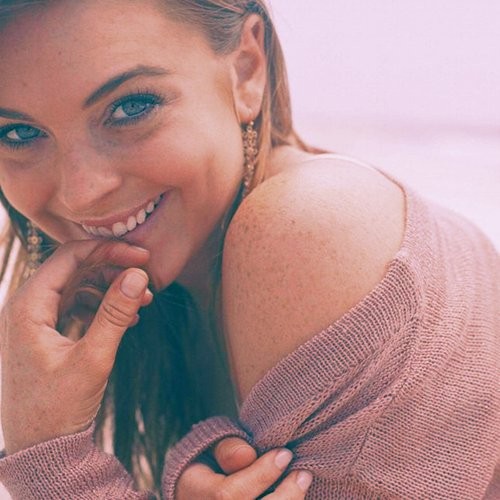
STEP 001: Open your base photo!
I chose this picture of the beautiful Lindsay Lohan
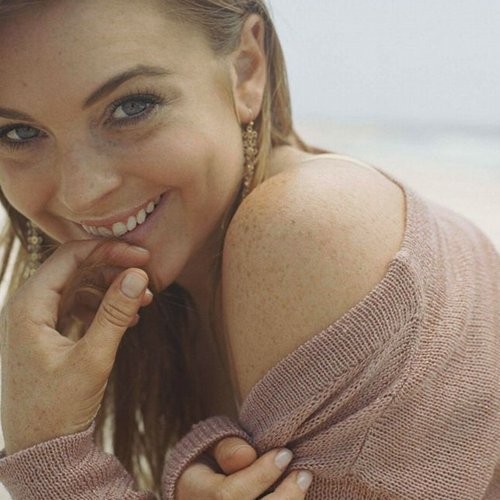
I always sharpen my images before I edit them, specifically around the eyes and lips.
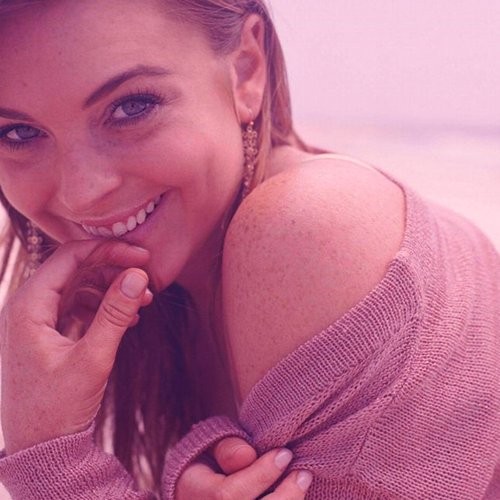
STEP 002: Layer > New Adjustment Layer > Color Balance
Use these specifications.
MIDTONES +100, +36, +100
SHADOWS 0, 0, +25
HIGHLIGHTS +35, 0, 0
Set that layer to "Color"

STEP 003: Layer > New Adjustment Layer > Curves
Use these specifications.
RGB
76,57
211,188
BLUE
22,0
Set that layer to "Lighten"
STEP 004: Layer > New Fill Layer > Solid Color
Use a49d79 and set to 'Overlay' 100%
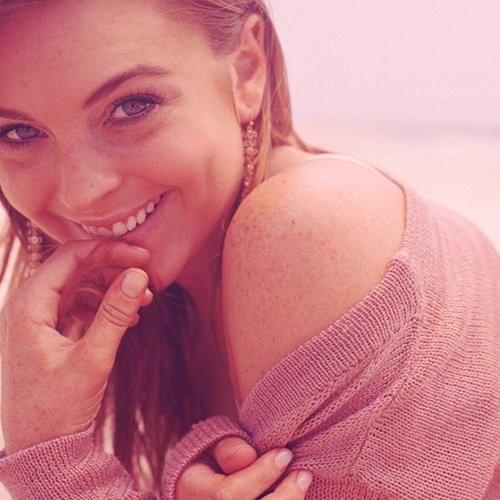
STEP 005: Layer > New Adjustment Layer > Color Balance
Use these specifications.
MIDTONES -100, +100, +64
SHADOWS -39, -30, -48
HIGHLIGHTS +18, -23, +8
Set this layer to 'Color'
And Voila! You are finished =)
Now on with the tutorial!!
STEP 001: Open your base photo!
I chose this picture of the beautiful Lindsay Lohan
I always sharpen my images before I edit them, specifically around the eyes and lips.
STEP 002: Layer > New Adjustment Layer > Color Balance
Use these specifications.
MIDTONES +100, +36, +100
SHADOWS 0, 0, +25
HIGHLIGHTS +35, 0, 0
Set that layer to "Color"
STEP 003: Layer > New Adjustment Layer > Curves
Use these specifications.
RGB
76,57
211,188
BLUE
22,0
Set that layer to "Lighten"
STEP 004: Layer > New Fill Layer > Solid Color
Use a49d79 and set to 'Overlay' 100%
STEP 005: Layer > New Adjustment Layer > Color Balance
Use these specifications.
MIDTONES -100, +100, +64
SHADOWS -39, -30, -48
HIGHLIGHTS +18, -23, +8
Set this layer to 'Color'
And Voila! You are finished =)

Tutorial Details
| Author |
paisleyinthesky
|
| Submitted on | Feb 15, 2010 |
| Page views | 6,322 |
| Favorites | 15 |
| Comments | 1 |
| Reviewer |
manny-the-dino
|
| Approved on | Feb 16, 2010 |