Tutorial
Click on thumbnailed images to enlarge
**NOTE**
I did this tutorial in Photoshop CS3 Extended which is why some of you may have problems. However, that doesn't mean this tutorial won't work in other versions of Photoshop. Just try it out.
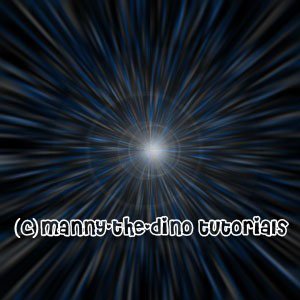
Just finished watching Star Wars & feel inspired to make something on photoshop? Well I will show you how to make a "Space Warp" effect. Here's the before:
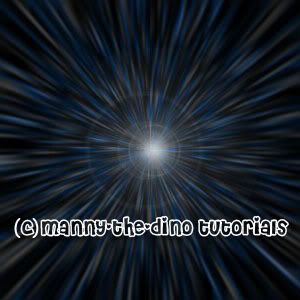
Here's the after:
To Space Warping!
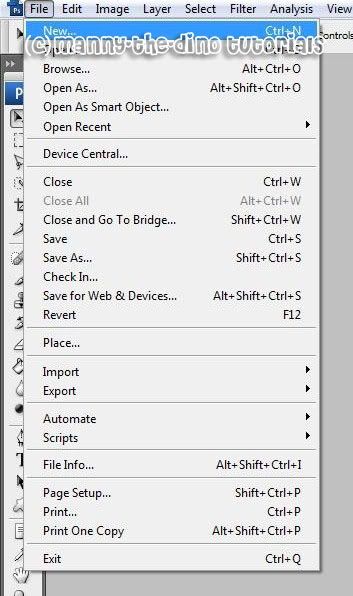
001.First, go File>New.
002.Make a new document that's 300x300 pixels.

003.Select your Rectangular Marquee Tool (M).

004.Make a selection in the middle of your document like so.
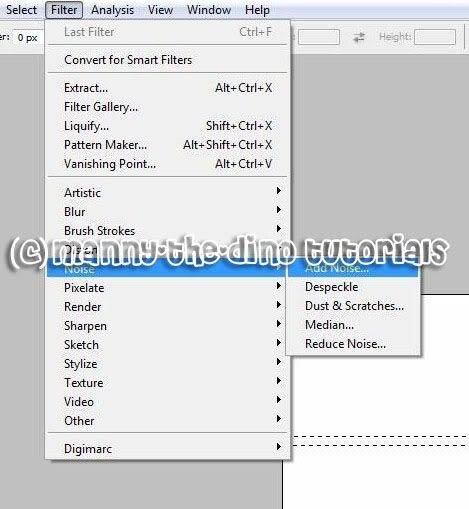
005.Now go Filter>Noise>Add Noise.
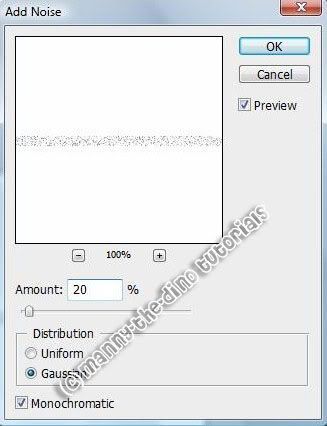
006.Enter 20 as your amount, use Gaussian as your distribution & check off Monochromatic.
007.Do a ctrl+t & stretch out your selection over your document.

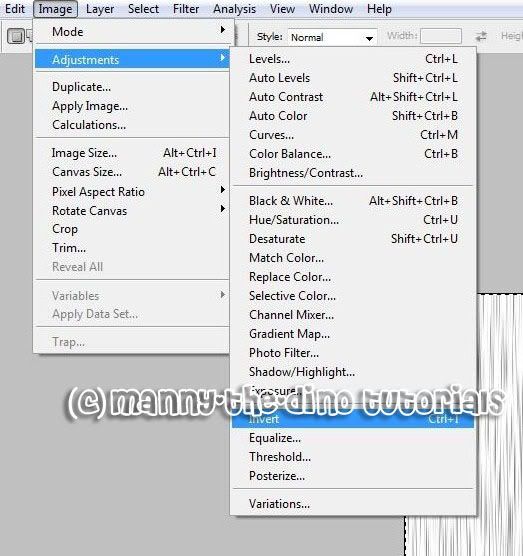
008.Now go Imave>Adjustments>Invert.
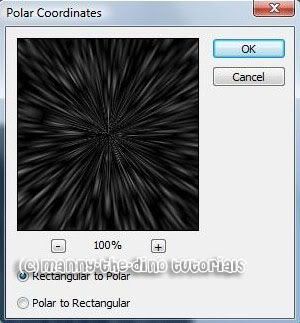
009.Then go Filter>Distort>Polar Coordinates.
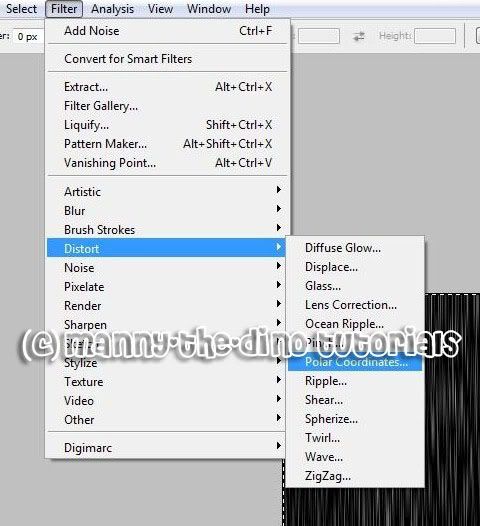
010.Use "Rectangular to Polar."
011.Now go Filter>Blur>Radial Blur.

012.Enter 50 as your amount & Zoom as your Blur Method.

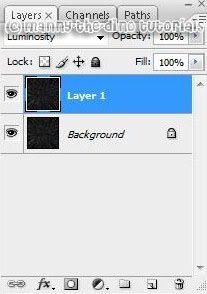
013.Do a ctrl+j & change the layer's blend mode to Luminosity.
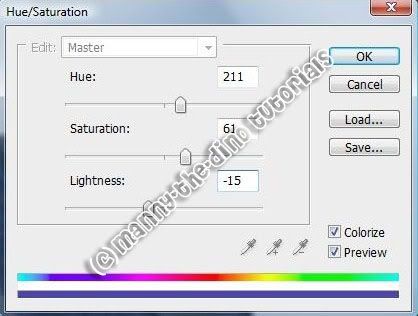
014.Go Image>Adjustmens>Hue/Saturation.
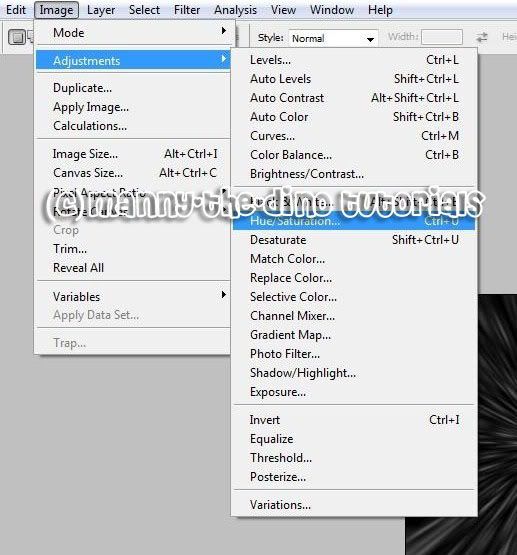
015.Check off "Colorize" & enter the following values:
Hue: 211
Saturation: 61
Lightness: -15
016.Next do another ctrl+t, hold down shift & rotate your layer to a 90 degree angle.

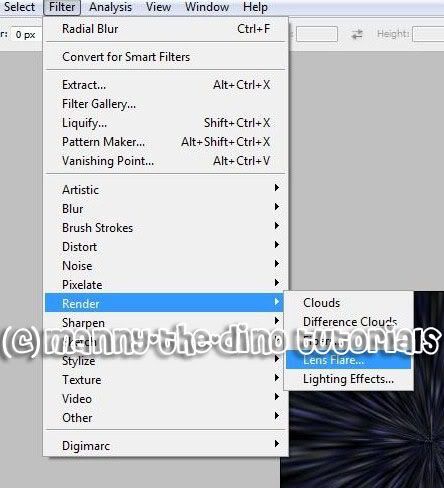
017.We're almost done! So go Filter>Render>Lens Flare.
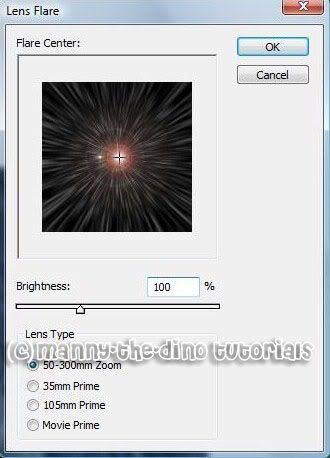
018.Place a flare effect at the center of your picture. Also set the brightness at 100%.
019.Change "Layer 1's" opacity down to 75%.

020.And you are finally done my space nerd! "D Enjoy!
If you got lost or have any questions, comment the tutotial & I'll get back to you as soon as I can. :D
I did this tutorial in Photoshop CS3 Extended which is why some of you may have problems. However, that doesn't mean this tutorial won't work in other versions of Photoshop. Just try it out.
Just finished watching Star Wars & feel inspired to make something on photoshop? Well I will show you how to make a "Space Warp" effect. Here's the before:
Here's the after:
To Space Warping!
001.First, go File>New.
002.Make a new document that's 300x300 pixels.
003.Select your Rectangular Marquee Tool (M).
004.Make a selection in the middle of your document like so.
005.Now go Filter>Noise>Add Noise.
006.Enter 20 as your amount, use Gaussian as your distribution & check off Monochromatic.
007.Do a ctrl+t & stretch out your selection over your document.
008.Now go Imave>Adjustments>Invert.
009.Then go Filter>Distort>Polar Coordinates.
010.Use "Rectangular to Polar."
011.Now go Filter>Blur>Radial Blur.
012.Enter 50 as your amount & Zoom as your Blur Method.
013.Do a ctrl+j & change the layer's blend mode to Luminosity.
014.Go Image>Adjustmens>Hue/Saturation.
015.Check off "Colorize" & enter the following values:
Hue: 211
Saturation: 61
Lightness: -15
016.Next do another ctrl+t, hold down shift & rotate your layer to a 90 degree angle.
017.We're almost done! So go Filter>Render>Lens Flare.
018.Place a flare effect at the center of your picture. Also set the brightness at 100%.
019.Change "Layer 1's" opacity down to 75%.
020.And you are finally done my space nerd! "D Enjoy!
If you got lost or have any questions, comment the tutotial & I'll get back to you as soon as I can. :D
Tutorial Comments
Showing latest 2 of 2 comments

i lost at 7:(
By miekoCHAN on Jan 1, 2009 11:03 am
really cool :]
By diana170 on Feb 3, 2008 7:03 pm
Tutorial Details
| Author |
manny-the-dino
|
| Submitted on | Jan 27, 2008 |
| Page views | 25,104 |
| Favorites | 41 |
| Comments | 2 |
| Reviewer |
S-Majere
|
| Approved on | Jan 29, 2008 |