Tutorial
Click on thumbnailed images to enlarge
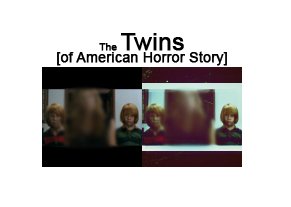
Forewarning: this coloring is very similar to my Norman Reedus coloring, with a few changes and different techniques.
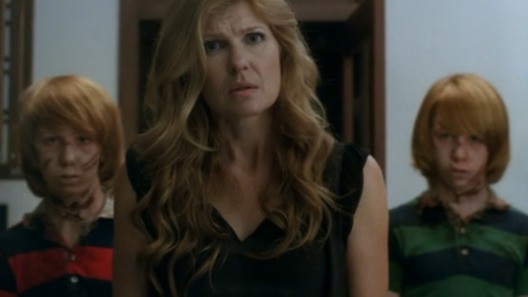
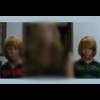
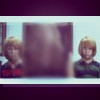
First off, open your desired image! I used this picture of the gorgeous twinsand the ever so unpleasant Vivien of American Horror Story.
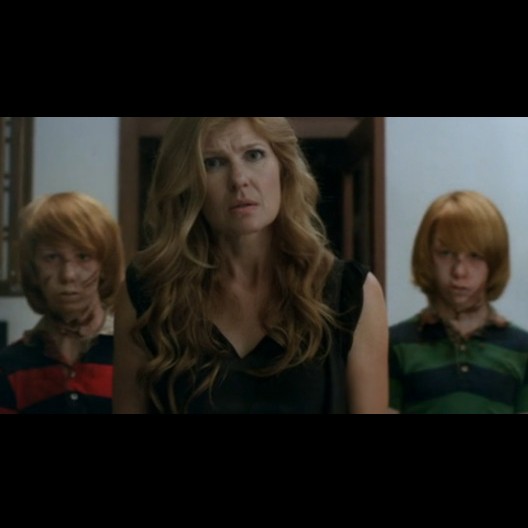
Now, the image is too wide to create a nice square icon that includes the twins. So I opened a new document with the dimensions 528x528 because my image was 528 pixels wide. I dragged the image into the new document and placed it in what appeared to be the middle. Then, I filled the background with black.
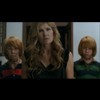
Go to Image- Image Size, and enter 100 for the width and for the height.
Now, I dislike Vivien so I used the blur tool to blur her out of focus.
Then, I used the eyedropper tool to select a color from the background (mine was a9bcc9) and created a new layer (Layer- New Layer). Drag this layer below the original image and above the black background and use the rectangle tool to create a rectangle behind the image that appears as a bar above and below the image.

Next, I selected the layer of the image with the twins and duplicated the layer. Go to Image- Image Adjustments- Desaturate, set the layer at about 17% opacity, and move it a tiny bit so it isn't exactly aligned with the original layer.
Then, I duplicated the original image layer and set it to Screen at about 44%. I used Layer- Layer Mask- Reveal all to create a layer mask over this layer. I only wanted this layer to affect the twins, so I used a soft brush to paint black on the layer mask (not the layer) over Vivien.
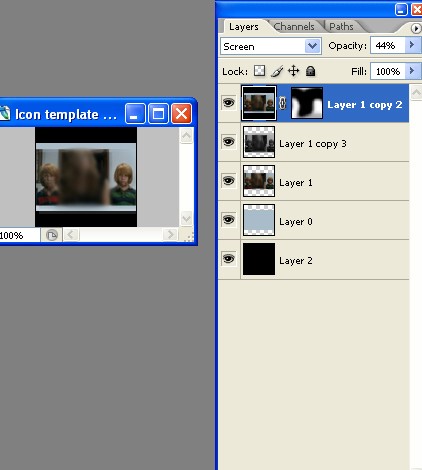
Now, create a new layer. (Layer- New Layer) Fill this layer with ee2592 and set it to Lighten at 6%.
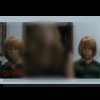
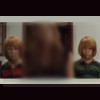
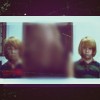
[imghttp://img254.imageshack.us/img254/2636/twins15.jpg[/img]
Now, press Ctrl + Alt + Shift + E. This will create a layer that combines all the layers beneath it. Set this layer to Soft Light at 17%.
Create a new layer and fill it with feeed3. Set this layer to Multiply at 100%.
Create a new layer and fill it with ff00a2. Set this layer to Exclusion at 14%.
Create a new layer and fill it with 467d8e. Set this layer to Color Dodge at 70%.
Create a new layer. Use a soft brush to paint a blob of 5f5f5e towards the top right part of Vivien's head. Set this layer to Screen at 53%.
Create a new layer and make a gradient like the one below going from white to black. Set this layer to Color Burn at 100%.
Copy this texture and lay it atop your icon. Set it to Lighten at 100%.

Create a new Selective Color layer with the following settings:
Whites
Cyan 0
Magenta -1
Yellow +12
Black -7
Neutrals
Cyan +2
Magenta -9
Yellow +18
Black +39
Blacks
Cyan -14
Magenta +7
Yellow +9
Black 0
Set this layer at about 80%.
If you reduce the opacity on that last layer, the picture will have a softer, more redish tint.
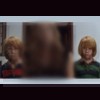
Done!
First off, open your desired image! I used this picture of the gorgeous twins
Now, the image is too wide to create a nice square icon that includes the twins. So I opened a new document with the dimensions 528x528 because my image was 528 pixels wide. I dragged the image into the new document and placed it in what appeared to be the middle. Then, I filled the background with black.
Go to Image- Image Size, and enter 100 for the width and for the height.
Now, I dislike Vivien so I used the blur tool to blur her out of focus.
Then, I used the eyedropper tool to select a color from the background (mine was a9bcc9) and created a new layer (Layer- New Layer). Drag this layer below the original image and above the black background and use the rectangle tool to create a rectangle behind the image that appears as a bar above and below the image.
Next, I selected the layer of the image with the twins and duplicated the layer. Go to Image- Image Adjustments- Desaturate, set the layer at about 17% opacity, and move it a tiny bit so it isn't exactly aligned with the original layer.
Then, I duplicated the original image layer and set it to Screen at about 44%. I used Layer- Layer Mask- Reveal all to create a layer mask over this layer. I only wanted this layer to affect the twins, so I used a soft brush to paint black on the layer mask (not the layer) over Vivien.
Now, create a new layer. (Layer- New Layer) Fill this layer with ee2592 and set it to Lighten at 6%.
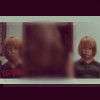
[imghttp://img254.imageshack.us/img254/2636/twins15.jpg[/img]
Now, press Ctrl + Alt + Shift + E. This will create a layer that combines all the layers beneath it. Set this layer to Soft Light at 17%.
Create a new layer and fill it with feeed3. Set this layer to Multiply at 100%.
Create a new layer and fill it with ff00a2. Set this layer to Exclusion at 14%.
Create a new layer and fill it with 467d8e. Set this layer to Color Dodge at 70%.
Create a new layer. Use a soft brush to paint a blob of 5f5f5e towards the top right part of Vivien's head. Set this layer to Screen at 53%.
Create a new layer and make a gradient like the one below going from white to black. Set this layer to Color Burn at 100%.
Copy this texture and lay it atop your icon. Set it to Lighten at 100%.
Create a new Selective Color layer with the following settings:
Whites
Cyan 0
Magenta -1
Yellow +12
Black -7
Neutrals
Cyan +2
Magenta -9
Yellow +18
Black +39
Blacks
Cyan -14
Magenta +7
Yellow +9
Black 0
Set this layer at about 80%.
If you reduce the opacity on that last layer, the picture will have a softer, more redish tint.
Done!
Tutorial Comments
No comments yet. Be the first one to comment!
Tutorial Details
| Author |
xchangminniex
|
| Submitted on | Jul 13, 2012 |
| Page views | 11,773 |
| Favorites | 0 |
| Comments | 0 |
| Reviewer |
Mickey
|
| Approved on | May 27, 2013 |