
Tutorial
Click on thumbnailed images to enlarge
I did this tutorial in Photoshop CS3 Extended which is why some of you may have problems. However, that doesn't mean this tutorial won't work in other versions of Photoshop. Just try it out.
Tired of having made your picture into a polaroid & not knowing what else to do with it? Well, cutie, I will teach you how to make a stack of polaroids, giving you a cool effect. I will be using this picture I took on one of the many retreats I've been on: Kairos! "D This is apart of my photography collection; if you'd like to see more of my work, click here. If you'd like to add this graphic to your favorites, click here.
Here's the before:

Here's the after:

Let's go!
001.Open up the picture.

002.Select you Crop Tool (C).

003.While holding down shift, crop your picture. The purpose of holding down shift is to make sure it is a perfect square.

004.Now go Image>Canvas Size.

005.Apply the following settings:
Width: 10%
Height: 10%
Relative: Check
Canvas extension color: White

006.Yes I know... it doesn't exactly look like a polaroid but we're going to fix that right now. Okay so go Image>Canvas Size again & enter the following settings:
Height: 10%
Also, you see where it says "Anchor?" Well click on the middle arrow on the first row. It should look like my screenshot after you have done that.

007.Add some text to the polaroid if you'd like. If you do, do a ctrl+e to merge the layers, leaving you with only one layer to work with.

008.Now do a ctrl+j.

009.We need a little extra space to make the polaroid stack so go Image>Canvas Size again & make it 100%x100%.

010.Double-click on "Layer 1," go to Stroke & apply the following settings:
Color:000000

011.Go to the Drop Shadow section & apply these settings:
Angle: 120
Size: 60

012.Now do a ctrl+t to turn the polaroid at an angle.

013.Do that a few more times. I did it 4 more times.

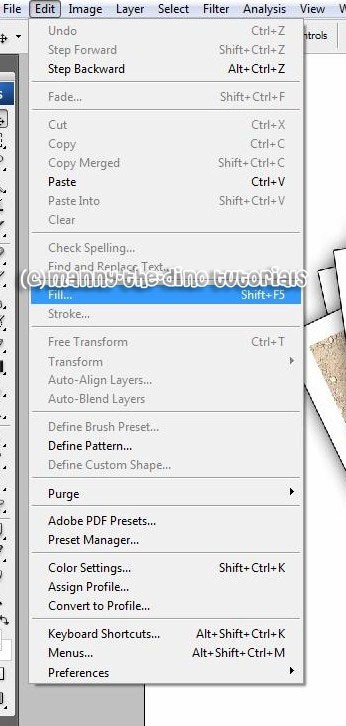
014.With your "Background" layer selected, go Edit>Fill (if you can't see your background layer because all the layered polaroids are covering it, go to step 16).
015.In the Use part, change it to White.

016.Crop the picture a little so that you don't have all that extra space. And now you are done. You have a cool polaroid effect! ")
If you got lost or have any questions, comment the tutotial & I'll get back to you as soon as I can. :D
Tutorial Comments
Showing latest 10 of 15 comments

I love this, it's awesome ^^

I LOVE IT!!
mine actually turns out great!! XD
thankxx a lot!!

i loved this! just did it with a picture that is a great memory :]
thanks!
Another great tut, fast, easy and comes out with a great effect
love it. thanks :)

nice tutorial =]
Shit's simple. What's easier is to scan an ACTUAL polaroid, then crop out the image that was there, and replace it with your image. Voila.

flyingjewels: just right click on layer1 and click on duplicate layer, then control t, and you're good to go :) hope that helps..
btw, good job to manny the dino!i love your tutorials! :)
so in step 13... you said to do it 4 more times. well... I got the turning the first one, but I don't get how you're supposed to do it four more times if there's only one there. XD did I do something wrong...? because, err, it looked like the picture in the step beforehand, though.
but even just with the single polaroid, this is fantastic. kudos to you. :D

i cant go to canvas size after i select with the crop thing.. plz help?
Tutorial Details
| Author |
manny-the-dino
|
| Submitted on | Mar 7, 2008 |
| Page views | 37,706 |
| Favorites | 221 |
| Comments | 15 |
| Reviewer |
MissHygienic
|
| Approved on | Mar 7, 2008 |