Tutorial
Click on thumbnailed images to enlarge
Step Eight:
Now this can get confusing, so, just go slowly and don't skim! READ!
-> Hide the shape layer
-> Create a new layer (above the hidden shape layer)
-> hit cntrl+alt+shift+e on your keyboard. This merges everything you have below(all your coloring and what not) onto one layer). Great for easy editing.
-> Create a clipping mask. Now, you probably have no clue what the heck I just said, but never fear! for I wrote a tutorial about that too. :)
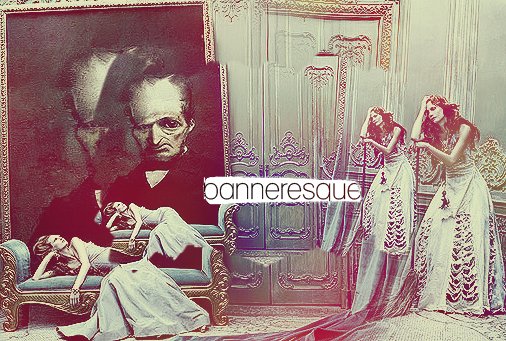
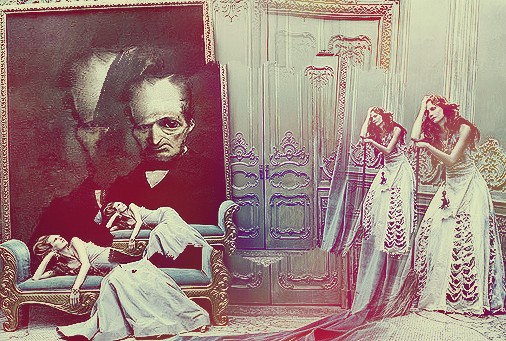
My results:
Isn't it pretty? So pretty. Me likey. However, I want more colour!
Step Nine: Le colouring, part Deux!
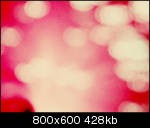
a) I took a large soft edges brush, 2oo px, and brush random big dots onto my image in the colour of #440000 and set that layer to screen.
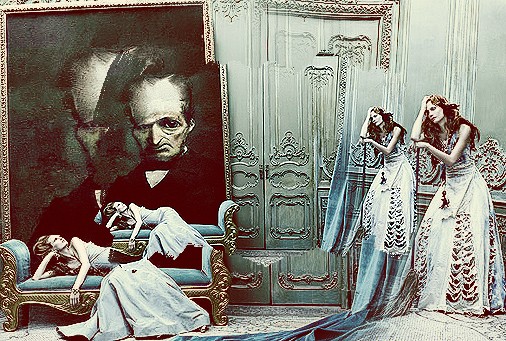
My blobs:

My blobs, once set to screen, result:
See my blobs in action? Aren't they totally cool? Yeah, thought so. So cool enough I want to do MOREEEE!
Step nine:
Reallyyyy quickly, create a new layer, fill it in with #16102A and set it to Exclusion. Now this only enhanced the vintage look. But..I still want more colouring.
Step Ten:
Create a new layer, and take a 1oo px brush, and just draw some random splotches. However, I wanted some purple in the girl (on the right)'s hair, and some on the
door so I splotched some over there.
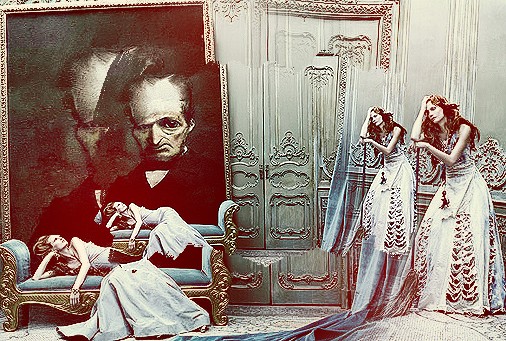
My purple blobs:

Their results:
Step Eleven: OMG WE ARE ALMOST DONE :D
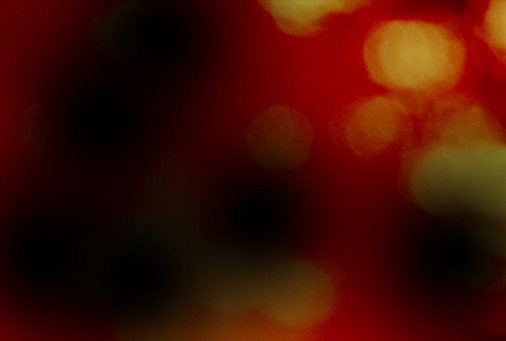
Take a large soft edges brush, 3oo px, in the color of #020B7B, and just splot it right in the middle, and set it to Lighten. BOOM! And then there was blue! But, some got
on the painting and the man, so I erased that. Now its just on the door. Which is faboulas.
Step Twelve!: SO CLOSE!
I take this texture by Gender, copy/paste it onto my Document, and set it to lighten. however, it doesn't look right, so I darken it. I go Image >> Adjustments >> Curves,
and darken it using my graph thingie, until it looks good. (Sorry guys, I didn't save my settings.)
Once I got it to a setting I liked I just went a little crazy with the eraser and erased the parts I didnt like.
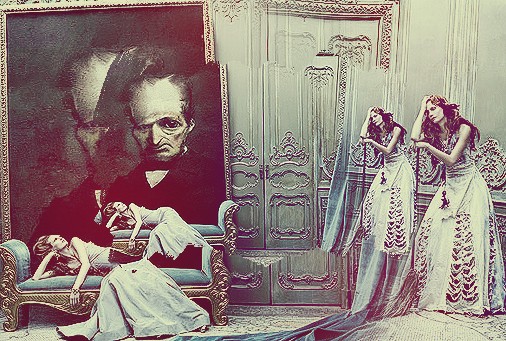
Texture:
My texture edited:
Texture Results:
VOILA! Make sure that it has, once again, been set to Lighten, and YES! You're done. I added a brush and some text on mine, but go free! Add whatever you want!
Details are the best.
Now this can get confusing, so, just go slowly and don't skim! READ!
-> Hide the shape layer
-> Create a new layer (above the hidden shape layer)
-> hit cntrl+alt+shift+e on your keyboard. This merges everything you have below(all your coloring and what not) onto one layer). Great for easy editing.
-> Create a clipping mask. Now, you probably have no clue what the heck I just said, but never fear! for I wrote a tutorial about that too. :)
My results:
Isn't it pretty? So pretty. Me likey. However, I want more colour!
Step Nine: Le colouring, part Deux!
a) I took a large soft edges brush, 2oo px, and brush random big dots onto my image in the colour of #440000 and set that layer to screen.
My blobs:
My blobs, once set to screen, result:
See my blobs in action? Aren't they totally cool? Yeah, thought so. So cool enough I want to do MOREEEE!
Step nine:
Reallyyyy quickly, create a new layer, fill it in with #16102A and set it to Exclusion. Now this only enhanced the vintage look. But..I still want more colouring.
Step Ten:
Create a new layer, and take a 1oo px brush, and just draw some random splotches. However, I wanted some purple in the girl (on the right)'s hair, and some on the
door so I splotched some over there.
My purple blobs:
Their results:
Step Eleven: OMG WE ARE ALMOST DONE :D
Take a large soft edges brush, 3oo px, in the color of #020B7B, and just splot it right in the middle, and set it to Lighten. BOOM! And then there was blue! But, some got
on the painting and the man, so I erased that. Now its just on the door. Which is faboulas.
Step Twelve!: SO CLOSE!
I take this texture by Gender, copy/paste it onto my Document, and set it to lighten. however, it doesn't look right, so I darken it. I go Image >> Adjustments >> Curves,
and darken it using my graph thingie, until it looks good. (Sorry guys, I didn't save my settings.)
Once I got it to a setting I liked I just went a little crazy with the eraser and erased the parts I didnt like.
Texture:

My texture edited:
Texture Results:
VOILA! Make sure that it has, once again, been set to Lighten, and YES! You're done. I added a brush and some text on mine, but go free! Add whatever you want!
Details are the best.
Tutorial Comments
Showing latest 6 of 6 comments

i got it up to the clipping mask.
i even went to your other tutorial to see.
help?
thankies.
=]
By AdriaAlternative on Jul 18, 2009 8:31 pm

this is a really great tutorial!
I might follow your ideas =D
By eternalxreminiscence on Feb 5, 2009 5:53 pm

still one of my favourites!
By digitalivory on Sep 29, 2008 6:52 pm

So i got everything about this tutorial EXCEPT for the stupid clipping mask. I mustve redone that part soooooo many times and it still didn't work!! please help!
By xxxvalo on Aug 23, 2007 4:29 am

Ok, I'm confused as to where step one is. >_>
By ReBeLxGirL527 on Aug 12, 2007 2:31 pm
This is beautiful. I love it.
By soreloser on Aug 8, 2007 7:58 pm
Tutorial Details
| Author |
technicolour
|
| Submitted on | Jul 16, 2007 |
| Page views | 23,742 |
| Favorites | 87 |
| Comments | 6 |
| Reviewer |
flardnarf
|
| Approved on | Jul 16, 2007 |