Tutorial
Click on thumbnailed images to enlarge
Hi!
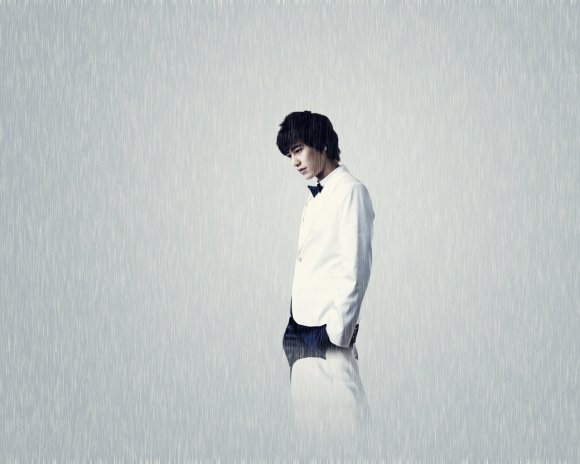
This is a size-reduced version of the final image.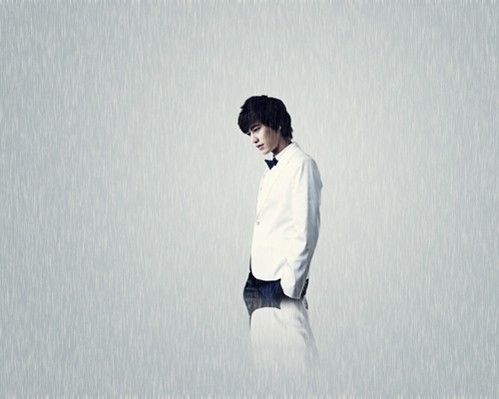
So, for starters, I used this picture of Kyuhyun (a dude from a band called Super Junior).
Also, just a hint, this will be a ton easier if you select a picture with a clear subject, around which you could easily erase. Mine was from a photoshoot, so it was easy to erase around him.

Now, first things first. Open a new document. I made mine 1280x1024, since that's the size of my desktop monitor and I intend for this to be a wallpaper for my desktop.
Then, go to your color palette. Make your foreground color d5dce2, and your background color b6bfc8.
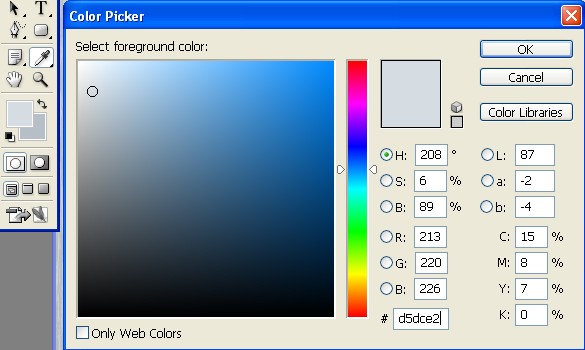
Next select the gradient tool, and use a very subtle radial gradient to make a light center with a darkening edge. Below is my gradient.

Now, duplicate that layer (Layer-Duplicate Layer). Set the blending mode of this layer to multiply at 32% opacity. If you don't know what I'm talking about, here's a screencap.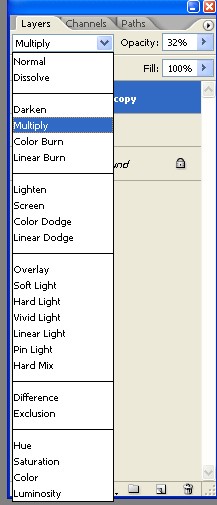 . :]
. :]
Next up, import the picture you want to use. Place it wherever you would like on the canvas. Mine wasn't exactly centered, which is what I wanted. It gave it some character. So this is my canvas so far.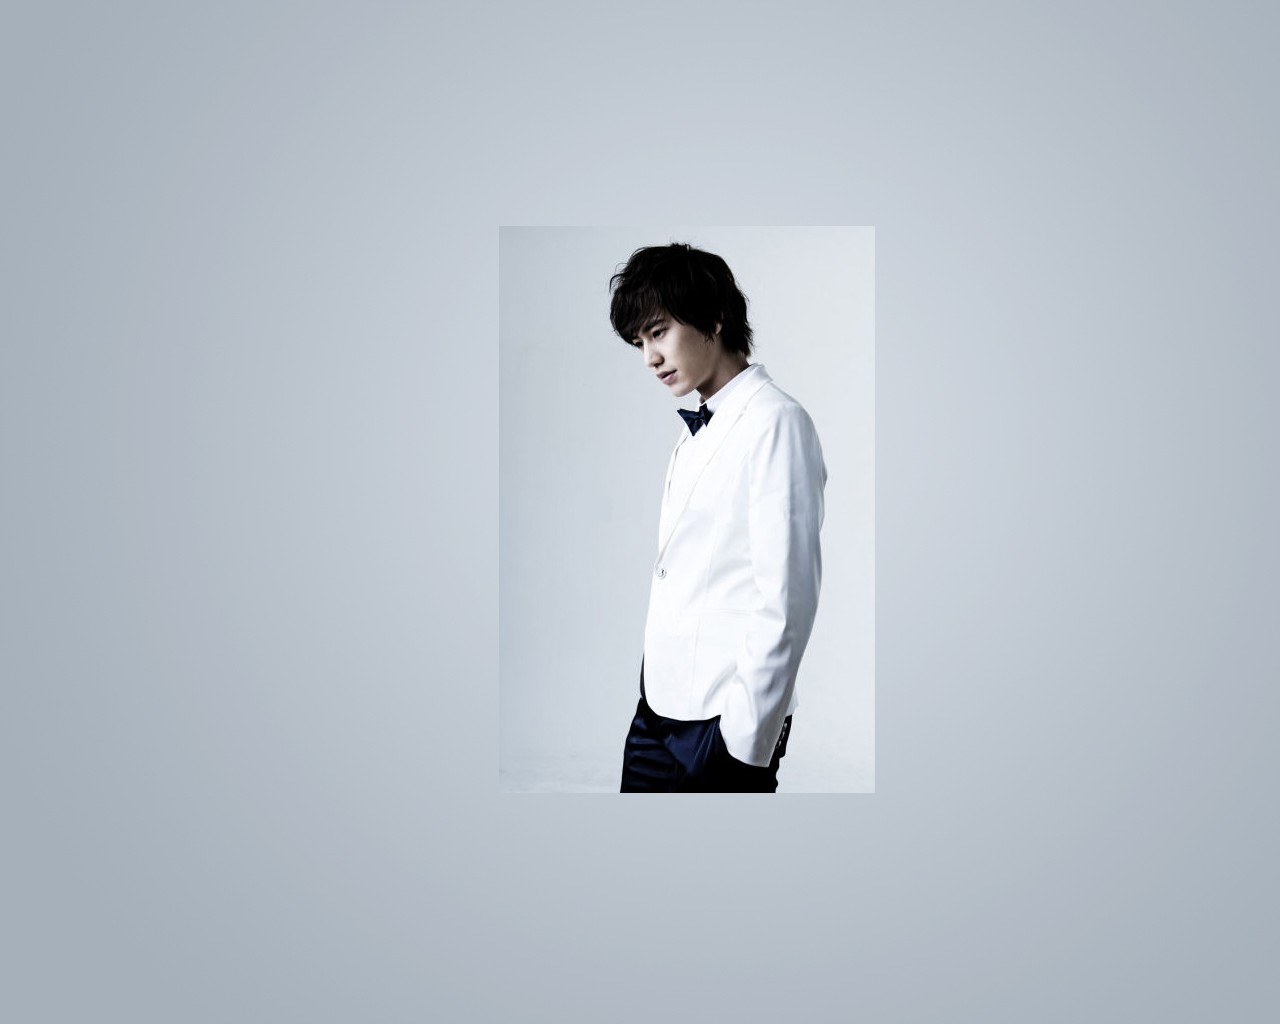
Then, zoom in as far as you can so your canvas looks all pixely like this.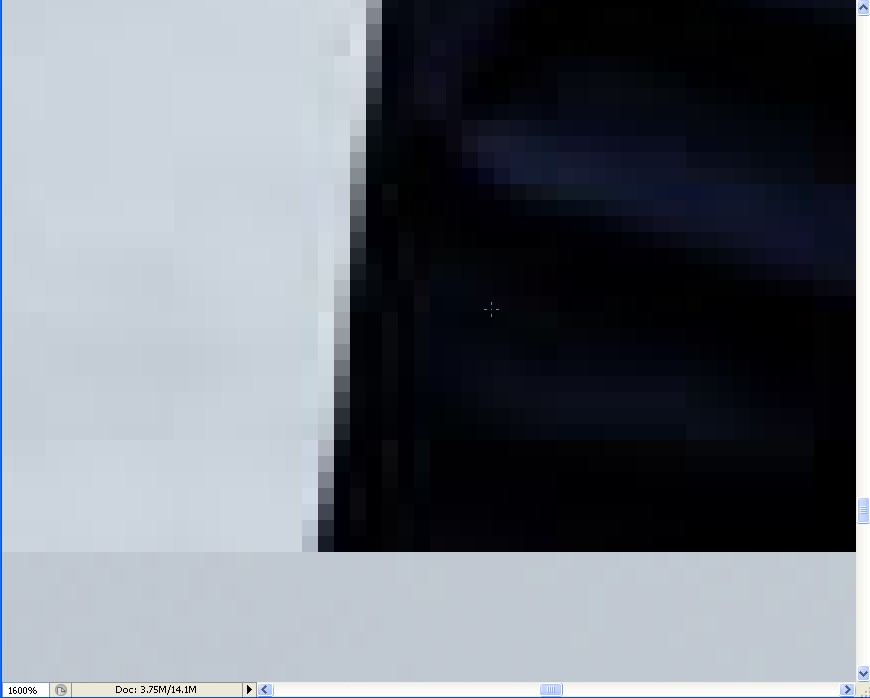
And begin erasing around the edge of your subject with a size 5 or size 9 soft brush. Erase around your subject until you are happy with the result. Also, erase softly along the bottom! Then zoom back out to normal. Or, if you would rather not do this step, you could just use a large soft brush to generally erase around your subject.
HINT: Instead of erasing, I prefer to select Layer- Layer Mask- Reveal All, and then use a soft black brush to paint (on the mask) over the parts of the image that I wish to hide, but if a layer mask is too confusing, feel free to use a regular eraser.
This is the link to my image when I erased closely.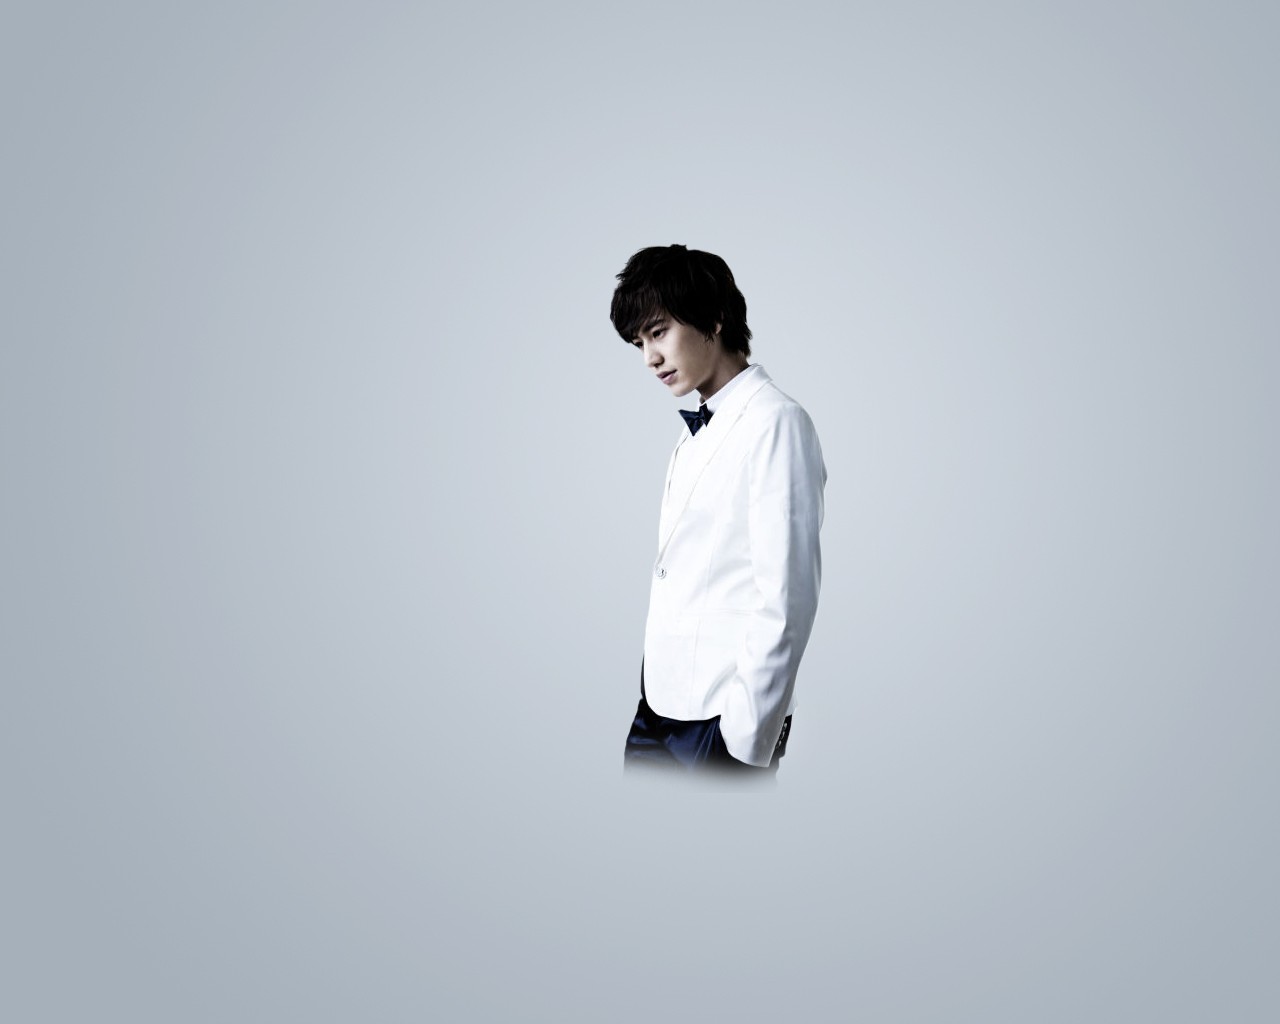
This is when I used a general brush. (Keep in mind that this photo was from a photoshoot, so the background color of the original photoshoot picture was very similar to the background color of the wallpaper I was creating. If I had used a picture with a green or purple background, it would have looked a lot sloppier and less similar.)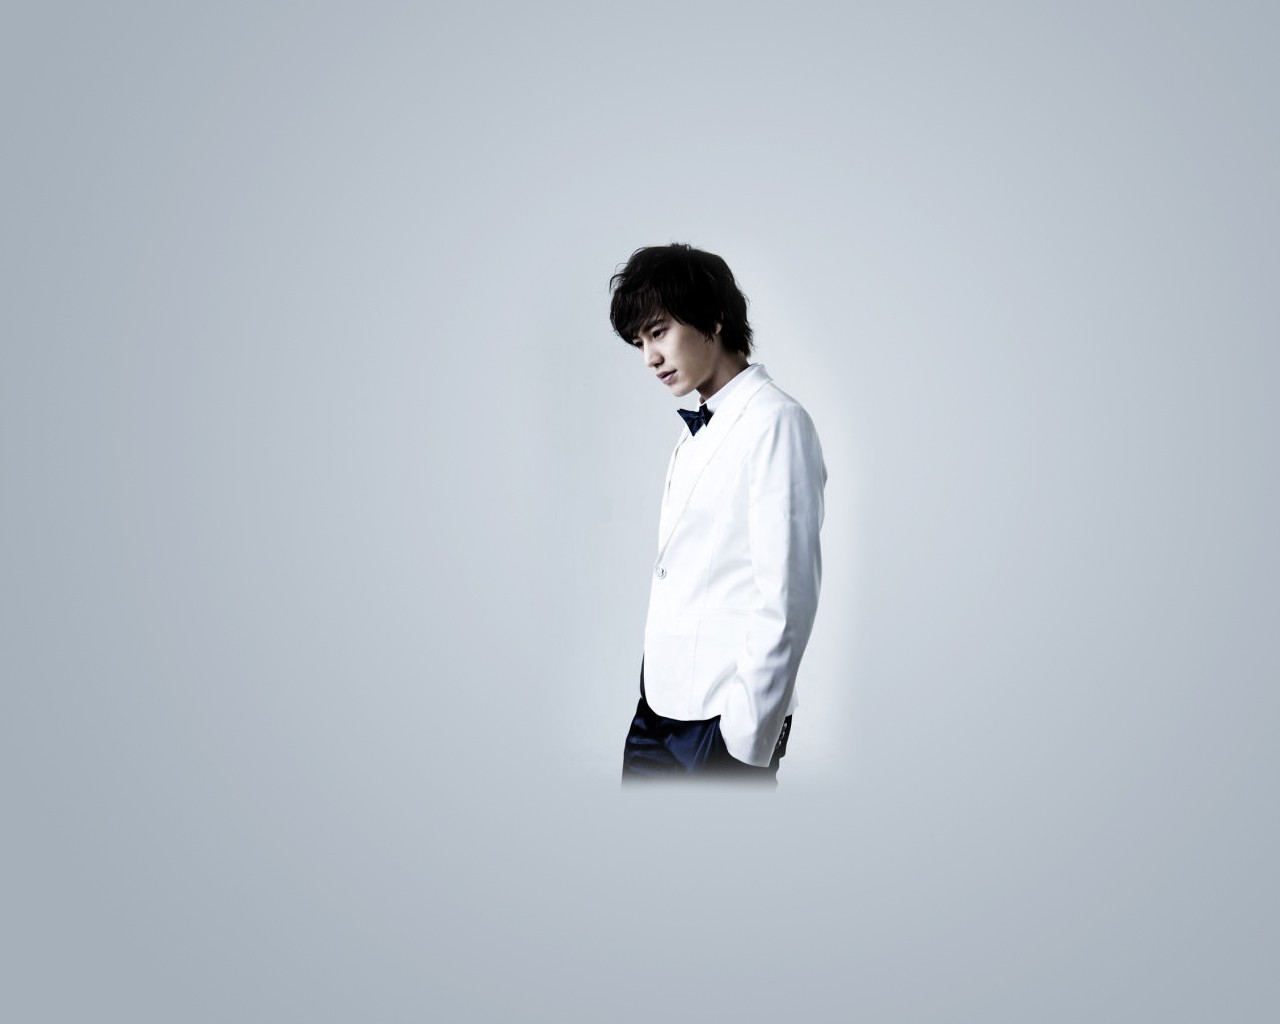
At this point, I decided to create a reflection-like design. Duplicate the layer of your subject around which you just erased, and, in the layers palette, drag the duplicate layer directly below the original layer. Then, select Edit- Transform- Flip Vertical. Drag the image so it sort of aligns with the bottom of the other image like this.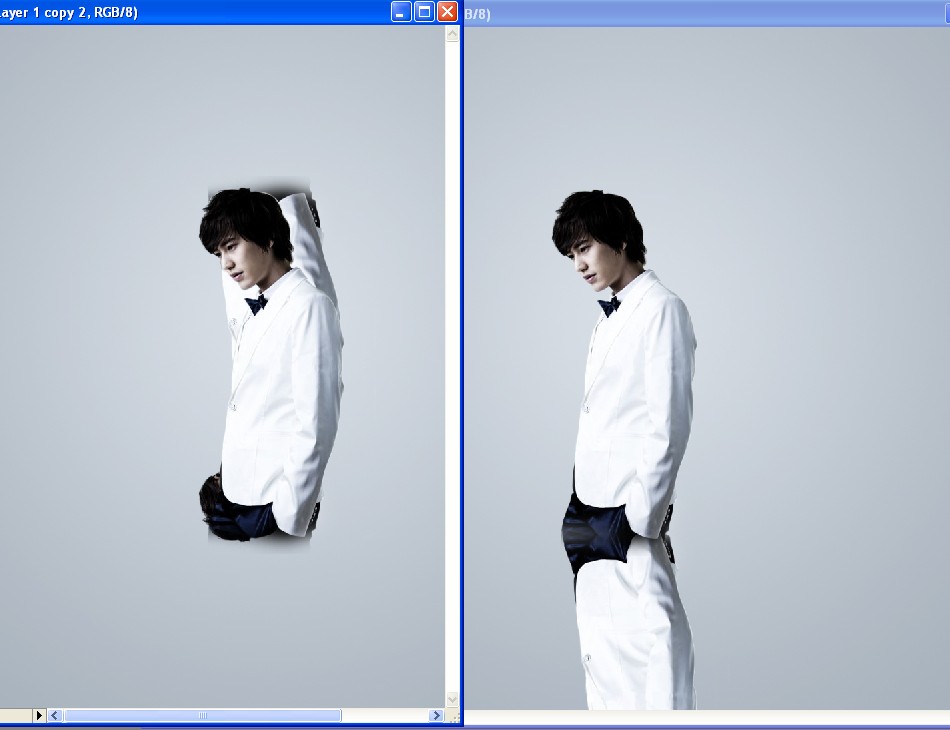 (the image on the left is after I flipped the image vertically but haven't moved it yet, the one on the right is after I moved it to where I want it.)
Now, set that layer at roughly 63% opacity and select a big soft brush. Now, you can either erase or use a layer mask as I stated earlier, either way works. Make it so that the image gradually fades off like this.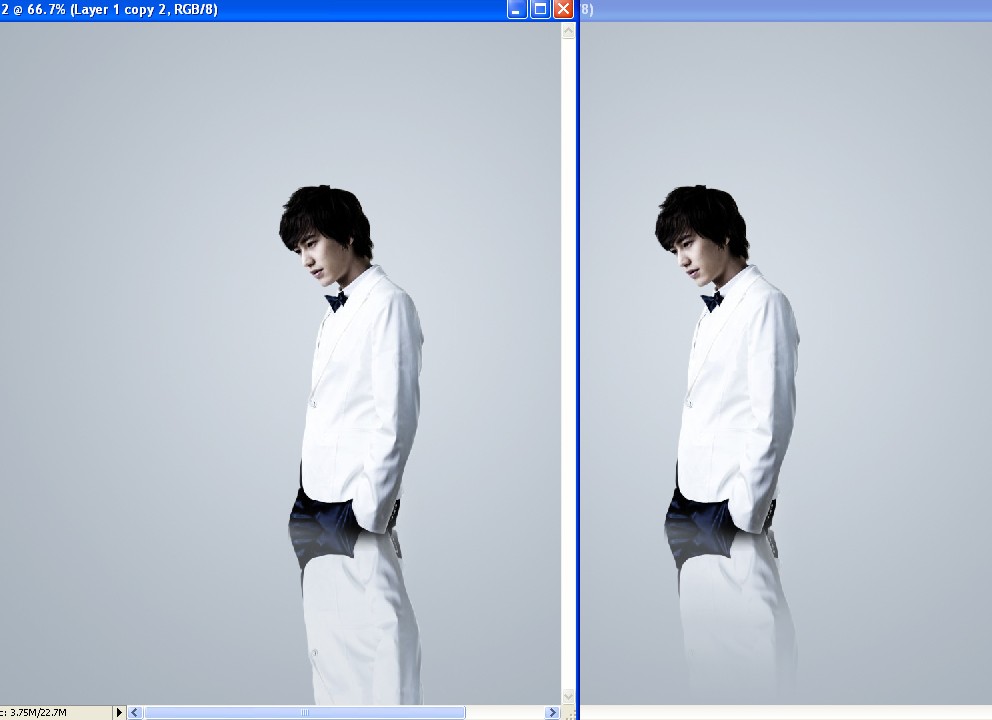
Now, I wanted to achieve a rain-like effect to give the picture some interest. To do this, create a new layer and fill it with pure black (000000). Now select Filter- Noise- Add Noise, and use the following settings:
Amount: 65
Select Gaussian (instead of Uniform)
Make sure that Monochromatic is selected/checked.
Then, select Filter- Blur- Motion Blur, and use the following settings:
Angle: -90
Distance 28 pixels.
Then, go to Image- Adjustments- Levels, and use the following settings:
Input Levels (from left to right): 61 1.46 241
Output Levels: 0 255
Set the blending mode from that layer to Screen and it should look like this.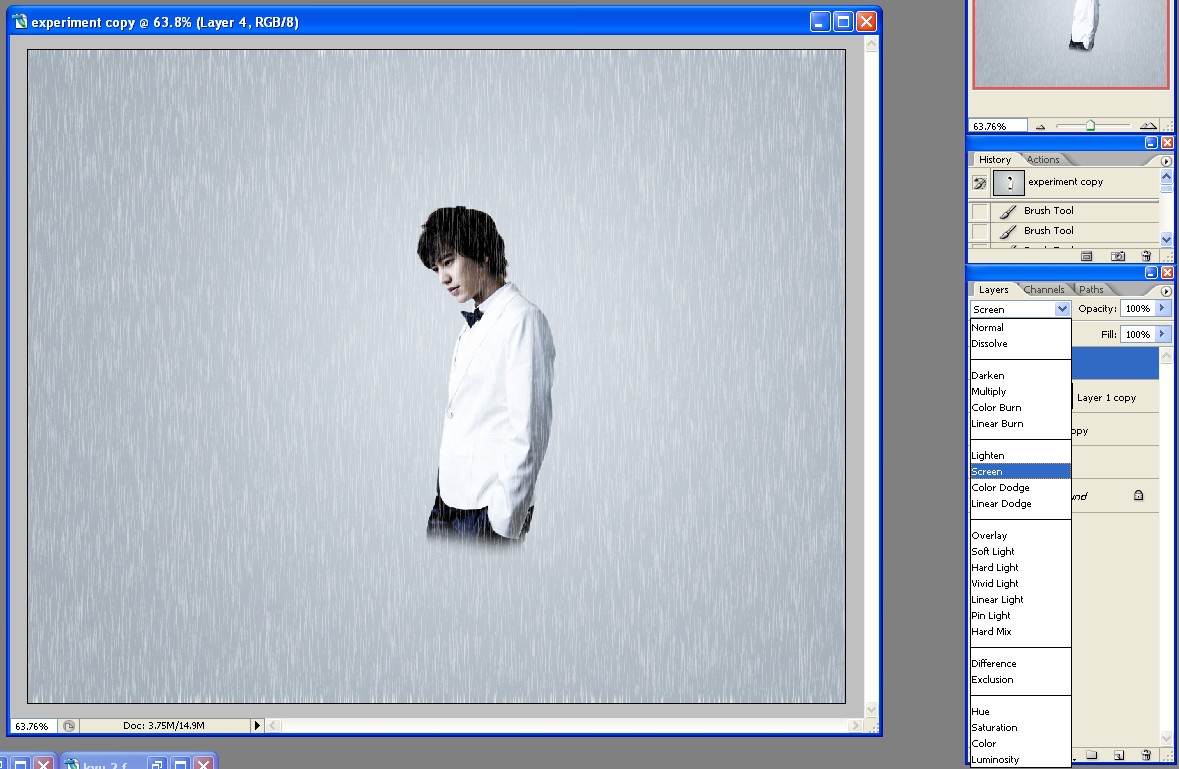
Ok, now duplicate the original layer of your subject and drag it so it is over your new rain-like layer. Set this duplicate layer at 40% opacity. (Here is what your layers palette should look like. Also, if you used an eraser instead of layer masks earlier, your layer palette won't have these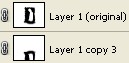 box things next to the layers, so don't worry about that.)
Next, press Ctrl+Alt+Shft+E to make a new merged duplicate layer of all the previous layers. Set this layer to Soft Light at 38% opacity.
Then, the last step is to create a new layer and fill it with the color 06123e. Set this layer to Exclusion at anywhere from 25%-50% opacity. (I set mine at about 33%)
And done! Yay!
This is my result!
This is a size-reduced version of the final image.
So, for starters, I used this picture of Kyuhyun (a dude from a band called Super Junior).
Also, just a hint, this will be a ton easier if you select a picture with a clear subject, around which you could easily erase. Mine was from a photoshoot, so it was easy to erase around him.
Now, first things first. Open a new document. I made mine 1280x1024, since that's the size of my desktop monitor and I intend for this to be a wallpaper for my desktop.
Then, go to your color palette. Make your foreground color d5dce2, and your background color b6bfc8.
Next select the gradient tool, and use a very subtle radial gradient to make a light center with a darkening edge. Below is my gradient.
Now, duplicate that layer (Layer-Duplicate Layer). Set the blending mode of this layer to multiply at 32% opacity. If you don't know what I'm talking about, here's a screencap.
. :]Next up, import the picture you want to use. Place it wherever you would like on the canvas. Mine wasn't exactly centered, which is what I wanted. It gave it some character. So this is my canvas so far.
Then, zoom in as far as you can so your canvas looks all pixely like this.
And begin erasing around the edge of your subject with a size 5 or size 9 soft brush. Erase around your subject until you are happy with the result. Also, erase softly along the bottom! Then zoom back out to normal. Or, if you would rather not do this step, you could just use a large soft brush to generally erase around your subject.
HINT: Instead of erasing, I prefer to select Layer- Layer Mask- Reveal All, and then use a soft black brush to paint (on the mask) over the parts of the image that I wish to hide, but if a layer mask is too confusing, feel free to use a regular eraser.
This is the link to my image when I erased closely.
This is when I used a general brush. (Keep in mind that this photo was from a photoshoot, so the background color of the original photoshoot picture was very similar to the background color of the wallpaper I was creating. If I had used a picture with a green or purple background, it would have looked a lot sloppier and less similar.)
At this point, I decided to create a reflection-like design. Duplicate the layer of your subject around which you just erased, and, in the layers palette, drag the duplicate layer directly below the original layer. Then, select Edit- Transform- Flip Vertical. Drag the image so it sort of aligns with the bottom of the other image like this.
(the image on the left is after I flipped the image vertically but haven't moved it yet, the one on the right is after I moved it to where I want it.)Now, set that layer at roughly 63% opacity and select a big soft brush. Now, you can either erase or use a layer mask as I stated earlier, either way works. Make it so that the image gradually fades off like this.
Now, I wanted to achieve a rain-like effect to give the picture some interest. To do this, create a new layer and fill it with pure black (000000). Now select Filter- Noise- Add Noise, and use the following settings:
Amount: 65
Select Gaussian (instead of Uniform)
Make sure that Monochromatic is selected/checked.
Then, select Filter- Blur- Motion Blur, and use the following settings:
Angle: -90
Distance 28 pixels.
Then, go to Image- Adjustments- Levels, and use the following settings:
Input Levels (from left to right): 61 1.46 241
Output Levels: 0 255
Set the blending mode from that layer to Screen and it should look like this.
Ok, now duplicate the original layer of your subject and drag it so it is over your new rain-like layer. Set this duplicate layer at 40% opacity. (Here is what your layers palette should look like. Also, if you used an eraser instead of layer masks earlier, your layer palette won't have these
box things next to the layers, so don't worry about that.)Next, press Ctrl+Alt+Shft+E to make a new merged duplicate layer of all the previous layers. Set this layer to Soft Light at 38% opacity.
Then, the last step is to create a new layer and fill it with the color 06123e. Set this layer to Exclusion at anywhere from 25%-50% opacity. (I set mine at about 33%)
And done! Yay!
This is my result!
Tutorial Comments
Showing latest 2 of 2 comments

Nice, I'm going to try this :D
By MiissYER on Mar 28, 2012 9:57 pm

Thanks~~useful for me~~
Runescape gold http://www.game675.com
By Alisa1209 on Mar 5, 2012 3:25 am
Tutorial Details
| Author |
xchangminniex
|
| Submitted on | Jan 8, 2012 |
| Page views | 11,464 |
| Favorites | 4 |
| Comments | 2 |
| Reviewer |
manny-the-dino
|
| Approved on | Jan 23, 2012 |