
Tutorial
Click on thumbnailed images to enlarge
I did this tutorial in Photoshop CS3 Extended which is why some of you may have problems. However, that does't mean this tutorial won't work in other versions of Photoshop. Just try it out.
I am now back after my loooooong break from submitting tutorials. It's good to jump into the old routine again. :) Okay well down to business... Ever wanted to learn how to animate an object in a picture so that it changes colors? Well I'll teach you with this tutorial. It's very easy. I'll be using Kanye West again.
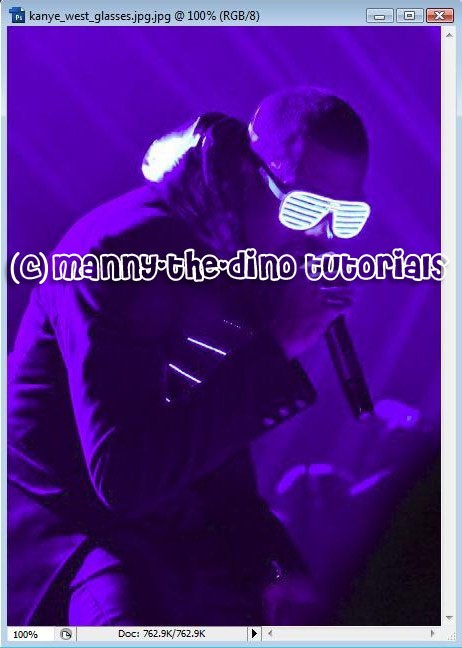
Here's the before:

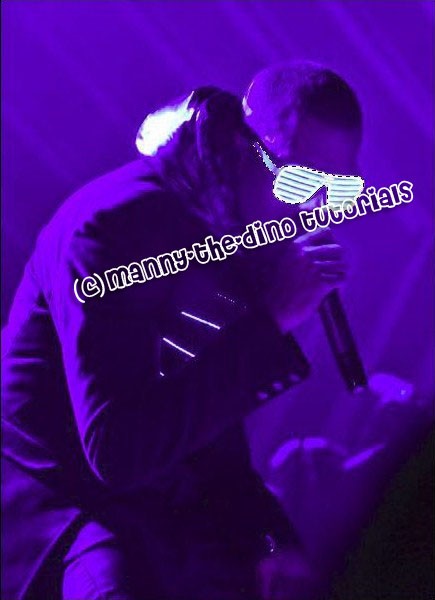
Here's the after:
Let's go!
001.Open up your photo in Photoshop.
002.Select your Quick Selection Tool (W).
003.Select the object you want to animate.
004.Do a ctrl+j however many times you want the object to change colors. If you want it to change into 5 different colors, do a ctrl+j 5 times.
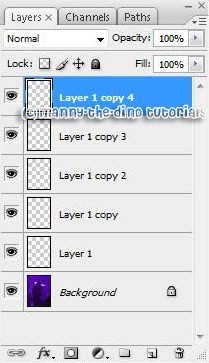
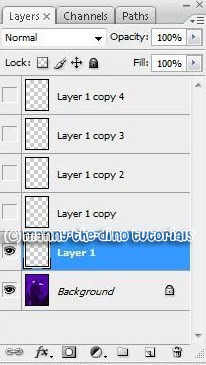
005.Now make all the layers invisible except for the "Background" & "Layer 1" layers. Also, ctrl+click on "Layer 1's" thumbnail thing.
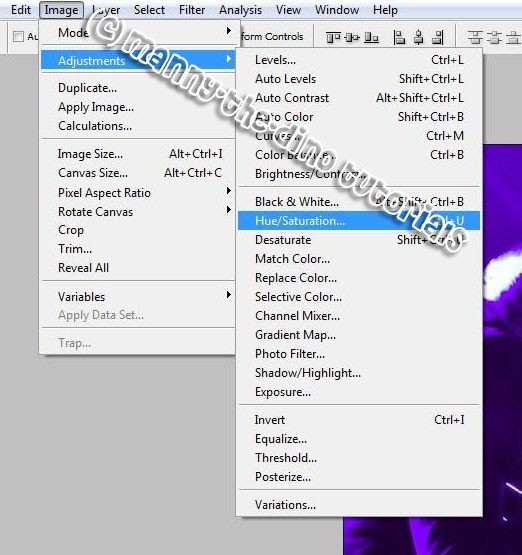
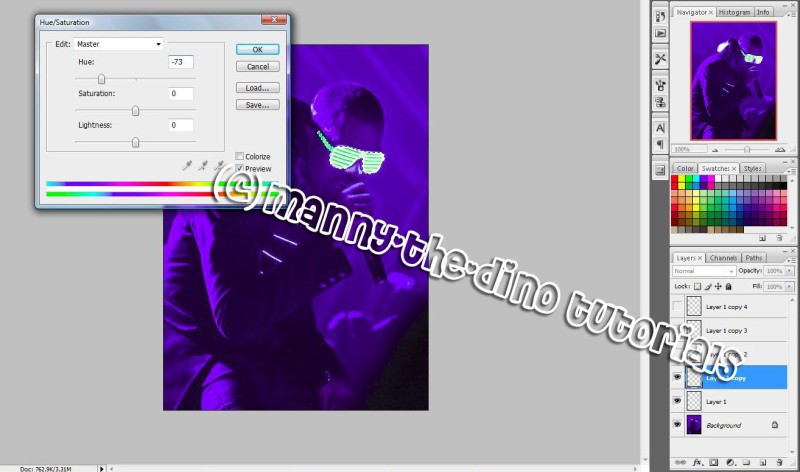
006.Go Image>Adjustments>Hue/Saturation.
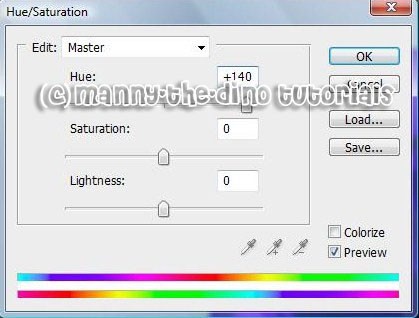
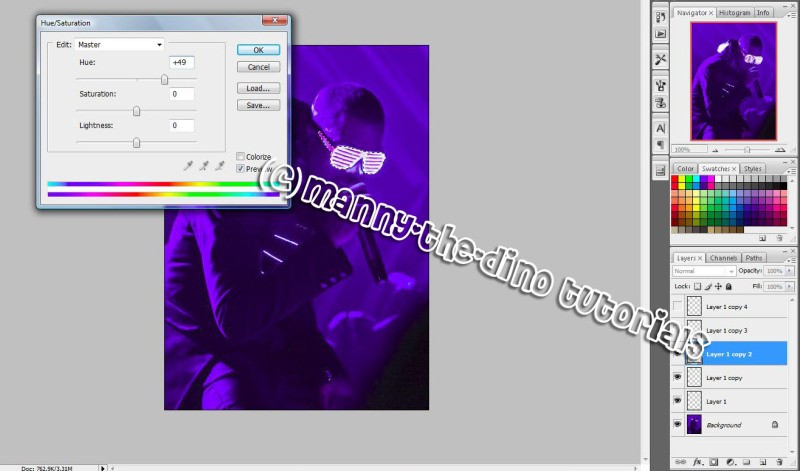
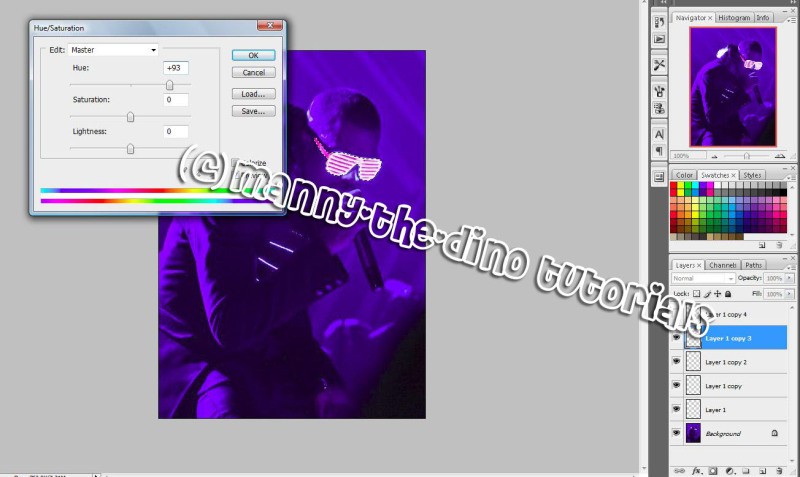
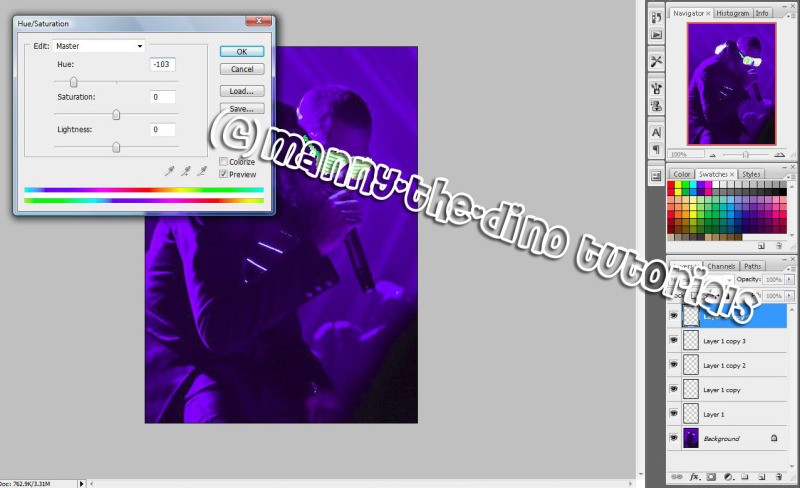
007.Play around with the settings until you get a color you want.
008.Repeat steps 5-7 but for the other layers.
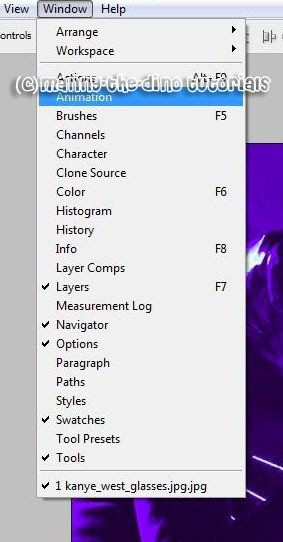
009.Once you are done adding color to your object, go Window>Animation so we can put the animation together.
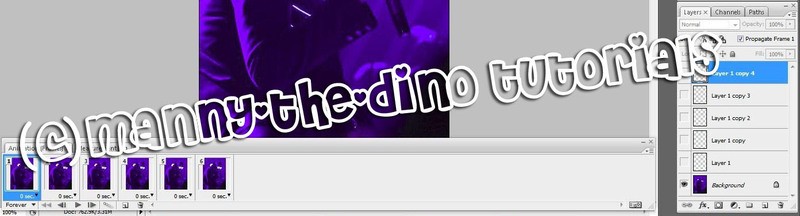
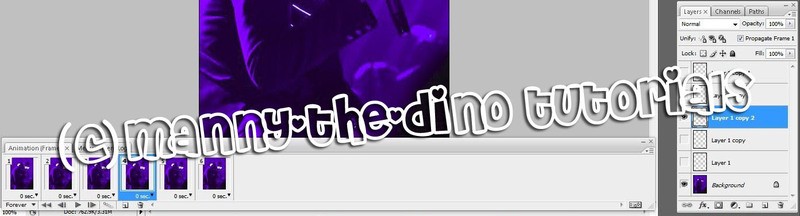
010.Click on the little icon to the left of the trash can to duplicate the layer. make sure you duplicate then correctly meaning they match the same amount of layers you have for you picture.

011.This is how my frames look like. I have 6 because I have 6 layers.

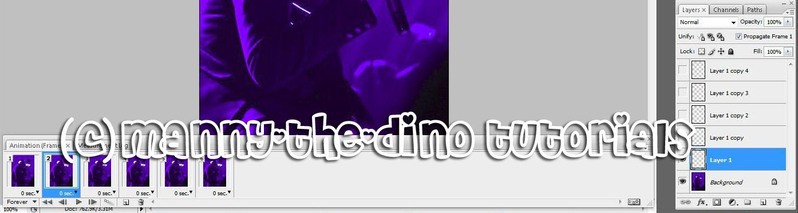
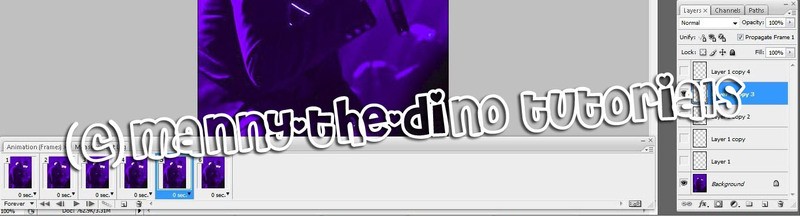
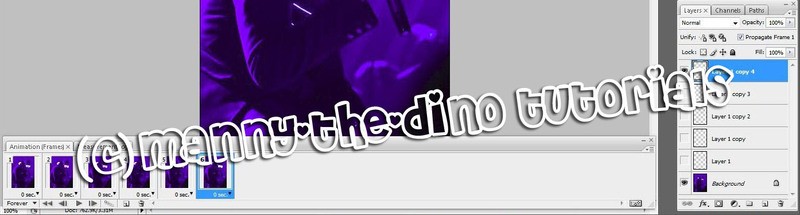
012.Now go to the first frame & make all the layers invisible in the layer's palette except for the first layer.
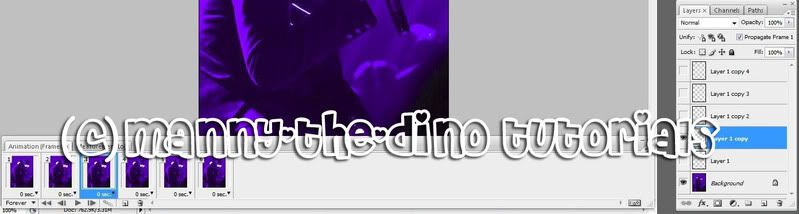
013.Do the same for the others. Like for the second one, only make the "Background" & "Layer 1" layers visible. The third one, only make the "Background" & "Layer 1 copy" layers visible, etc, etc, until you get to the end.
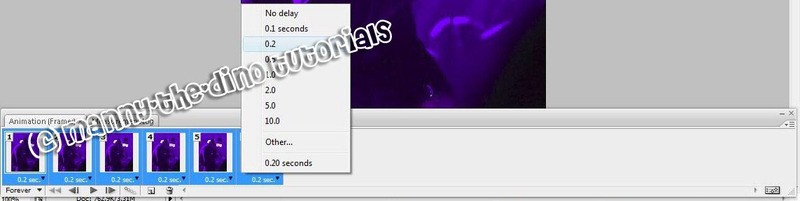
014.Now set the delay to 0.2 settings. You can set it to whatever you'd like but I recommend 0.2 only because it goes pretty fast.
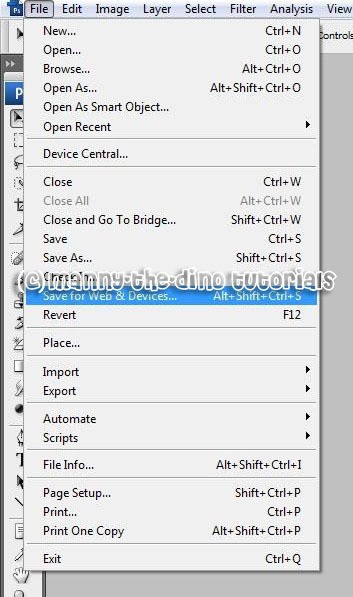
015.Finally go File>Save for Web & Devices & save you image.
016.You've now completed your animated image. YAY! :D
If you got lost or have any questions, comment the tutotial & I'll get back to you as soon as I can. :D
Tutorial Comments
Showing latest 10 of 15 comments

cool tutorial!

super cool!

Hey! I did everything correctly and got the animation to work, but when I got to file>save for web and devices the optimizing thing comes up, I hit save but it dosen't stay animated. I use photoshop cs3 extended so I don't know what I am doing wrong. Please help?

oh this rocks!

ty for the tutorial!
♥'ed it!

my photoshop doesnt have animation
so how can i get that ?
great tut, quite easy to understand.
there is a easier way to create photo animation - fotomorph. you can make your own photo animation with it in just 2 steps.
Free to download
http://www.shareware cheap.com/FotoMorph_software_9 61.html

Thanks that was cool..I hope u will post how to do glitter, I will look for it...Thanks again..

i cant understand =[

i love disz tutorial itsz so easzy and u explain everything so well thnx mucho0o0o [=
Tutorial Details
| Author |
manny-the-dino
|
| Submitted on | Jul 19, 2008 |
| Page views | 18,905 |
| Favorites | 100 |
| Comments | 15 |
| Reviewer |
Insurmountable
|
| Approved on | Jul 19, 2008 |