Tutorial
Click on thumbnailed images to enlarge
Step 1. Open your image. I'm using a picture of Avril Lavigne. Use anything yu want, but people pictures come out best. 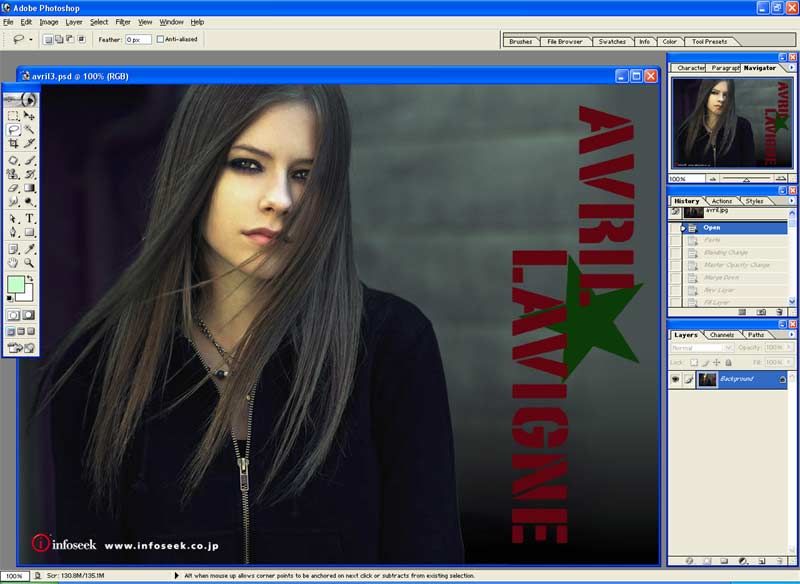
2. (OPTIONAL) Use this effect for best outcome. I think it is called bitmap blending.
[url=http://www.createblog.com/forums/index.php?showtopic=41184]bitmap blending tutorials[/url]
I used it and came up with this.
3. Merge down if you have to by pressing CTRL-E
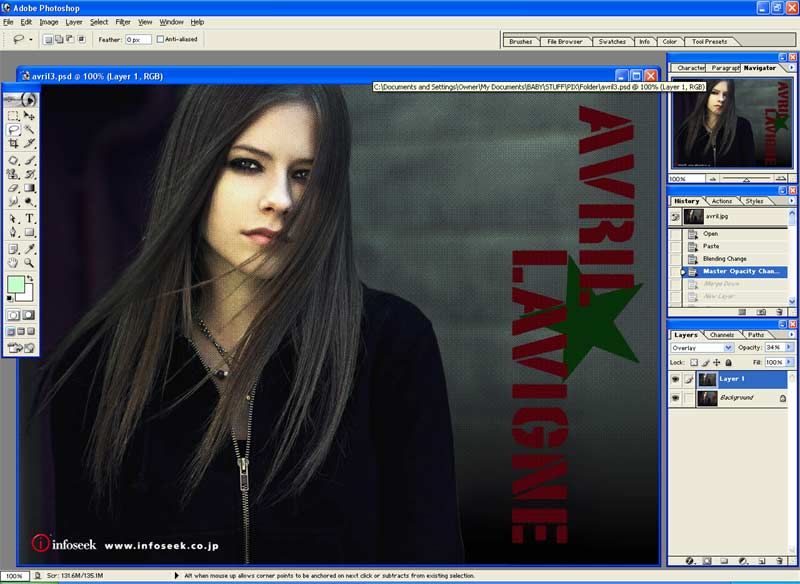
4. Create a new layerby going to Layer>>New>>Layer or click new layer in layers palette.
5. Fill this layer w any color. I used #9DEAFB.
6. Change the blending mode of this layer to "color" on the layer palette.
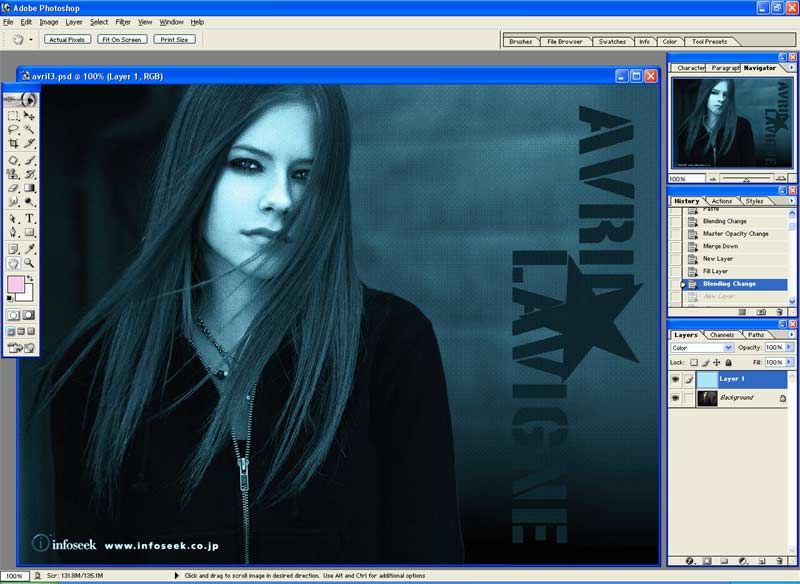
7. Create another new layer.
8. Fill this with another color. I used #FFD1EA.
9. Change blending mode to color.

10. On the second fill layer, use lasso tool to cut out some parts of the layer.

11. Use gaussian blur. Filter>>Blur>>Gaussian Blur on the cutout layer set to whatever comes out best. I used 60.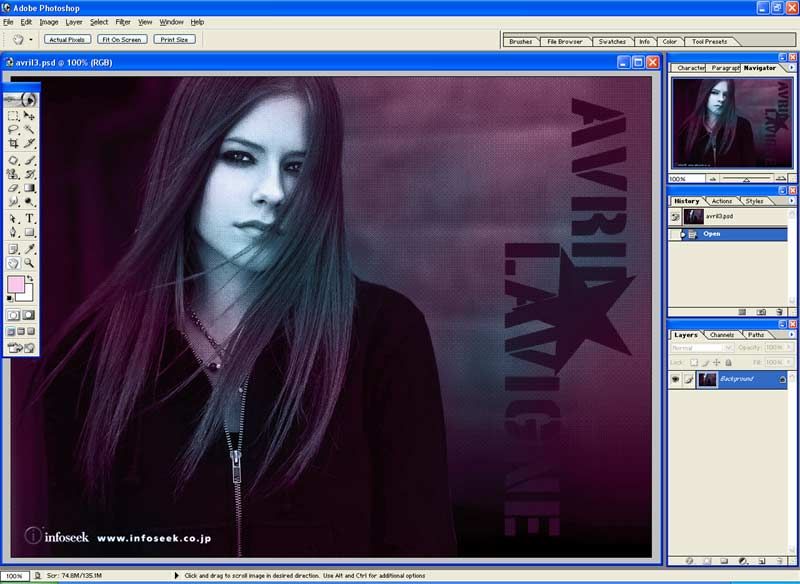
12 Flatten the image. Layer>>flatten image.
Viola and your done. You can repeat steps 4-6 for more color.
2. (OPTIONAL) Use this effect for best outcome. I think it is called bitmap blending.
[url=http://www.createblog.com/forums/index.php?showtopic=41184]bitmap blending tutorials[/url]
I used it and came up with this.
3. Merge down if you have to by pressing CTRL-E
4. Create a new layerby going to Layer>>New>>Layer or click new layer in layers palette.
5. Fill this layer w any color. I used #9DEAFB.
6. Change the blending mode of this layer to "color" on the layer palette.
7. Create another new layer.
8. Fill this with another color. I used #FFD1EA.
9. Change blending mode to color.
10. On the second fill layer, use lasso tool to cut out some parts of the layer.
11. Use gaussian blur. Filter>>Blur>>Gaussian Blur on the cutout layer set to whatever comes out best. I used 60.
12 Flatten the image. Layer>>flatten image.
Viola and your done. You can repeat steps 4-6 for more color.
Tutorial Comments
Showing latest 3 of 3 comments

wow awesome!
By sunshine07 on Feb 3, 2009 3:11 pm

how do you use the lasso tool? sorry, kind of new to photoshop.
By RockstarWoo16 on May 28, 2008 8:22 am

that is pretty good!
By sarahxboys on Dec 26, 2007 8:36 pm