
Tutorial
Click on thumbnailed images to enlarge
I did this tutorial in Photoshop CS3 Extended which is why some of you may have problems. However, that does't mean this tutorial won't work in other versions of Photoshop. Just try it out.
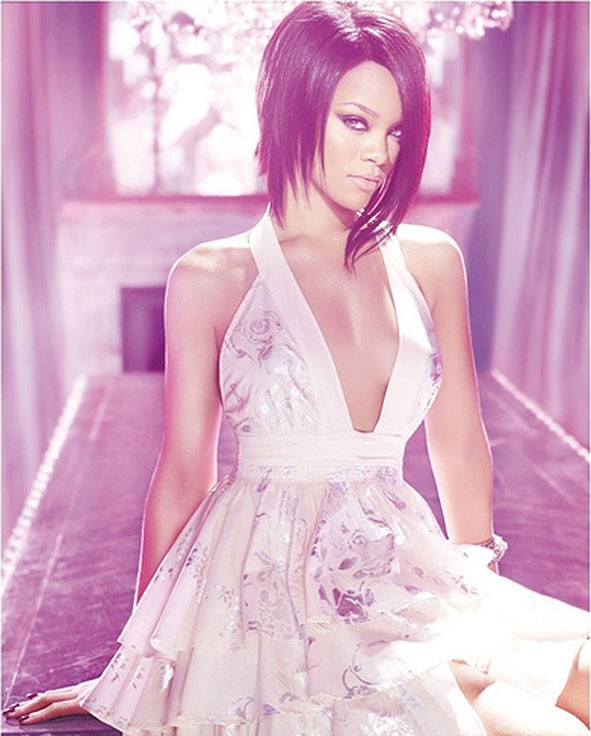
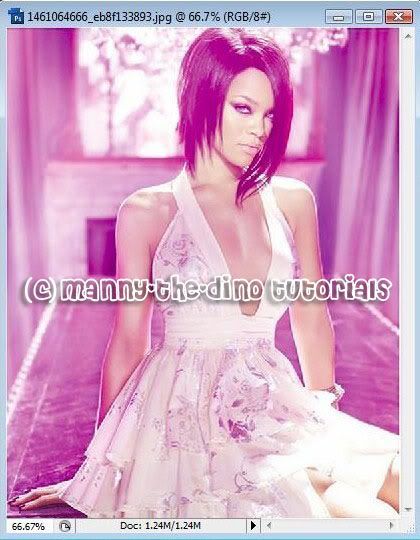
Bored? Have nothing to do? Well this tutorial will entertain you for a while. I will teach you how to make a sort of "portfolio splash". Rihanna will be my subject this time. Here's the before:
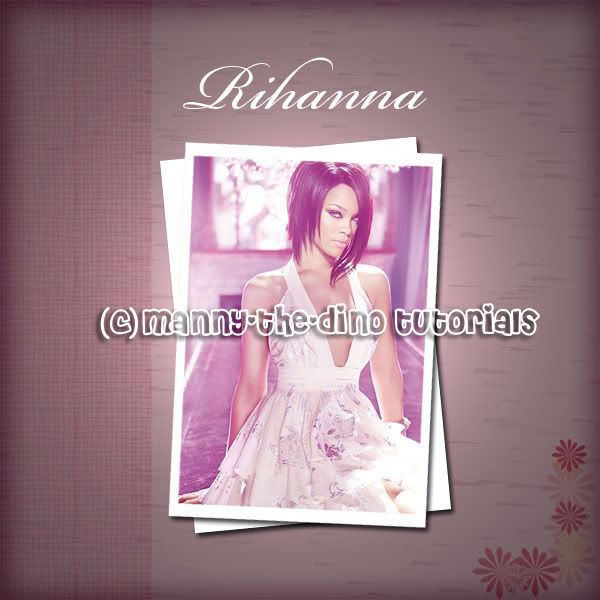
Here's the after:
To work!
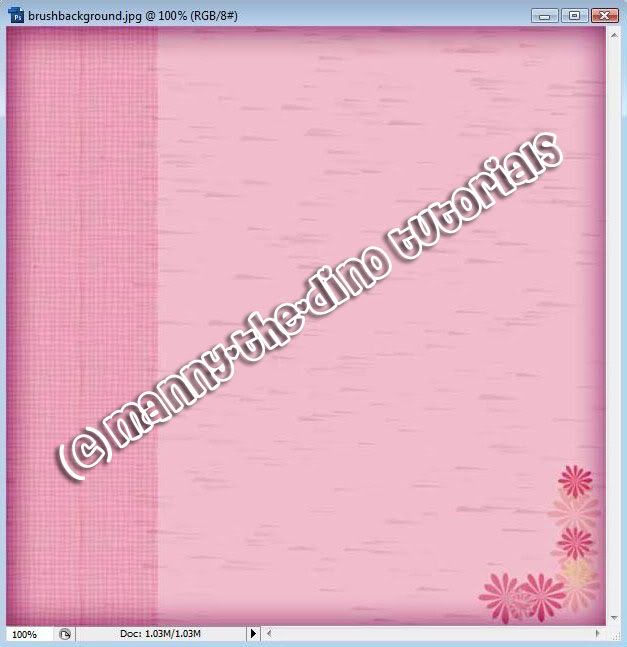
001.First, open up a background you'd like to use. I recommend something plain with not much going on, if you know what I mean.
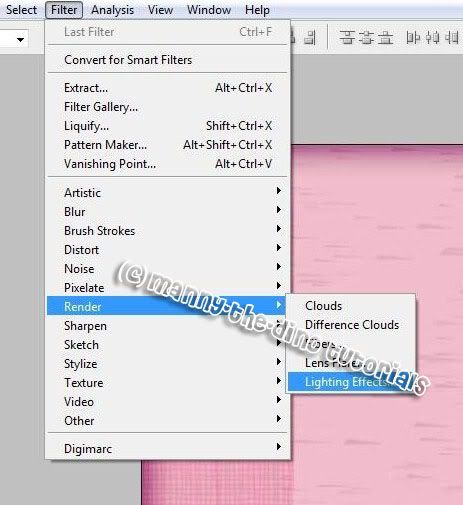
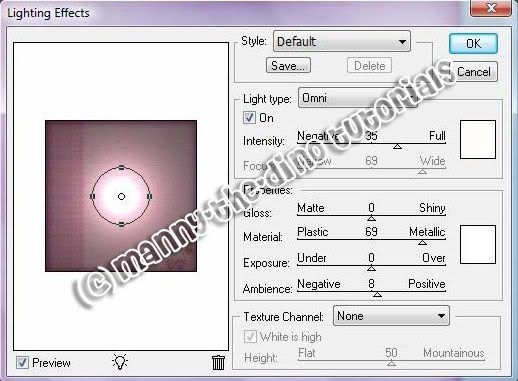
002.Now go Filter>Render>Lighting Effects.
003.Just change the Light type to Omni. And if your circle does not automatically get put in the center of your background, center it.
004.Now select your Rectangle Maruqee Tool (M).
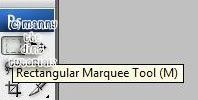
005.Make a selection just around the "circle of light". Look at my screenshot if you're confused

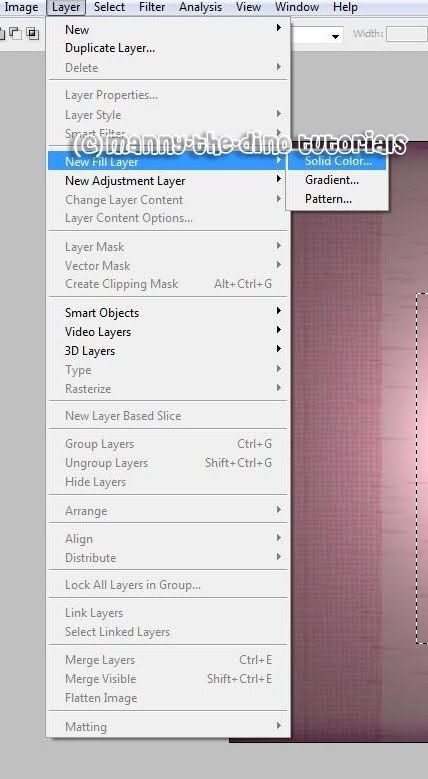
006.Create a new fill layer. Go Layer>New Fill Layer>Solid Color.
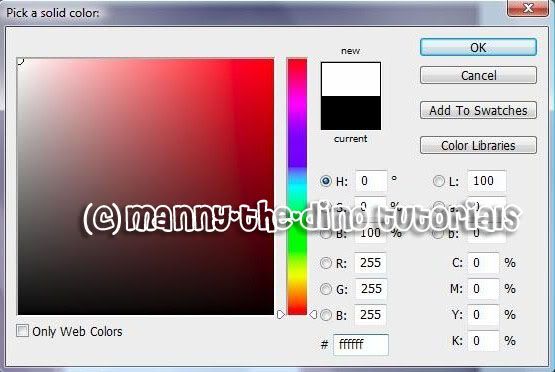
007.Press ok. Then the colors will come up. Enter "ffffff" as your color, which is better known as white.
008.Now do a ctrl+t & rotate it.

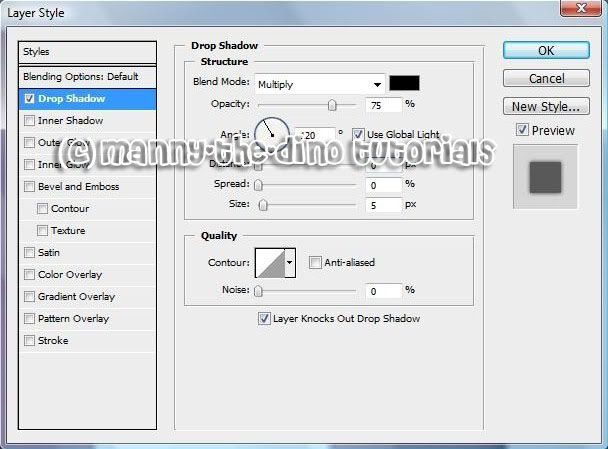
009.Double click on your top layer (I forgot what it's supposed to be called lol), go to the Drop Shadow section & enter 120 as your angle.
010.Go to your layers' palette & do a ctrl+j.

011.Do a ctrl+t & rotate the polaroid the opposite way.

012.Now hold down your ctrl button & click on your top layer.

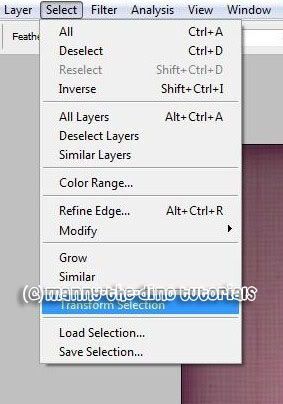
013.Go Select>Transform Selection.
014.Okay now listen carefully, this part sounds confusing but isn't. HOLD Alt+Shift while you make the selection smaller. Meaning drag the selection inside so you're left with a white border.

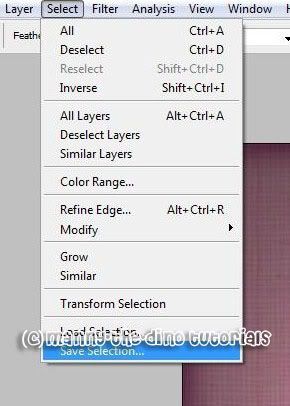
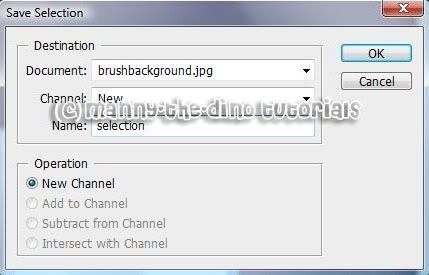
015.Now go Select>Save Selection.
016.Name your selection whatever you'd like. Just remember what you named it. I named mine "selection".
017.Okay now open the picture you'd like to use.
018.Select your Move Tool (V).
019.Obviously move your picture onto your background & do a ctrl+t to resize it. Then press Enter.

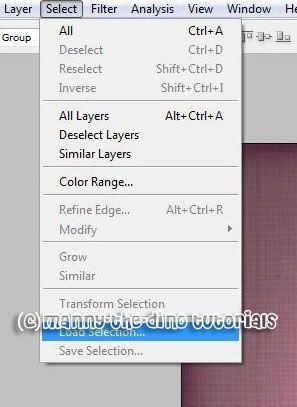
020.Now go Select>Load Selection.
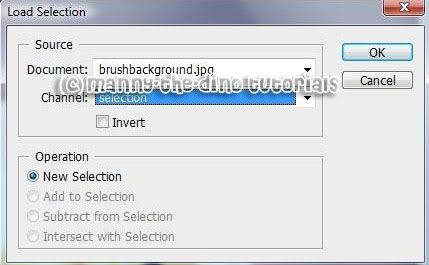
021.In the Channel section, select your saved selection. Remember when I told you to remember the name you gave it? Well here's where your memory comes in handy! :)
022.After pressing ok, go Select>Inverse.
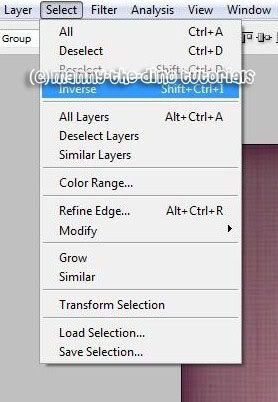
023.Hit Delete & ctrl+d. And there you have your portfolio splash! Just some other stuff to make it pop out.
If you got lost or have any questions, comment the tutorial & I'll get back to you as soon as I can. :D
Tutorial Comments
Showing latest 10 of 13 comments

did you do the before too?

manny the dino always has great tuts.(:

HOW DO i GET
THAT KiNDA BACKROUND?
&WHERE DO i GO TO UPLOAD iT
TO START ON MY
PROJECT?

i love this! i did it with Photoshop 7 i didnt think id be able to do it :] but i did :] thank you so much this is great :]

Gurl yuh tuts be fiya!
u needa juss teach me ereythang u noe!
lol :P

This tutorial is fantastic! I had a bit of trouble with step 13 or 14 but I worked around it. My picture came out great =)
i have this little problem..
at the part where we have to select the top layer of the polaroid, it wont let me select it! actually, it doesnt select anything at all. this is a GREAT tutorial, i just wish i could actually do it >_
how u find the back ground??

yayy. i got it. sooo cool(: mine turned out awesome

nevermind i got it
Tutorial Details
| Author |
manny-the-dino
|
| Submitted on | Dec 28, 2007 |
| Page views | 24,722 |
| Favorites | 208 |
| Comments | 13 |
| Reviewer |
freeflow
|
| Approved on | Dec 28, 2007 |