Tutorial
Click on thumbnailed images to enlarge
Another vuntage tutorial, i just love them ( :
Im going to use a picture of Zac Efron.
(1) Open your picture in photoshop.
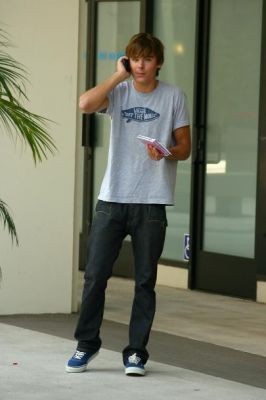
(2) Duplicate your base and set it to softlight 100%.

(3) Create a new layer, and fill it with #1B1464. Set it to softlight 24%
(4) Create another new layer and fill it with #003663. Set it to exclusion 37%.
(5) Add text and brushes if you want and your done :)
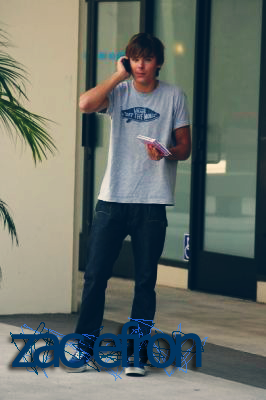
Heres what mine looks like.
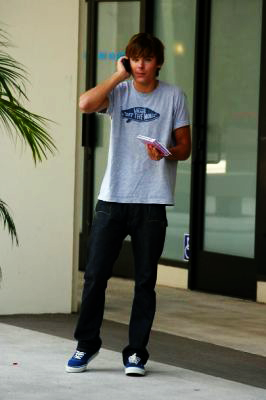
Im going to use a picture of Zac Efron.
(1) Open your picture in photoshop.
(2) Duplicate your base and set it to softlight 100%.
(3) Create a new layer, and fill it with #1B1464. Set it to softlight 24%
(4) Create another new layer and fill it with #003663. Set it to exclusion 37%.
(5) Add text and brushes if you want and your done :)
Heres what mine looks like.
Tutorial Comments
Showing latest 6 of 6 comments

AWESOME:)
I WAS LOOKING FOR SOMETHING LIKE THIS EXACTLY... IT ADDS A TOUCH OF VINTAGE WITHOUT TO MUCH CHANGE!!
LOVE IT
By dazzlingbydesign on Sep 22, 2008 2:46 am

Dengs i use this tutorial for mostly alla my pics
By AyeVickaye on Sep 2, 2008 3:45 am

i see the difference, it's subtle but you see it. i like it :) you could add some noise to the picture and rough it up a bit to make it look more vintage :)
By toyming on Apr 15, 2008 12:54 pm
no difference from before :/
By heartbreaker_ on Feb 27, 2008 5:07 pm

it doesn't really look vintage... or any different than the before, no offense
By skywalkers on Jan 30, 2008 7:46 pm

what font did you useee.?
By accidentlyxxalaina on Jan 15, 2008 2:52 am
Tutorial Details
| Author |
exoh-bellebby
|
| Submitted on | Jan 5, 2008 |
| Page views | 24,542 |
| Favorites | 42 |
| Comments | 6 |
| Reviewer |
IVIike
|
| Approved on | Jan 6, 2008 |