Tutorial
Click on thumbnailed images to enlarge
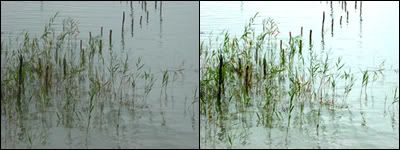
This is a tutorial for retouching images. It's more like a general tip. It improves even good quality pictures. This time we'll use a bad quality pic to see the trick. What it does is: it makes the light parts of the picture lighter and the dark, darker. In other words, it improves it a lot. See the example above.
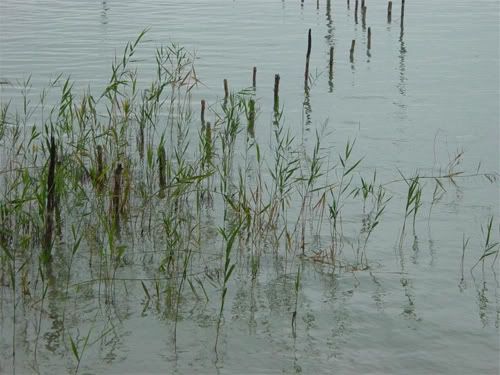
You may use any picture you like, I'll use this one:
1. Open picture.
2. Go: Image > Adjustments > Levels (Ctrl + L)
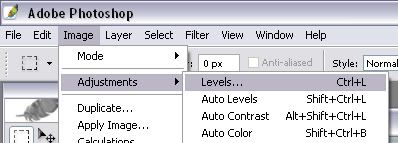
3. On the levels screen, mess up with the arrows. This is what I did:

Result:
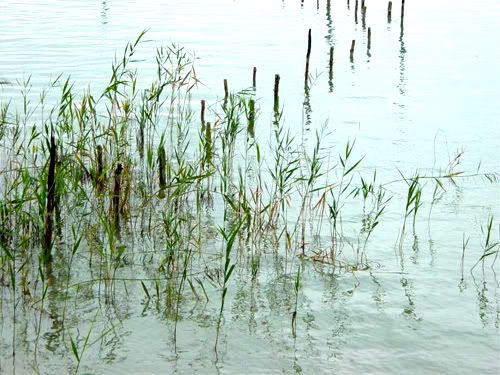
Of course, the levels will vary, depending on the picture, so just mess up with the levels until you get something good. You can always undo it if you don't like how it looks. You'll get the hang of it if you use it a couple of times.
Hope this tutorial helps.

Tutorial Details
| Author |
Aestuarium
|
| Submitted on | Feb 14, 2006 |
| Page views | 22,455 |
| Favorites | 64 |
| Comments | 1 |