Tutorial
Click on thumbnailed images to enlarge
Step 1. Open up your photo.

Step 2. Unsharp & Surface blur your photo
[Filter > Sharpen > Unsharp Mask]
[Filter > Blur > Surface Blur]
Step 3. Level out your photo
[Image > Adjustments > Levels]
Settings:
44, 2.50, 241
Step 4. Photo Filtering
[Layers > New Adjustment Layer > Photo Filter]
Settings:
Filter: Warming Filter (85)
Color: ec8a00
Density: 25%
Check the 'Preserve Luminosity' & Select the Filter & click OKAY

Step 5. Color Balance
[Image > Adjustments > Color Balance]
Settings:
MIDTONES: -58, -21, -23

Step 6. Selective Color
[Layer > New Adjustment Layer > Selective Color]
Settings:
METHOD: Relative
Reds: 0, 0, 0, -52
Whites: 0, 0, 0, -63
Neutrals: 0, 0, 0, -3
Blacks: +100, +100, +100, +100

Step 7. Hue Saturation
[Image > New Adjustment Layer > Selective Color]
Settings:
MASTER: 0, +29, 0

Step 8. New Layer
[Make a new layer]
Fill with 1b3a50
Blending Option: Difference
Opacity: 10%

Step 9. Duplicate
[CTRL + J]
Blending Options: Exclusion

Step 10. Merge Down
[Layer > Merge Down]
Step 11. Merge Visible
[Layer > Merge Visible]
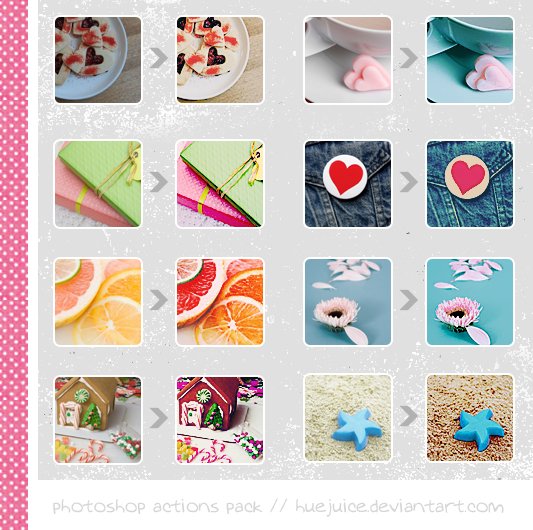
FINAL PRODUCT

--------------------------------------------------------
Before & After:
Step 12. All Done! Enjoy ^_^
Feel free to PM me if you have any questions.
Step 2. Unsharp & Surface blur your photo
[Filter > Sharpen > Unsharp Mask]
[Filter > Blur > Surface Blur]
Step 3. Level out your photo
[Image > Adjustments > Levels]
Settings:
44, 2.50, 241
Step 4. Photo Filtering
[Layers > New Adjustment Layer > Photo Filter]
Settings:
Filter: Warming Filter (85)
Color: ec8a00
Density: 25%
Check the 'Preserve Luminosity' & Select the Filter & click OKAY
Step 5. Color Balance
[Image > Adjustments > Color Balance]
Settings:
MIDTONES: -58, -21, -23
Step 6. Selective Color
[Layer > New Adjustment Layer > Selective Color]
Settings:
METHOD: Relative
Reds: 0, 0, 0, -52
Whites: 0, 0, 0, -63
Neutrals: 0, 0, 0, -3
Blacks: +100, +100, +100, +100
Step 7. Hue Saturation
[Image > New Adjustment Layer > Selective Color]
Settings:
MASTER: 0, +29, 0
Step 8. New Layer
[Make a new layer]
Fill with 1b3a50
Blending Option: Difference
Opacity: 10%
Step 9. Duplicate
[CTRL + J]
Blending Options: Exclusion
Step 10. Merge Down
[Layer > Merge Down]
Step 11. Merge Visible
[Layer > Merge Visible]
FINAL PRODUCT
--------------------------------------------------------
Before & After:
Step 12. All Done! Enjoy ^_^
Feel free to PM me if you have any questions.
Tutorial Comments
Showing latest 3 of 3 comments

I'm not sure. Give it a try first & let me know.
By MiissYER on Jan 2, 2011 1:28 am
I don't know -- You can try :D
By MiissYER on Nov 27, 2010 1:46 am

Can you do this in elements?
By Untouched on Nov 26, 2010 5:11 am
Tutorial Details
| Author |
MiissYER
|
| Submitted on | Nov 18, 2010 |
| Page views | 9,141 |
| Favorites | 20 |
| Comments | 3 |
| Reviewer |
manny-the-dino
|
| Approved on | Nov 24, 2010 |