Tutorial
Click on thumbnailed images to enlarge
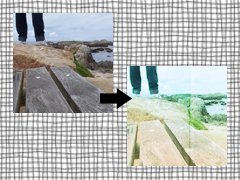
This tutorial is great for ocean icons, but can be versatile. It can be a little difficult if you're not accustomed to Photoshop.
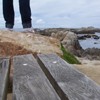
I'm starting with this picture:
Make a new Curves layer and make the Input 147 and the Output 173.
Make a new Selective Color layer and use the following settings:
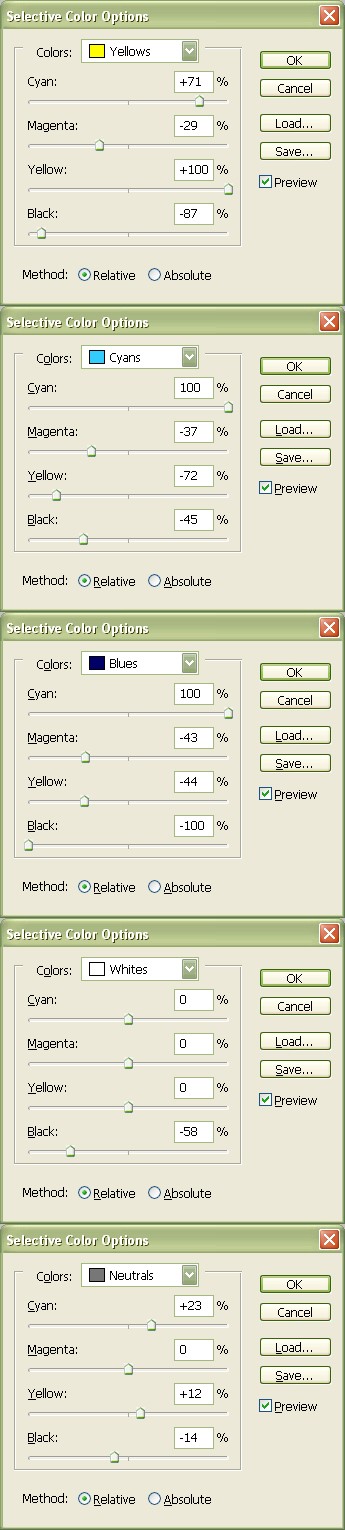
Make a new Photo Filter layer with the filter "Cooling Filter (LBB)" with 10% density.
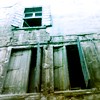
Now copy this picture:

Paste it on your icon and set it to Overlay.
(Sorry to the person who created this texture, I don't remember who you are! If you made this, please comment and say so, and I will give you the credit.)
Ta-da! There you are =] Hope you enjoyed the tutorial.

Here are some more examples on non-seascape icons:
(By the way, play around with the texture if it doesn't look quite right. For different pictures, you'll need to change the setting. The first one is set to Color Burn, the second to Multiply and the third to Linear Burn.
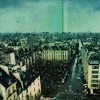

I'm starting with this picture:
Make a new Curves layer and make the Input 147 and the Output 173.
Make a new Selective Color layer and use the following settings:
Make a new Photo Filter layer with the filter "Cooling Filter (LBB)" with 10% density.
Now copy this picture:
Paste it on your icon and set it to Overlay.
(Sorry to the person who created this texture, I don't remember who you are! If you made this, please comment and say so, and I will give you the credit.)
Ta-da! There you are =] Hope you enjoyed the tutorial.
Here are some more examples on non-seascape icons:
(By the way, play around with the texture if it doesn't look quite right. For different pictures, you'll need to change the setting. The first one is set to Color Burn, the second to Multiply and the third to Linear Burn.
Tutorial Comments
Showing latest 5 of 5 comments

eanieranaway, that's their actual size.
By TheOn3LeftBehind on Jun 8, 2010 6:11 pm
Gorgeous! I love this coloring. Especially on the car example you provided. :)
By TheOn3LeftBehind on Jun 8, 2010 6:11 pm

Nice.
By futura on Dec 5, 2009 7:18 am

the thumbnailed images aren't enlarging...
By eanieranaway on Dec 1, 2009 4:22 am

nice ocean coloring. :)
By daisyy-yupp on Nov 28, 2009 2:49 am