Tutorial
Click on thumbnailed images to enlarge
 >
>  >
> 
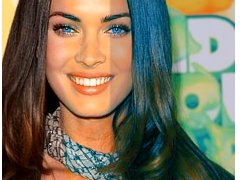
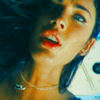
Okay open up your photo, I'll be using this beautiful pic of Megan Fox♥:
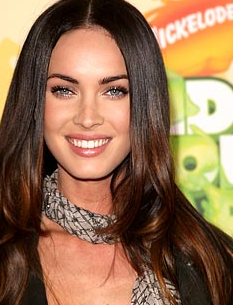
Sharpen if needed, smoothen her skin if needed. Now go to colors > color balance:
midtones:
-100
-35
-30

Next go to colors > components > channel mixer:
red:
169
-60
0
green:
0
100
0
blue:
-60
60
100
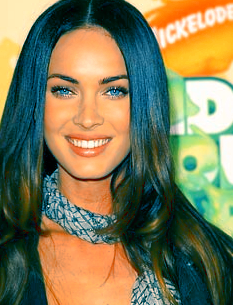
and voilá you're done! (:
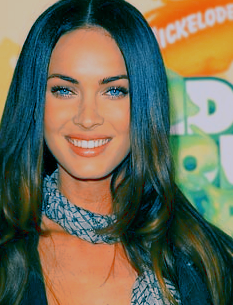
Now what I did also was that I added a color layer. Since GIMP doesn't have an exclusion layer we have to create our own!
Add a new fill layer with #131561. Now do the following:
lower layer: add new layer mask from grayscale copy of layer. then mask to selection.
upper layer: add new layer mask from selection.
Then remove the layer mask from the lower layer, go to selection > none. And now lower the opacity of the coloured layer if wanted and there you go, "exclusion" layer =) it is really different from the real one, but well what can you do.
my result:
other results using the same tutorial (some including the color layer, some not):
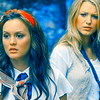
(yes you can use the icons if you want to! :D)
Tutorial Comments
Showing latest 6 of 6 comments

nice
By harlemchick on Dec 8, 2010 3:38 pm

thnks n_n
By momolovett on Jul 4, 2009 7:01 pm

this is awesome. haha
By futura on Jun 29, 2009 6:50 pm

love this so much!
By julietteabc on Jun 24, 2009 4:54 pm

ohhh, not a gimp user.
but this is awesome
By xii3 on Jun 10, 2009 11:09 am

I love it thanks!
By sillyme02 on Jun 9, 2009 6:29 pm
Tutorial Details
| Author |
fiercest
|
| Submitted on | Jun 5, 2009 |
| Page views | 11,597 |
| Favorites | 19 |
| Comments | 6 |
| Reviewer |
manny-the-dino
|
| Approved on | Jun 9, 2009 |