Tutorial
Click on thumbnailed images to enlarge
Step 1: Open up Photoshop, and prepare your image.
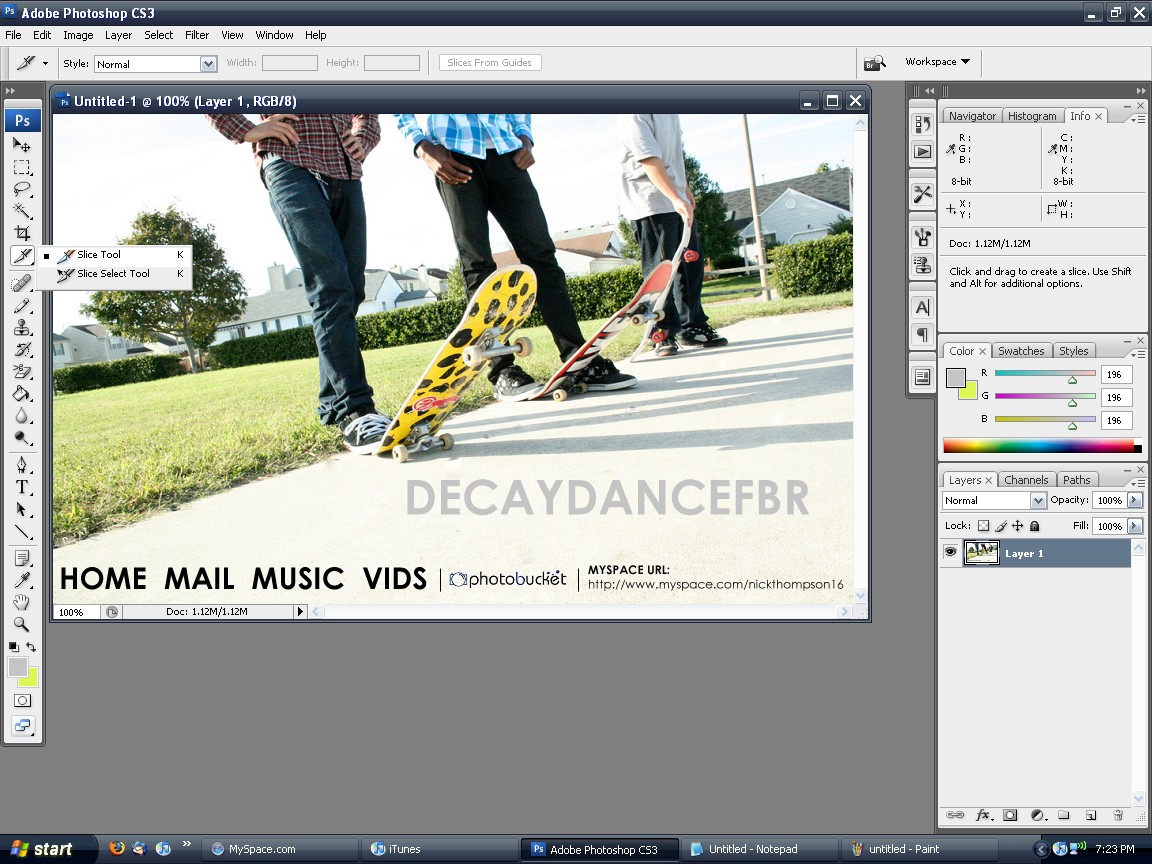
Step 2: As you can see in the below screenshot, I already have my own custom image ready. So after you have your image ready for slicing, select the slice tool.
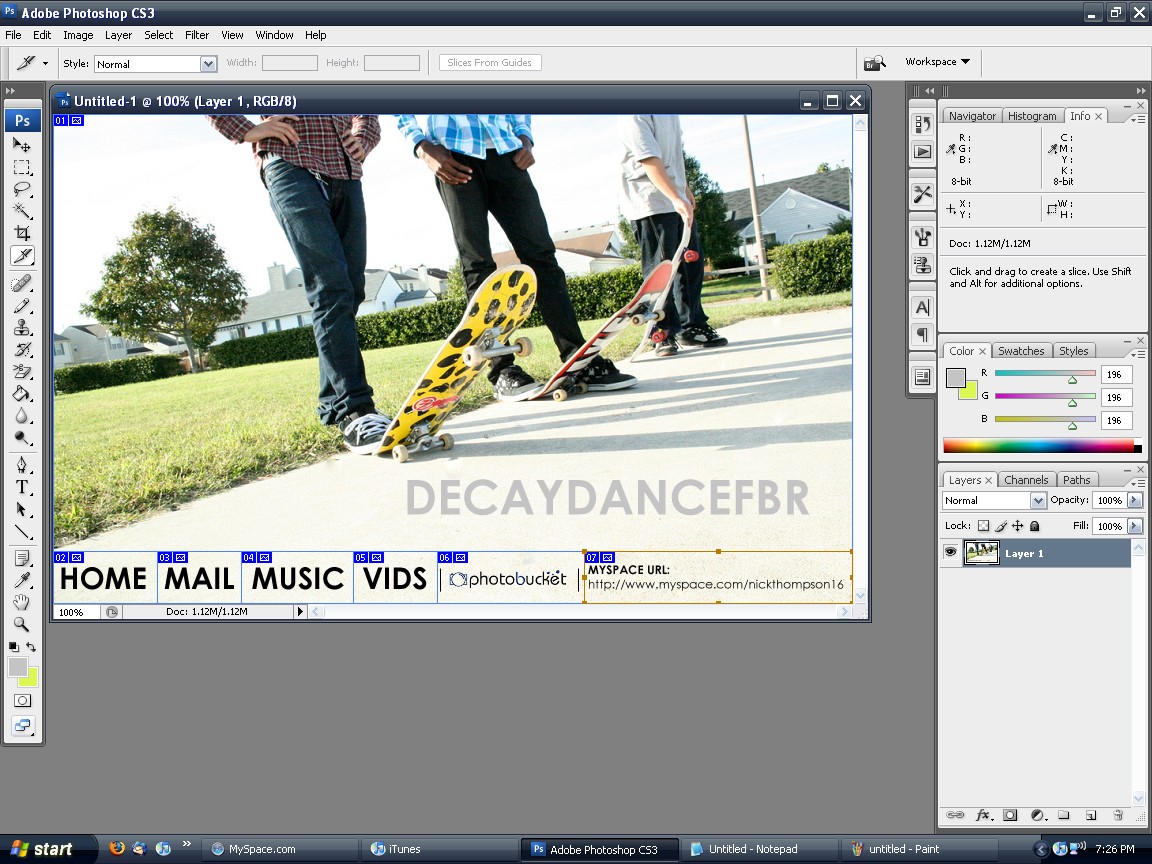
Step 3: Now, using the slice tool, make boxes around parts you want sliced, like so:
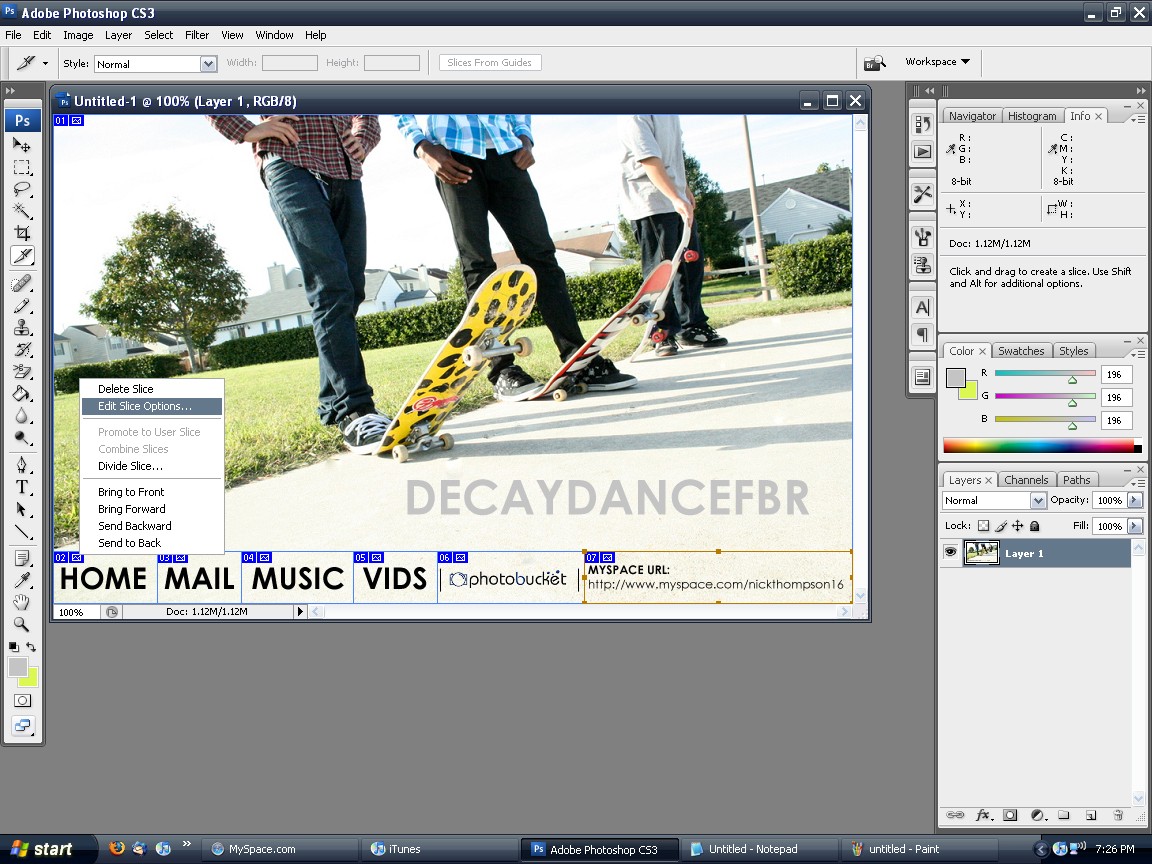
Step 4: Now, once you have sliced the image the way you want it, now it's time to add links. To add a link, right click on the box next to the numbered box and click Edit Slice Options
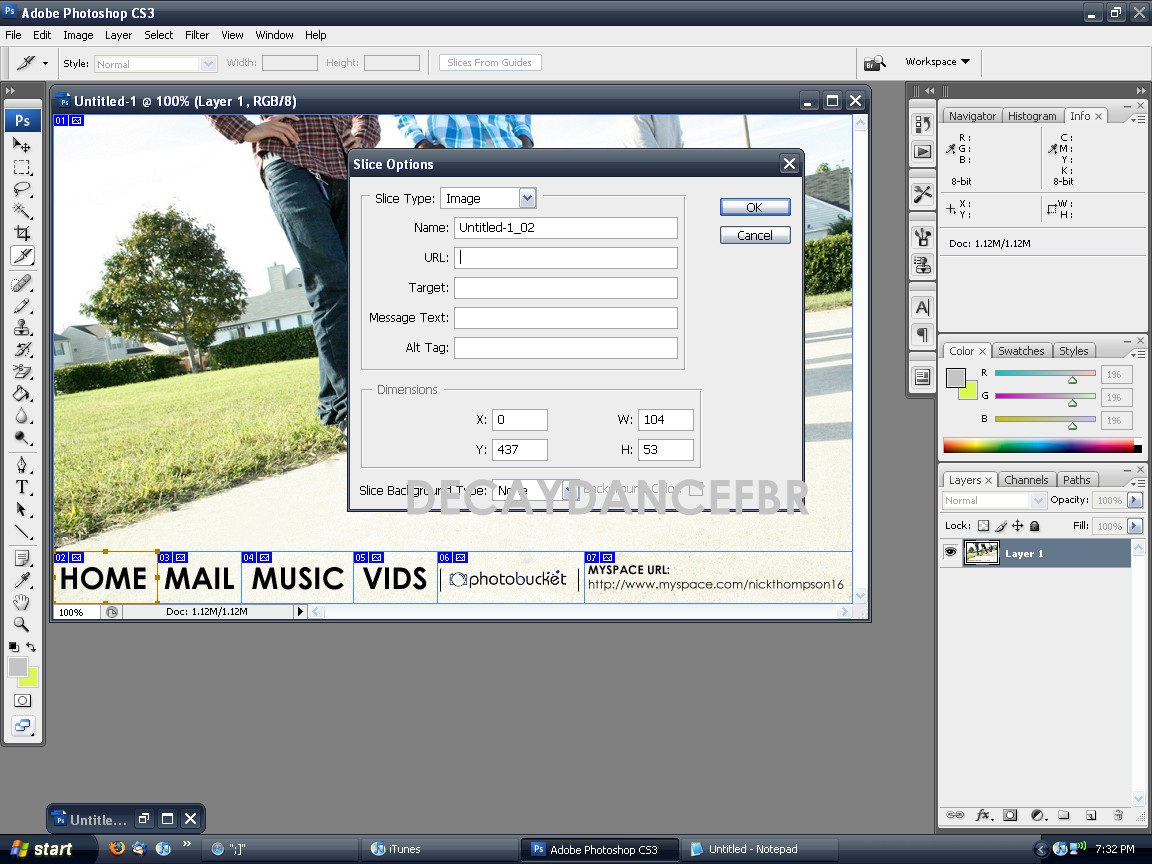
Step 5: Now a box will come up. It will have a box named URL. That is where you are going to put the link you want that part of the image to go to. Continue Steps 4 and 5 until you've got links for everything you need.
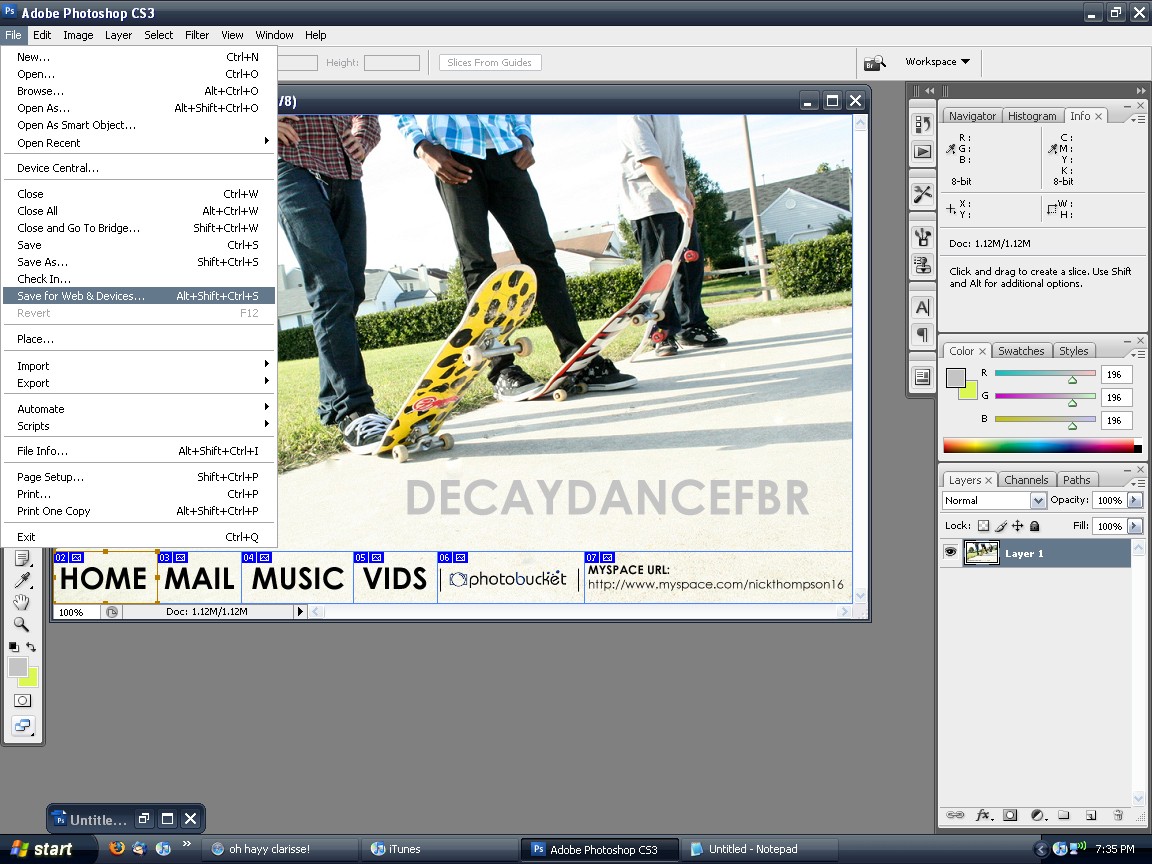
Step 6: Once you have everything, now it's time to get it prepared for the Internet. Go to File --> Save for Web & Devices
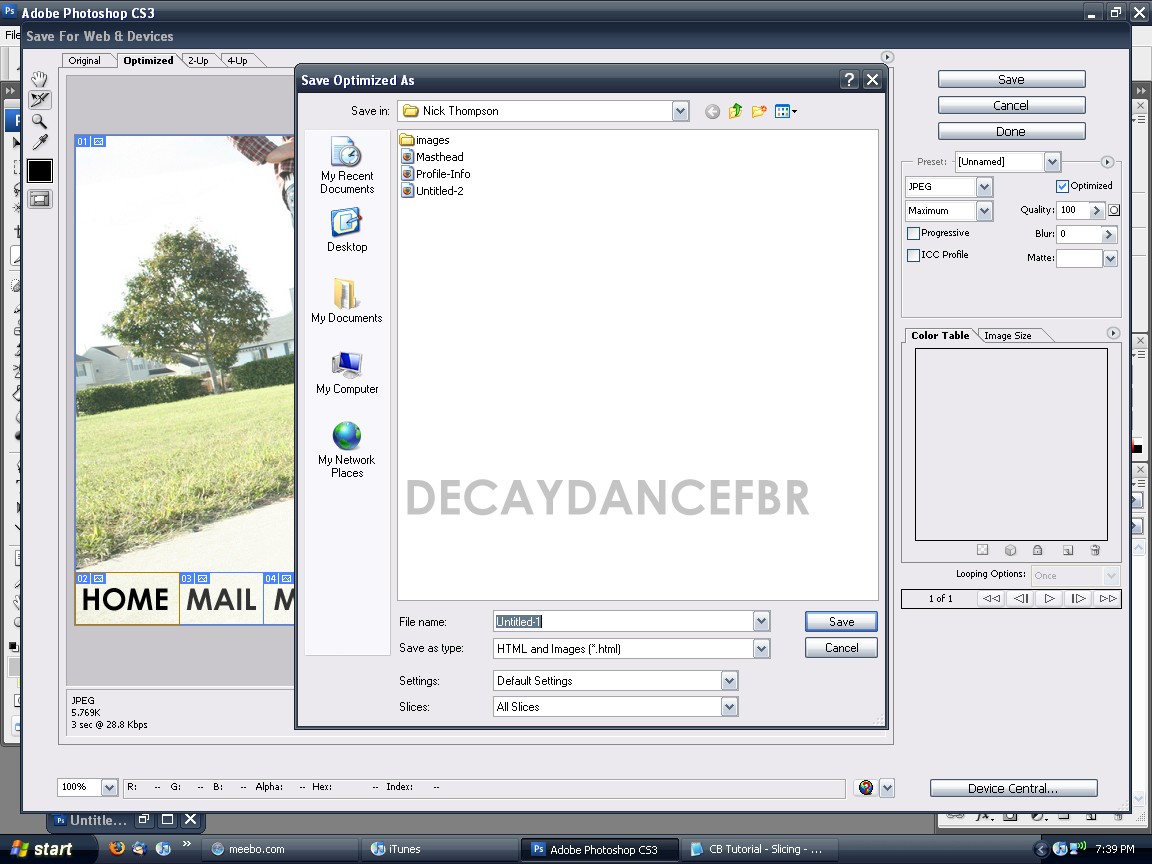
Step 7: Now a big window will come up. Ignore what is on the left, worry about the options on the right. Make sure your options are the same as mine. (JPEG; Maximum; Optimized Checked; Quality 100; Blur:0; Matte:Blank;) After you have those settings press Save and MAKE SURE THE SAVE AS TYPE IS HTML and Images (*.html)!!! If you do not do those, the rest will not work!
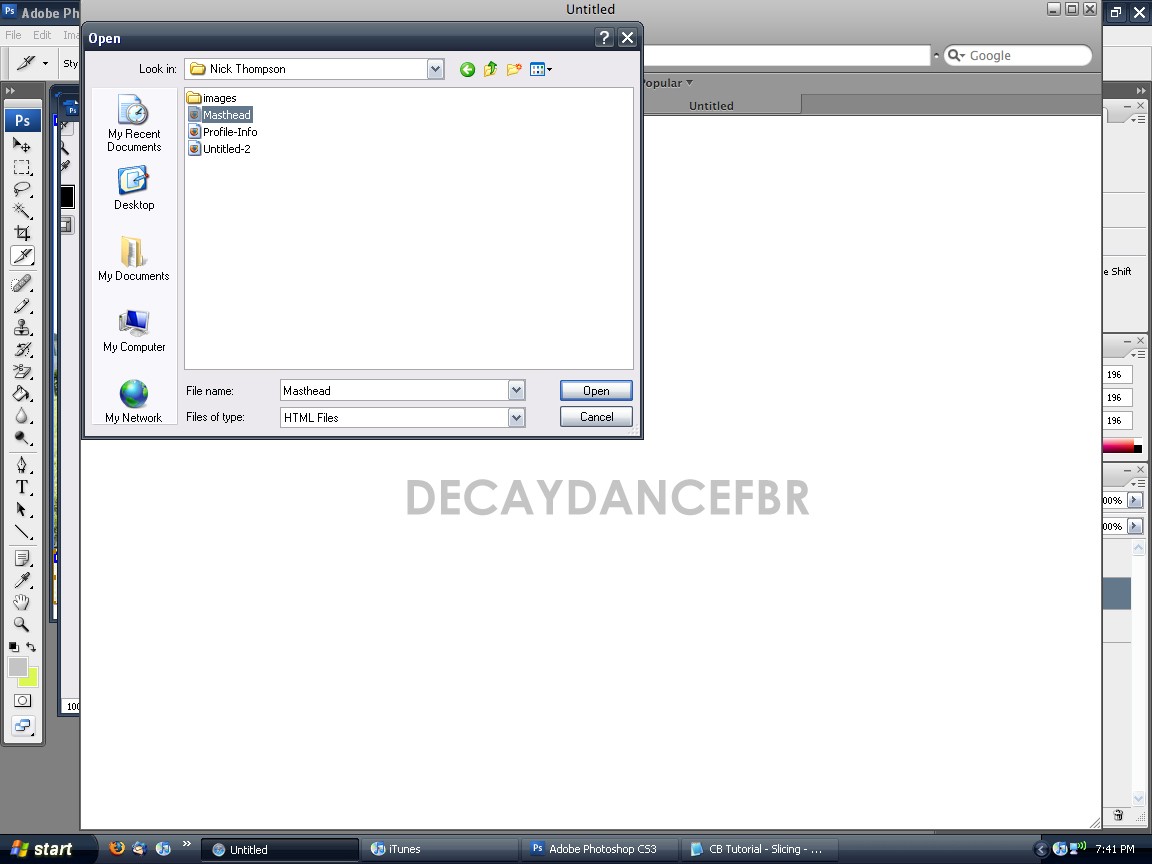
Step 8: It's time to get the table code for your sliced images. Open up Internet Explorer, Firefox, or Safari. Go to File --> Open/Open File and look for the HTML file, not the images!
Step 9: Now, when it opens the file, you will see your image, and if you highlight it you will see it is split into different parts. To get the code for this, right click in the page, not on the image, and select View Source. Now the page code will pop up. What you are wanting to copy is from where you see two table tags. (CB Deletes the tutorial if I put it in a codebox for some reason =/)
Step 10: After you have copied your code, open up Notepad and paste the code you copied.
Step 11: Now, you want to upload your pictures to PhotoBucket, TinyPic, etc. All you have to do now is copy the image code once it uploads and replace it with the correct one. (File names should match if you don't make any changes while slicing). After that, just copy and paste it to your website/myspace and you will have a working table code. :]
Tutorial Comments
Showing latest 10 of 34 comments

Hi there... I am not sure what PM stands for, or if this posting is too old to get help, but i am in DESPERATE need of it... Thanks! :)

OMG you're a God!... I really love it!

Anyone know how to do this in GIMP? I have all the python plugins, so I should be able to do it, right?

what urls do you initially put into the sliced peices on your image?

This is great.. only I have no idea where/how to put it into my coding, i used the top banner coding, but when i put in the sliced image it's nowhere to be found..
in myspace
Where do you paste the final code?
so everything works but none of the pictures are showing up
i changed all the pictures to the correct urls but they still don't work :(
hahah nvm, i used the "adding a top banner" step from your making a band layout tutorial ;P thanks hahah
so i fixed the transparency problem, but i'm still not sure how to adjust the position
Tutorial Details
| Author |
YDG
|
| Submitted on | Oct 30, 2008 |
| Page views | 25,651 |
| Favorites | 45 |
| Comments | 34 |
| Reviewer |
manny-the-dino
|
| Approved on | Oct 30, 2008 |