Tutorial
Click on thumbnailed images to enlarge
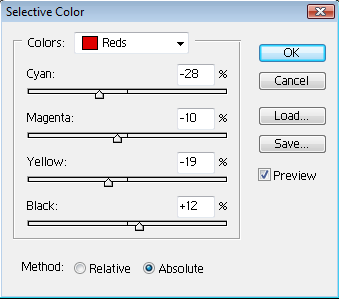
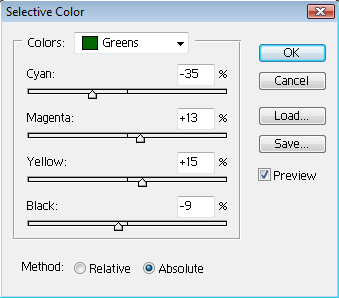
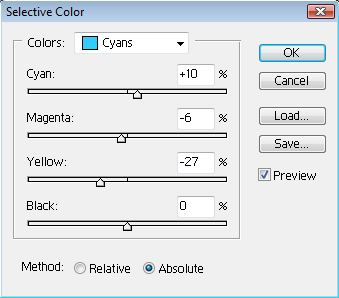
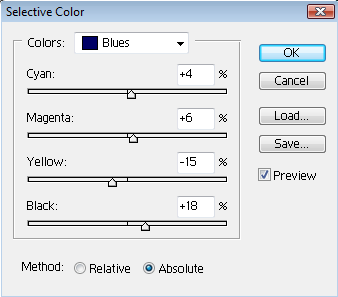
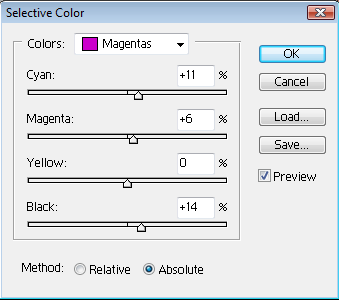
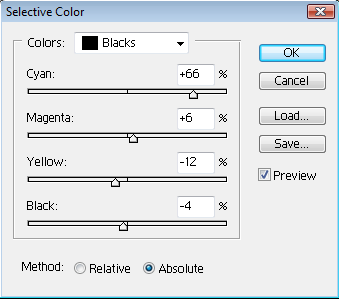
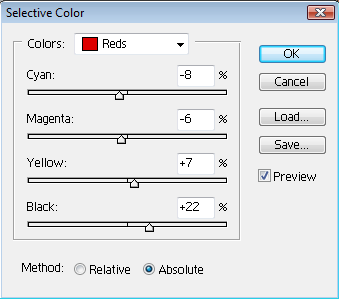
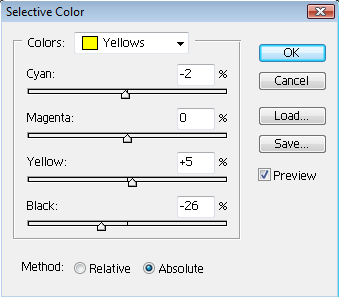
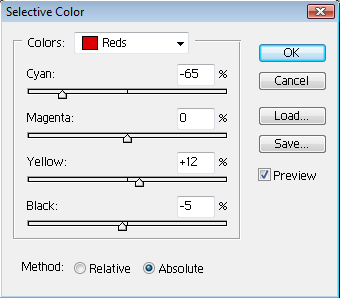
1. Go to Image » Adjustments » Selective Color.
2. Change your settings to:
Reds:
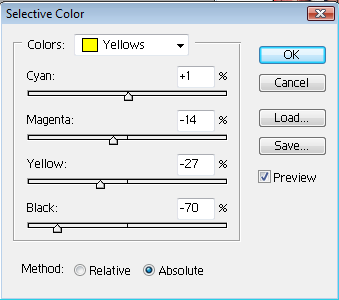
Yellows:
Greens:
Cyans:
Blues:
Magentas:
Blacks:
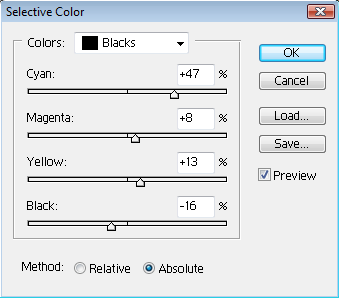
3. Go to Image » Adjustments » Selective Color.
4. Change your settings to:
Reds:
Yellows:
Blacks:
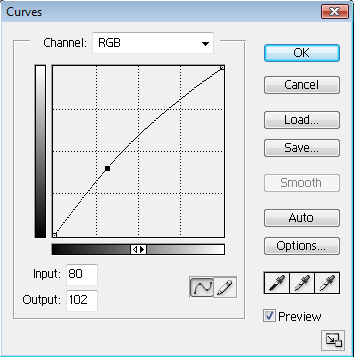
5. Go to Image » Adjustments » Curves.
6. Change your settings to:
RGB:
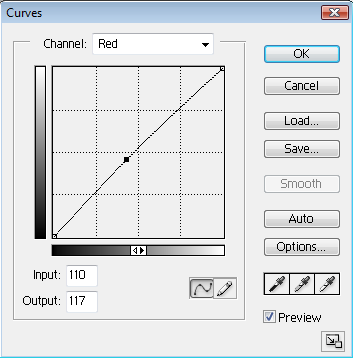
Red:
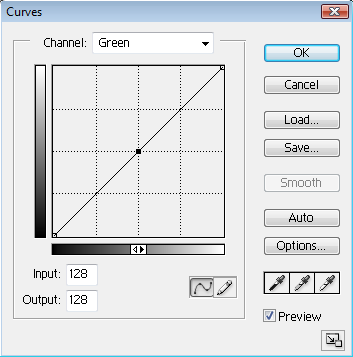
Green:
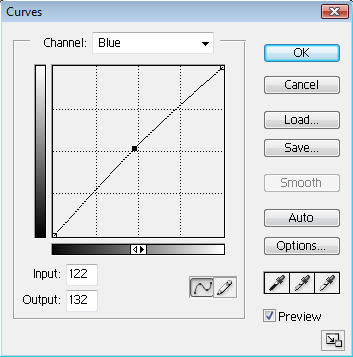
Blue:
7. Last but not least go to Image » Adjustments » Selective Color again.
8. Change your settings to:
Reds:
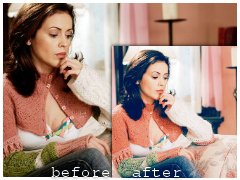
Here's my final result:
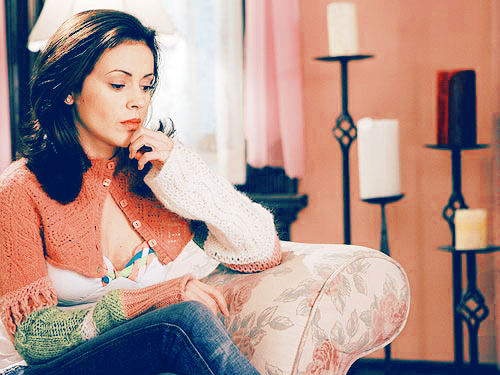
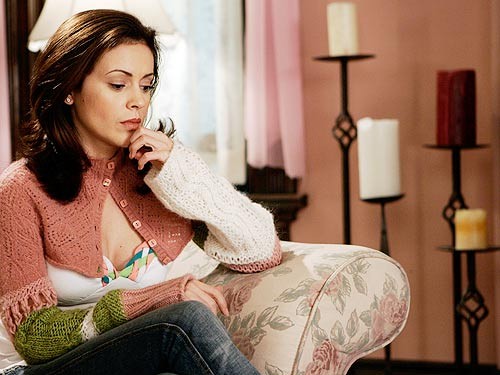
If you want your image to look like mine make sure the image you use looks like my original image.
Tutorial Comments
Showing latest 10 of 19 comments

i LoVeEeE this tut :)
Great job :D
By BiennChulaaxO on Jan 23, 2010 6:01 pm

i love thisss
By hellotyra on Jun 18, 2009 6:09 pm
cools
By forgetit on Jun 12, 2009 6:53 pm
thanks for making this tut ive been dying to know how to style my designs around this :] TRILLA!
By JorgieDesign on Apr 26, 2009 3:34 am

I love this tutorial , I use it on mostly everything now. I love the style and how the colours go so well together. Very nice job ! :D
By Malorie on Apr 10, 2009 10:45 pm

omg!!! i love it!
By mariavm03 on Apr 7, 2009 12:26 am

Nice!
By impurities on Mar 30, 2009 10:32 pm
Luv her :) Nice tut :D
By XbreathlessWhispersX on Mar 30, 2009 4:03 pm

if i had the patients...
id totally try this out :D
By xXcalebboylesXx on Mar 29, 2009 5:38 pm

I tried this on some photos and the outcome was really good! Great work (:
By iSbl on Mar 27, 2009 10:42 am
Tutorial Details
| Author |
ohlux
|
| Submitted on | Mar 16, 2009 |
| Page views | 14,185 |
| Favorites | 63 |
| Comments | 19 |
| Reviewer |
manny-the-dino
|
| Approved on | Mar 16, 2009 |