Tutorial
Click on thumbnailed images to enlarge
Lets start.
I will be using a picture from photorack.net

We will be using the healing brush tool. If you dont know where that is, it is highlighted on this toolbar.
Make sure not to use the spot healing brush tool.

First, make a copy of the background.
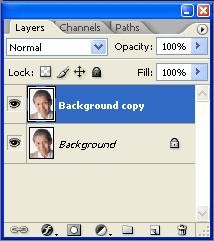 It should look like this.
With the healing brush tool selected, hold down Alt and click a spot on the picture that you wish to use to cover your wrinkles. It is best to use a clear spot. Using the healing brush tool, slowly go from the end of the wrinkle (thats the youngest part) and make small strokes towards the source of the wrinkle.
You should have a result like this:
Now she still has a few wrinkles on her neck that we can cover, so once again hold down Alt and click a spot on the neck that is clear and would be a good spot to cover up the wrinkles.
You're almost done!
To keep some character to your subject, lower the opacity of the background copy.
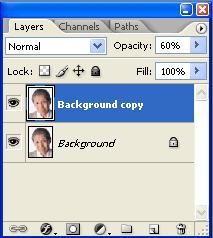
I have my opacity on 60%. Select the opacity to your liking and what looks best with your subject.
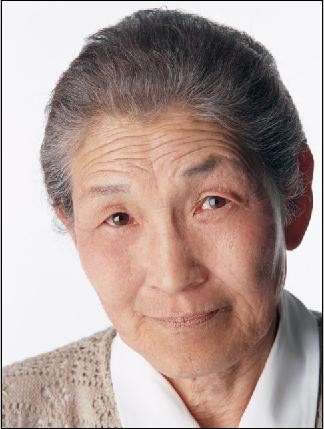
Before:
After:

If you have any questions, feel free to PM me.
I will be using a picture from photorack.net
We will be using the healing brush tool. If you dont know where that is, it is highlighted on this toolbar.
Make sure not to use the spot healing brush tool.
First, make a copy of the background.
It should look like this. With the healing brush tool selected, hold down Alt and click a spot on the picture that you wish to use to cover your wrinkles. It is best to use a clear spot. Using the healing brush tool, slowly go from the end of the wrinkle (thats the youngest part) and make small strokes towards the source of the wrinkle.
You should have a result like this:
Now she still has a few wrinkles on her neck that we can cover, so once again hold down Alt and click a spot on the neck that is clear and would be a good spot to cover up the wrinkles.
You're almost done!
To keep some character to your subject, lower the opacity of the background copy.
I have my opacity on 60%. Select the opacity to your liking and what looks best with your subject.
Before:
After:
If you have any questions, feel free to PM me.
Tutorial Comments
Showing latest 7 of 7 comments

I like how you used some opacity so it looks more natural:)
By Maccabee on Jan 19, 2009 7:21 pm

You made a miracle cool
By MikeJoel0751 on Oct 13, 2008 6:07 pm

loll, i think this is a lady
By hellotyra on Oct 11, 2008 8:16 am

whoa, that made a big difference.
By pandabby on Jul 8, 2008 2:22 am

this man can find a new girlfriend with this pic.
hehexD
By miraamad on Jun 11, 2008 6:27 pm

whoa.
By turnupthevolume on Mar 16, 2008 9:03 pm

OMG FAVORITE. I love you!
By oneroot on Feb 24, 2008 3:00 am
Tutorial Details
| Author |
carolannexbh
|
| Submitted on | Feb 23, 2008 |
| Page views | 15,743 |
| Favorites | 26 |
| Comments | 7 |
| Reviewer |
MissHygienic
|
| Approved on | Feb 23, 2008 |