Tutorial
Click on thumbnailed images to enlarge
http://www.clickitgirl.net/lushb/cari-pixel1.zip --download
I know, it's in ".jbr" format, all you need to do is convert it to, ".abr" format.
If you already know how to do this, skip the following part below.
Converting ".jbr" to ".abr":
you go to my computer
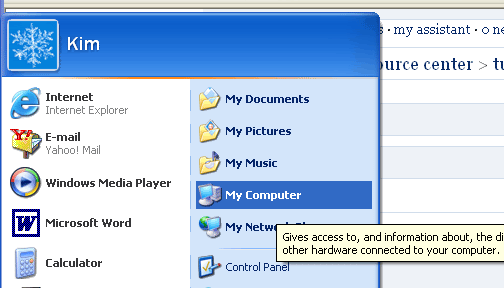
then you go to tools>>folder options>>view
and take the check out of the box that says hide file extensions for know files.
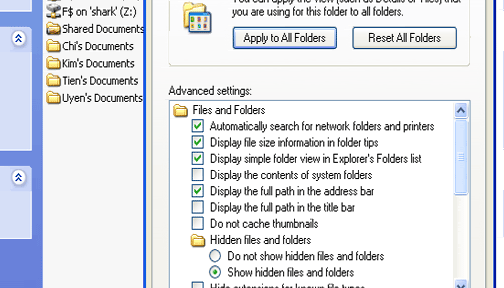
then you download the brush
save it to your photoshop folder
and just change the .jbr to .abr (right click>>rename)
Okay, once you got ".jbr" switched to, ".abr" you can start on your blinkie making!
Follow the steps, and if you have any confusion, I will help:
1) Open up photoshop, and go to file>>new
2) Make a new document about: width: 144 height: 14 ---adjust the size to how much blinkie squares you are going to have, and make sure you choose "transparent"
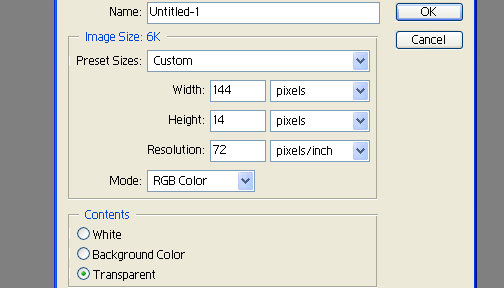
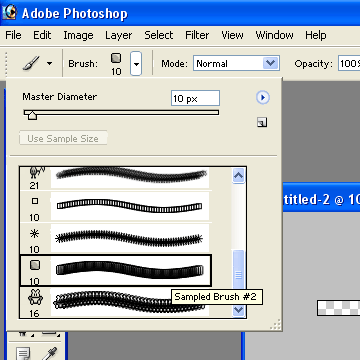
3) Choose the blinkie brush that you had just installed, and choose the "3-dish box"
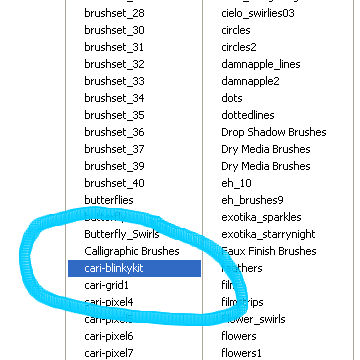
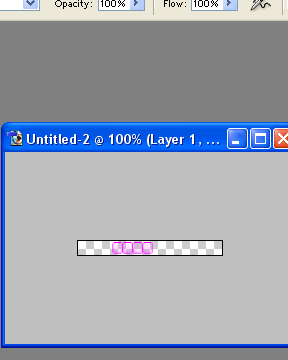
4) Make how many blinkie boxes you need, example, I am writing "Kimi", so I will need 4 blinkie boxes, stamp in four
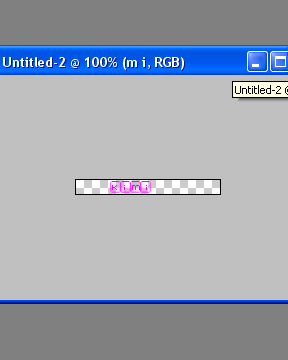
5) Choose the "type" tool, and type in what you want (make sure it has the right amount of blinkie boxes for each letter), choose a pixel font (I am using redensek, and font size 14).
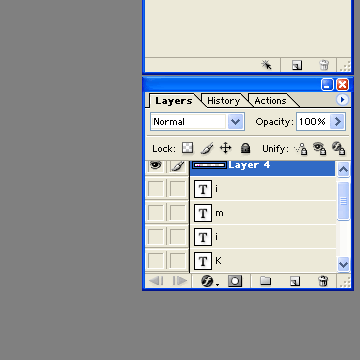
6) I am going to choose a different color, "white", and write each letter in the right blinkie box, (make a new layer for every letter you type)!
For example, I am going to put a "white" "K" over the "pink" "K":
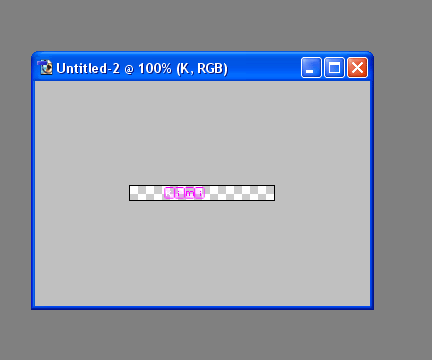
Then I am going to do the same with the I:
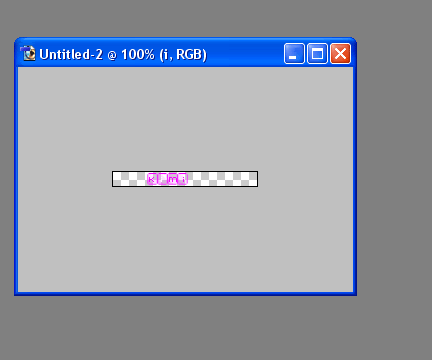
Here is the M and the other I:
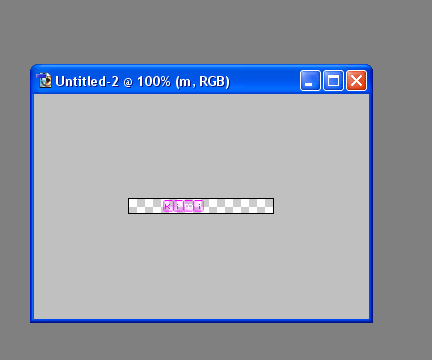
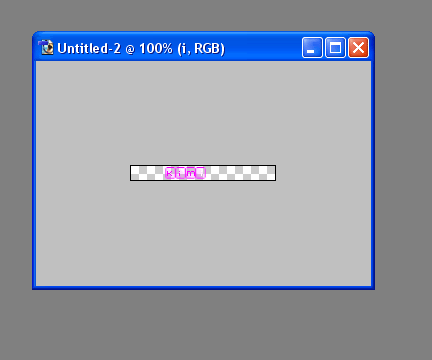
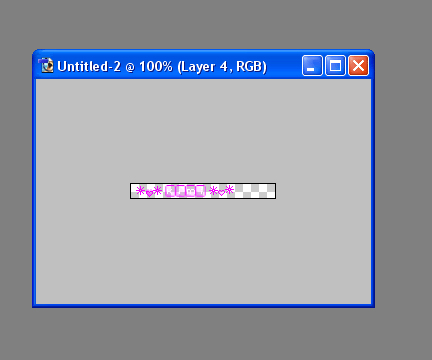
7) Make a new layer, and add some other blinkie brushes:
8) I am going to jump to image ready: CTRL+Shift+M
9) I am going to set the number to, "0" [right click>>display none]
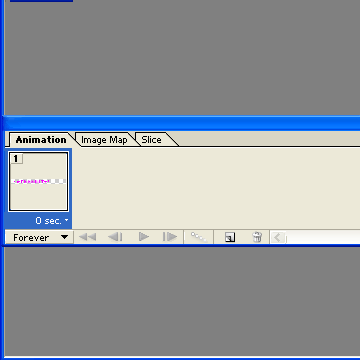
10) I am going to make all the text layers invisible
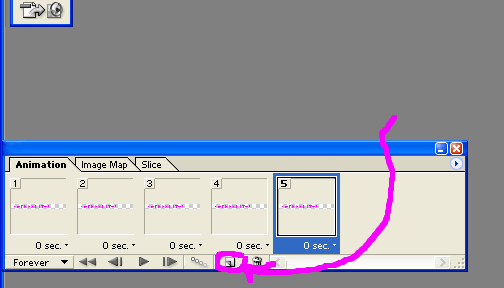
11) Since I have 4 letters I am going to add 5 instead (I am going to have an extra slide, you don't have to have an extra one if you don't want to).
12) For the first slide, I am going to leave it blank since I have an extra slide.
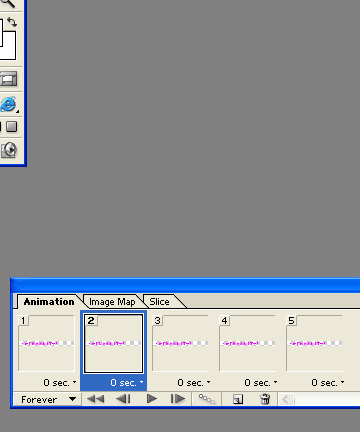
13) The second slide, I will make the "K" shown, so it isn't invisible anymore
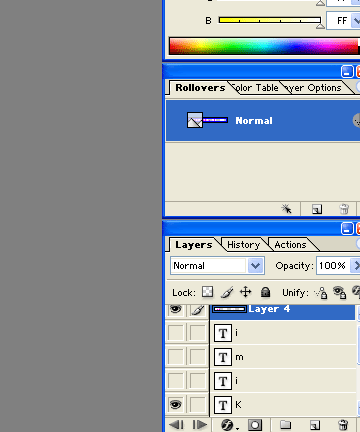
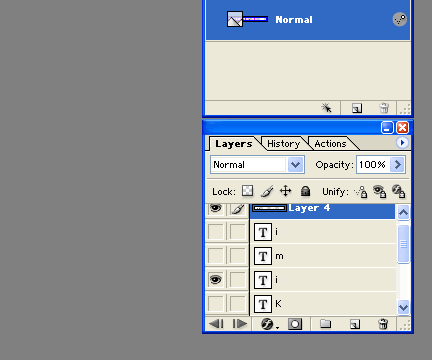
14) For the third slide, I am going to make the "I" uninvisble, like I did with the
"K" (make sure that the "K" is invisible, and the "I" is the only one that is shown in white) . Do the same for the "M" and the other "I", this is how it should look:
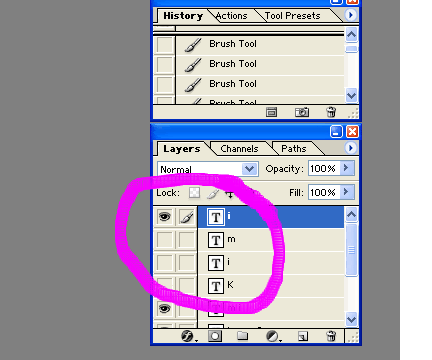
15) Then I am going to press play just to see the ending results. Here is my result:

16) I am going to save the blinkie. Go to File>>Save optimized as.
17) Name the file, make sure it is ".gif", and then press "save"
18) Upload the image to a uploading site, like, imageshack.us, or photobucket.com!
--Here is another one I made:

Keep in mind that you don't have to use these brushes in order to make blinkies. You can make your own pixels and pixel boxes and still make blinkies.
Tutorial Comments
Showing latest 10 of 10 comments

Thank you very much, here is the one I did... http://i30.photobucket.com/alb ums/c324/pswatton/Signatures/B linkie-2.gif
Thank you so much for takng the time to do this, I just made this one... http://i30.photobucket.com/alb ums/c324/pswatton/Signatures/B linkie-2.gif
is this useful for the blinking icons? you know what i mean?
It won't allow me to download anything D=!
Great tutorial! (: Even though i was a beginner i actually understood and did it ! :D
Nice, cute, easy to understand. I like those little icons you provided.This is going to help alot of people/ it already has!
That's really cute looks like you had fun making that tutorial.
that helped me lots!! =]
ill tyr it at school i have the program there thanks
this taught me alot!! thankies!!
Tutorial Details
| Author |
iiCECREAMxC0NE
|
| Submitted on | Feb 17, 2006 |
| Page views | 51,480 |
| Favorites | 104 |
| Comments | 10 |
