Tutorial
Click on thumbnailed images to enlarge
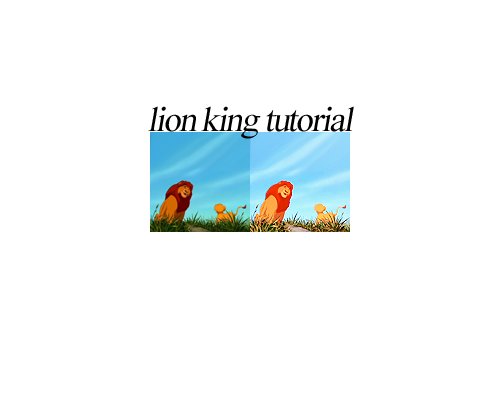
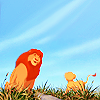
This coloring is best for colorful, cartoon/anime images. So, let's start!
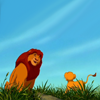
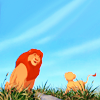
○ Open up your base:
○ Duplicate your base twice, set the first duplicate to screen 70% and second go to filter > other > high pass with radius 20,5 pixels. Set that layer to soft light.
○ Curves layer:
RGB:
1st point: output 123, input 81
2nd point: output 185, input 163
Blue:
output 168 input 104
○ Selective color layer:
REDS:
-74
+7
+63
-28
YELLOWS:
-81
+4
-53
0
CYANS:
+100
+100
+100
+34
BLACKS:
0
0
0
+5
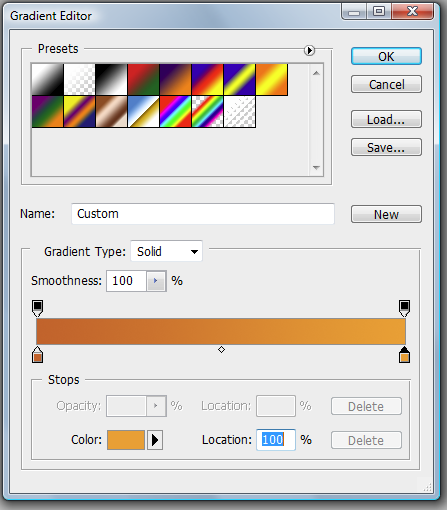
○ Gradient:
#d25d23 > #f89a2b, layer opacity 26% (adjust to your liking ofc)
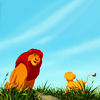
○ Then I made a new layer, took a fluffy brush size 200px, color white, and made a couple dots, then set that layer to soft light and opacity 25%.
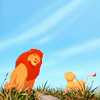
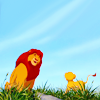
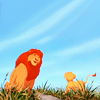
○ Then ctrl+shift+alt+E, then filter > sharpen. :) and there you go!
○ Open up your base:
○ Duplicate your base twice, set the first duplicate to screen 70% and second go to filter > other > high pass with radius 20,5 pixels. Set that layer to soft light.
○ Curves layer:
RGB:
1st point: output 123, input 81
2nd point: output 185, input 163
Blue:
output 168 input 104
○ Selective color layer:
REDS:
-74
+7
+63
-28
YELLOWS:
-81
+4
-53
0
CYANS:
+100
+100
+100
+34
BLACKS:
0
0
0
+5
○ Gradient:
#d25d23 > #f89a2b, layer opacity 26% (adjust to your liking ofc)
○ Then I made a new layer, took a fluffy brush size 200px, color white, and made a couple dots, then set that layer to soft light and opacity 25%.
○ Then ctrl+shift+alt+E, then filter > sharpen. :) and there you go!
Tutorial Comments
Showing latest 3 of 3 comments

There was supposed to be a little heart after my last comment, but it didn't show up. :c
By xchangminniex on Oct 3, 2012 1:02 pm
Love it.
By xchangminniex on Oct 3, 2012 1:01 pm

i love these colorings, especially on disney screencaps
By creole on Mar 4, 2011 10:34 pm
Tutorial Details
| Author |
fiercest
|
| Submitted on | Dec 27, 2010 |
| Page views | 9,844 |
| Favorites | 2 |
| Comments | 3 |
| Reviewer |
manny-the-dino
|
| Approved on | Feb 3, 2011 |