Tutorial
Click on thumbnailed images to enlarge
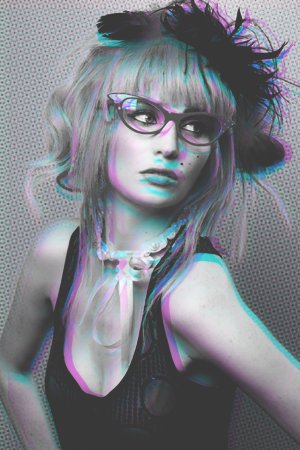
So today we well be doing this neat fake 3D-effect:
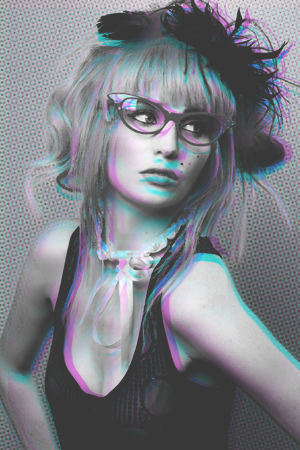
from this:
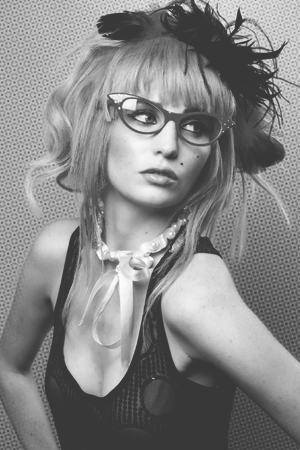
Open up your picture. If it's not already black&white make it one (set your foreground color to black and background color to white and make a gradient map. Flatten image).

Duplicate the base and make a color fill layer, #00FFFF (ofc you can pick any color you want :D). Set it to screen and merge down. Then set that layer to darken. Now we have.. wait, nothing happened? Move that layer a little bit to so you can get some color poppin' out. :)
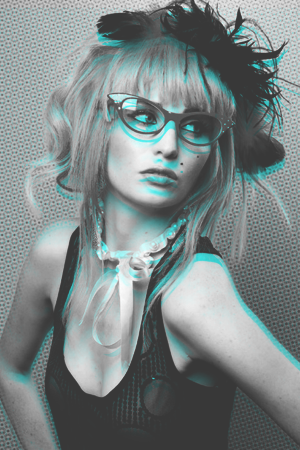
If some parts look funny or if you want the color just in one particular part of the picture just use the eraser.
Okay, now duplicate your base again. Then make a color fill layer, I used color #ff00f6. Layer pallette should look like this (yes, it's Marilyn Monroe. I lost the original picture of this step D:):
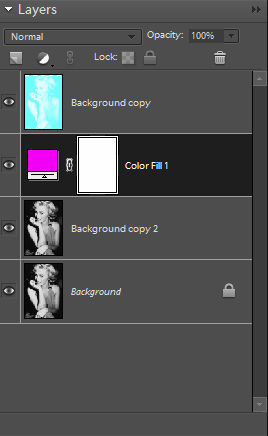
Outcome isn't that pretty yet:
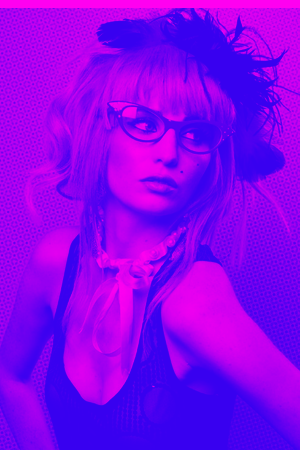
Set layer to screen,
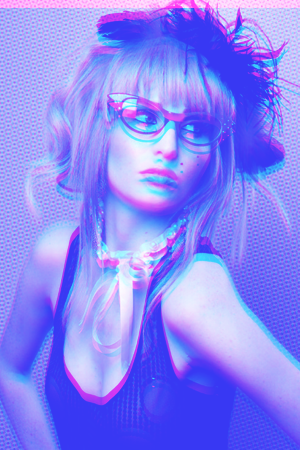
merge down and set to darken.
And again, it looks like nothing happened, but move the layer a little bit so the purple somes visible. Now assemble your coloured layers the way you want and voilá; your done :)

PS! If you're making icon with this coloring, resize your picture first. It'll look way prettier. :)
happy christmas! :)

from this:

Open up your picture. If it's not already black&white make it one (set your foreground color to black and background color to white and make a gradient map. Flatten image).

Duplicate the base and make a color fill layer, #00FFFF (ofc you can pick any color you want :D). Set it to screen and merge down. Then set that layer to darken. Now we have.. wait, nothing happened? Move that layer a little bit to so you can get some color poppin' out. :)

If some parts look funny or if you want the color just in one particular part of the picture just use the eraser.
Okay, now duplicate your base again. Then make a color fill layer, I used color #ff00f6. Layer pallette should look like this (yes, it's Marilyn Monroe. I lost the original picture of this step D:):

Outcome isn't that pretty yet:

Set layer to screen,

merge down and set to darken.
And again, it looks like nothing happened, but move the layer a little bit so the purple somes visible. Now assemble your coloured layers the way you want and voilá; your done :)

PS! If you're making icon with this coloring, resize your picture first. It'll look way prettier. :)
happy christmas! :)
Tutorial Comments
Showing latest 10 of 36 comments

this is amaaaaaaaaaazing
By littlemisshayleybaby on Nov 6, 2011 2:02 pm
loveee this
By XOskittleszXO on Sep 17, 2011 2:53 pm
It turned out super awesome thanks!
By brokenbeatbeauty on Jul 9, 2011 5:54 pm
i thought the same but if u take your time, you will figure it out...but i dont suggest doing this while your sleepy tho
By t0x1csweetheart on Aug 17, 2010 3:06 am
Awesome technique. Great tutorial!(:
By emmysue on Jul 21, 2010 1:48 am
Wow, amazing.
By turnupthevolume on Jun 30, 2010 6:32 pm
Great tutorial! Love it!
By mcflylover on Jun 23, 2010 8:15 pm
Im So Confused!
By ChandiiB on Jun 11, 2010 1:03 pm
gorgeous. i'm using this sometime
By georgejetKins on Apr 19, 2010 9:36 am
"Duplicate the base and make a color fill layer, #00FFFF (ofc you can pick any color you want :D). Set it to screen and merge down. Then set that layer to darken."
-- me, i dont undergo the "screen" part. after i made the color fill layer, i set it to darken. just wanna share :)
By cyrilekim11 on Apr 17, 2010 6:43 am
