Tutorial
Click on thumbnailed images to enlarge
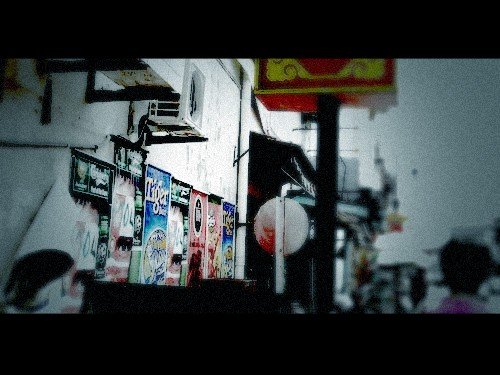
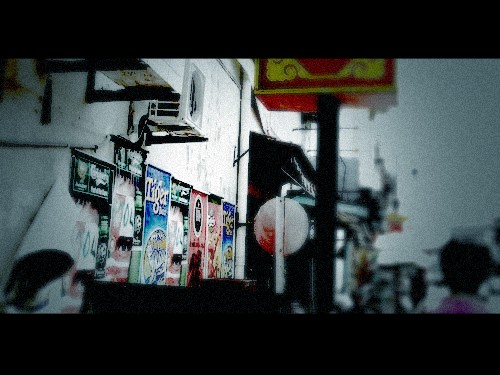
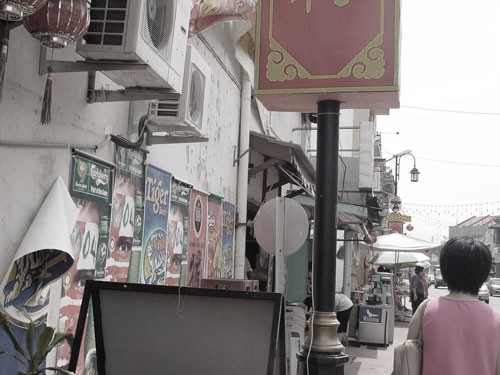
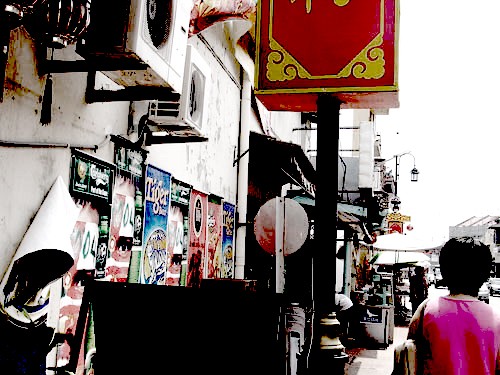
Ever wanted to turn your photo into a movie like effect ? Well, now you can with this tutorial! =]
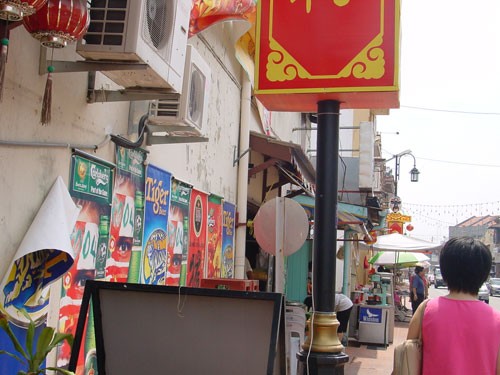
Before :
After :
Let's start!
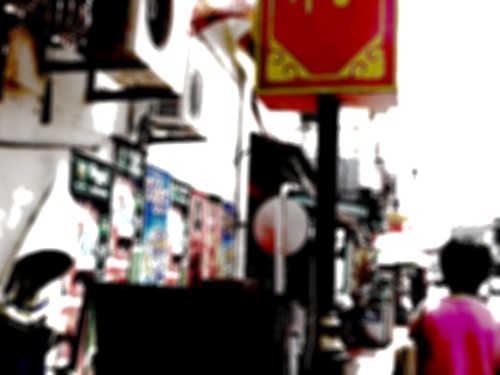
1. Open up your image in Photoshop. I'm using this one –

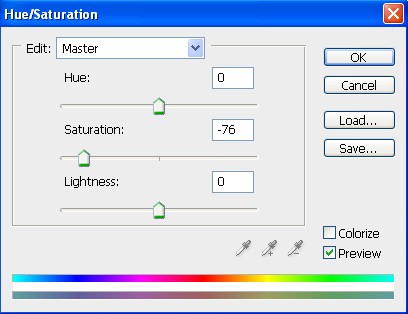
2. Unlock the layer by double-clicking on the layer. Now go to Image > Adjustments > Hue/Saturation and apply these settings :
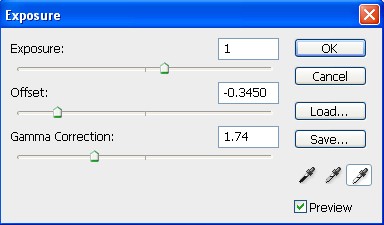
3. Go to Image > Adjustments > Exposure.. –
Depth of Field effect :
4. Duplicate your layer. [ Right click on your layer and click Duplicate ]
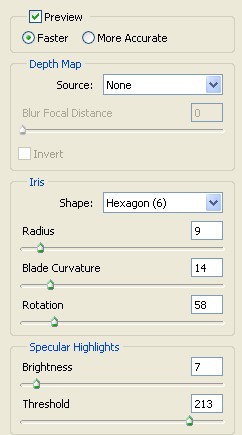
Go to Filter > Blur > Lens Blur… and apply these settings –
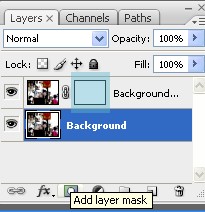
5. Click on the Add Layer Mask button on the bottom of your Layers window. Then click on the Layer Mask thumbnail ( the white rectangle ) –
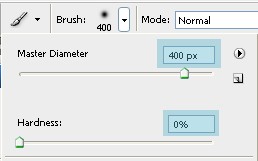
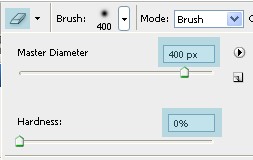
6. Select your Brush tool. Set the Master Diameter to 400 px. Then choose the focus point on your photo and click on it. Make sure your foreground color is Black and you're doing this on the Layer Mask –
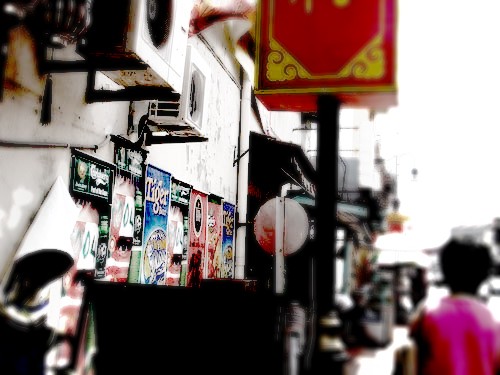
See how the focus is just on the magazines on the wall and not the whole area ? That is what we want now =]
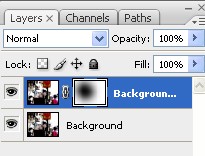
This is how your layers must look now –
Film Effect :
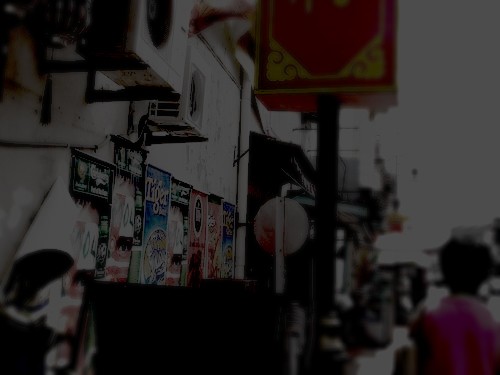
7. Make a new layer. [ Layer > New > Layer ]. Fill this layer with black. [ Edit > Fill > Black ]. Set the Opacity of the layer to 70% by pressing the number 7 on your keyboard –
8. Select your Eraser Tool, set the Master Diameter to 400 px. Then start erasing the center of your image –
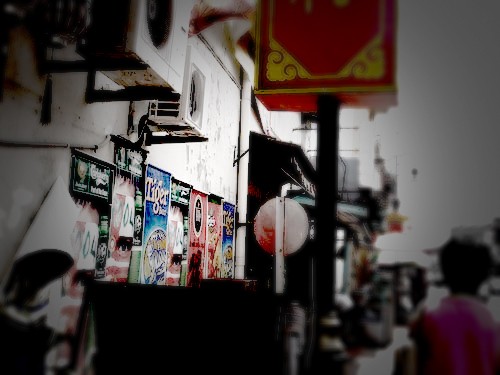
9. Flatten the image. [ Layer > Flatten Image ].
Add noise to your image : Filter > Noise > Add Noise…
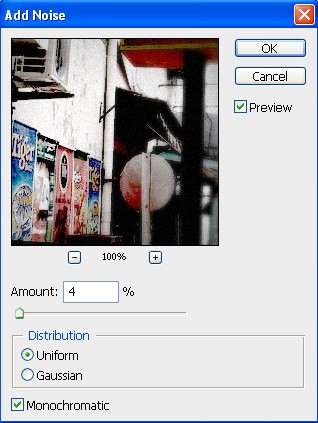
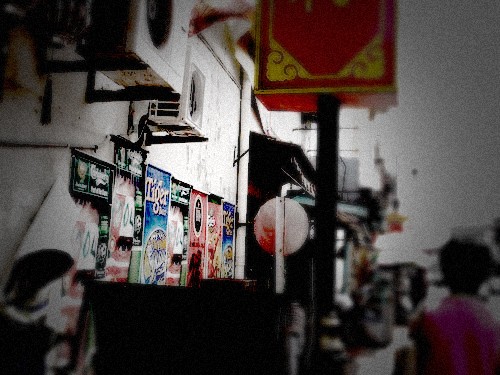
10. Make a new layer again. Fill it with #5eb6cc.
Set the Blend Mode to Soft Light at 60%.
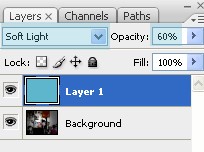
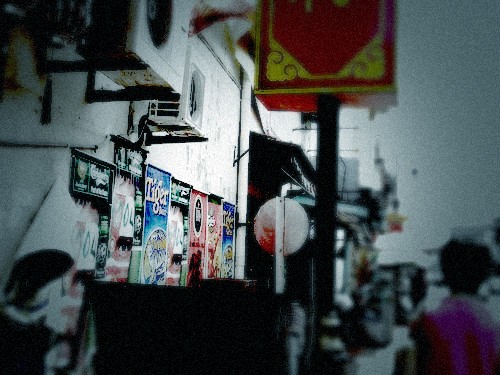
Cinemascope effect :
11. Add black bars on the top and bottom of your photo using your Rectangle Shape Tool and you're done!

Hope you enjoyed this tutorial! :)
Any questions ? PM me :)
^o^
Tutorial Comments
Showing latest 10 of 46 comments

Hi there, can u help me with this tutorial please? I've got no problems with it, but to do the point 6, somehow i can't get that focus. I do everything, step by step, have no problem, even can select my brush tool, set the master diameter to 400 px, then i choose the focus point on the photo and click on it.
It works, but i can't see the tha clear point as you do have there.
This is very good.
*Tip: Too much noise will make the picture look over edited.
Hey this is great!
But I'm having some difficulty with
#10 where you fill it with the color
it won't let me do that! Or maybe I just
don't know how^^ LOL! Well could you help me?
Please and thank you!
Really great!! The values for the hue/saturation and exposure were completely different from mine though because my photo had a lot of colors and was really bright, but after just messing around with the values I got it to look great!! Thank you so much!! ;D
aye aye aye, es fenomenal
thank you (:
To leilani638, I don't have that option either, so I used brightness/contrast and it worked out perfect for me. There was actually 2 other steps I couldn't do, but I just made the image match up closely to hers/his and I love the resault.
Thanks for posting this!
I use photoshop cs, but I dont have the exposure option. Instead of exposure, can I use something else? Like contrast or brightness? And if so, what level should I put it at. At the moment I used a random number of contrast (enough to make it close to what you have on the tutorial) and it comes out a little less than satisfactory.
Any suggestions?
AWESOMENESS!!! Very well written (hey I did it on the first try, didn't I?). Great job!
this took me FOREVER but it was worth it :)
OMG waaat i did it lol on my first try is really cool
Tutorial Details
| Author |
sunshine07
|
| Submitted on | Nov 7, 2008 |
| Page views | 38,588 |
| Favorites | 316 |
| Comments | 46 |
| Reviewer |
schizo
|
| Approved on | Nov 7, 2008 |
