Tutorial
Click on thumbnailed images to enlarge
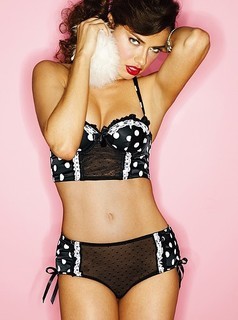
Bring in your image.
Step 2.
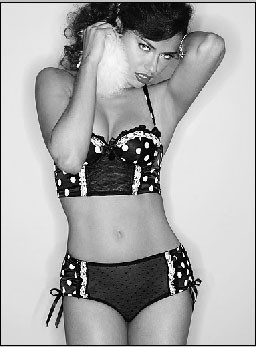
convert your image to black and white.
IMAGE > ADJUSTMENTS > DESATURATE
Step 3.
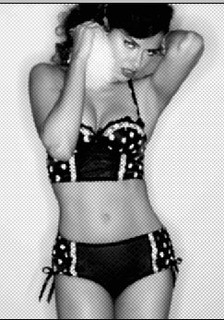
FILTER > SKETCH > HALFTONE PATTERN
change the size and the contrast. every picture is different and its up to you to chose how u like it. this is my result.
Step 4.
Create a new layer.
(work on new layer, this layer should be on top of your image)
Step 5.
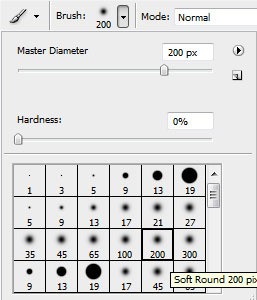
PAINT!
Pick a brush that is brush is rounded.
Step 6.
Change the blending mode to MULTIPLY. Or any other that may look better.

and my final result....

just experiment. who knows what you'll get...

Tutorial Comments
Showing latest 9 of 9 comments

I like it! And it's easy to understand!

thanx badass20022 ur comment was like 6000% more helpful than this whole tutorial lol.

haha i tried it for a desktop background
it came out kinda gay, not as cool as yours
but still fun and easy =]
heres mine:
http://i88.photobucket. com/albums/k181/superzoe97/des ktop.jpg

im sorry for my comment black and white or black and gray** lol sorry bout that .
this tutorial might cause some confusion like it did me . when u r applying he halftone filter make sure that ur colors r black and white or black and white . if its any other color the dots would be that color .
how can i download it....sorrry i'm a newbie....or after i download it how can i use it

Go To DaFONT.com
the font is called "CHERI"

hey can u make a tutorial of how u made ur font lyk dat
its super cute!=]

ooh I like this one!
Tutorial Details
| Author |
aaapples
|
| Submitted on | Aug 1, 2008 |
| Page views | 24,633 |
| Favorites | 115 |
| Comments | 9 |
| Reviewer |
manny-the-dino
|
| Approved on | Aug 1, 2008 |