Tutorial
Click on thumbnailed images to enlarge
Okay, since there are a million tutorials on how to make a vintage image, I'm going to teach you how to, erm, un-vintage(?) something (see step o1) and then how to darken bright images and make dark images brighter. (step o2)
01. First, open up a vintage or faded looking image. Let's take this one, a stock photo from kacceyy, m'kay?

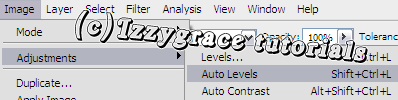
Open it up and press Shift+Ctrl+L or go to Image>Adjustments>Auto Levels
Tah-dah! And your pic should look like.

o2. If you have a picture that's too bright or too dark, then you do something not that different. Just open up your image.
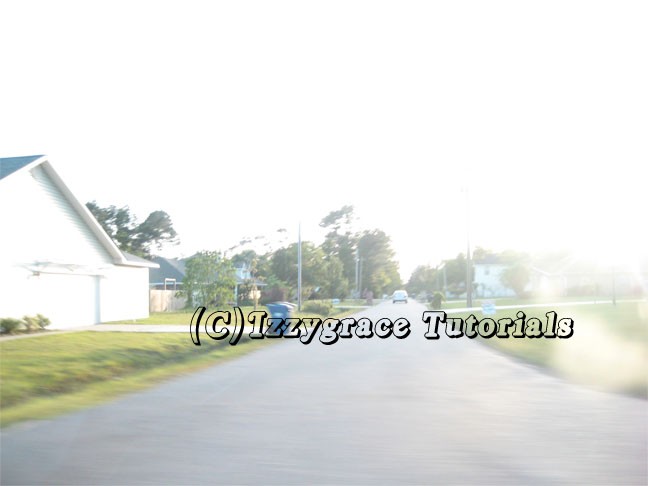
I'm going to be using a really bad, bright photo I took on my way home from the park. Do the same thing, Shift+Ctrl+L or Image>Adjustments>Auto Levels
Now I have a picture that looks like

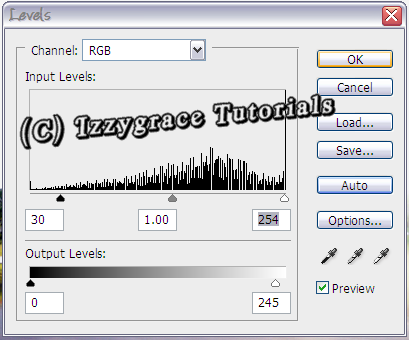
I still think it's too bright, so I played around a bit more. Press Ctrl+L or go to image>adjustments>levels

Play around a bit with your levels, brightening and darkening until you get something you like. This is what I used.
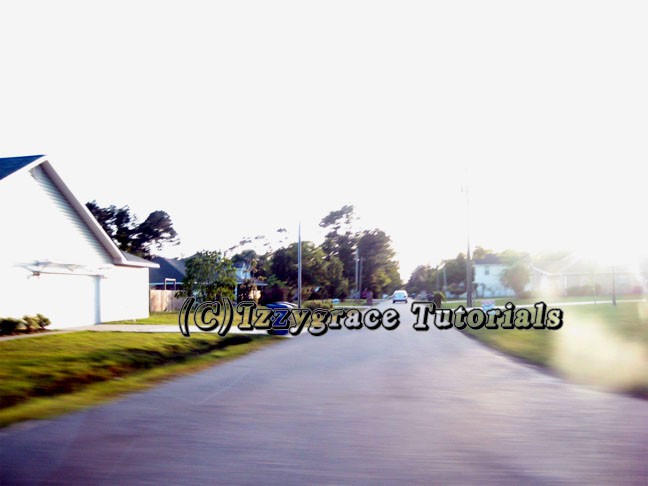
Not much of a drastic difference, but I got this, as my final picture.
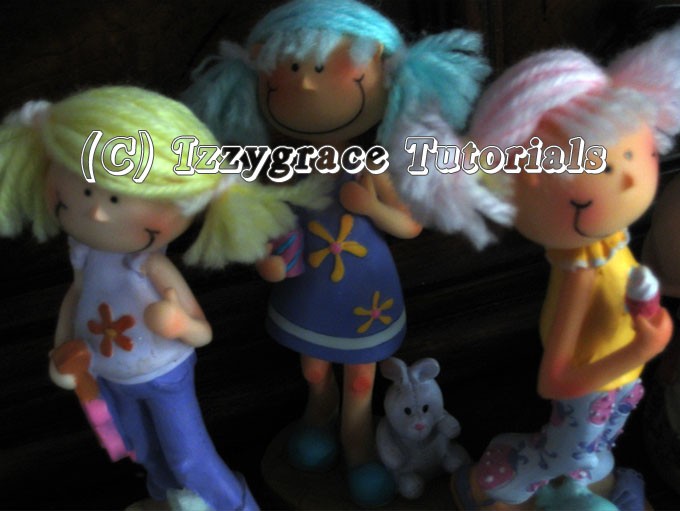
o3. If you have a picture that's too dark, then basically all you do is follow step two, until you get to the input levels. Instead of darkening your image, all you do is brighten it until you get what you want. I took a bad picture of dolls and did this.

Press Shift+Ctrl+L for the Auto Levels
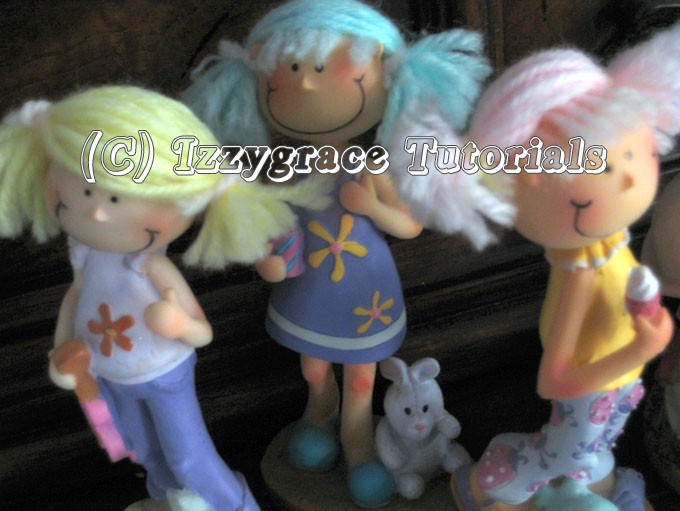
Then just press Ctrl+L and play around with the levels and I got
:) Remember that it varies depending on what kind of picture you're using, but this works for most pictures if you just play around and adjust the levels. Feel free to ask questions :)
01. First, open up a vintage or faded looking image. Let's take this one, a stock photo from kacceyy, m'kay?
Open it up and press Shift+Ctrl+L or go to Image>Adjustments>Auto Levels
Tah-dah! And your pic should look like.
o2. If you have a picture that's too bright or too dark, then you do something not that different. Just open up your image.
I'm going to be using a really bad, bright photo I took on my way home from the park. Do the same thing, Shift+Ctrl+L or Image>Adjustments>Auto Levels
Now I have a picture that looks like
I still think it's too bright, so I played around a bit more. Press Ctrl+L or go to image>adjustments>levels
Play around a bit with your levels, brightening and darkening until you get something you like. This is what I used.
Not much of a drastic difference, but I got this, as my final picture.
o3. If you have a picture that's too dark, then basically all you do is follow step two, until you get to the input levels. Instead of darkening your image, all you do is brighten it until you get what you want. I took a bad picture of dolls and did this.
Press Shift+Ctrl+L for the Auto Levels
Then just press Ctrl+L and play around with the levels and I got
:) Remember that it varies depending on what kind of picture you're using, but this works for most pictures if you just play around and adjust the levels. Feel free to ask questions :)
Tutorial Comments
Showing latest 8 of 8 comments

very nice!
thanks! :D
By sunshine07 on Oct 21, 2008 1:03 am

This helps a lot. Thanks!
By MOXiE-SOUL on Jul 8, 2008 7:01 pm

thank you !!
your instructions are really clear =)
By rhikachuu on Jun 27, 2008 9:20 pm

wow this is super awesomeXD
thanks
By kimboxxkimi on Jun 26, 2008 7:53 pm

Thanks alot as it really helps me to resume some of the photos which are too exposure! 2 thumbs up!
By tlytang on Jun 23, 2008 9:13 pm

Neat tut, thanks!
By SmileBig on Jun 22, 2008 9:54 am

nice! thanks!
By anneng on Jun 21, 2008 5:55 pm

nice!
:)
thank you!
By retromunky on Jun 20, 2008 2:12 pm
Tutorial Details
| Author |
IzzyGrace
|
| Submitted on | Jun 17, 2008 |
| Page views | 19,319 |
| Favorites | 79 |
| Comments | 8 |
| Reviewer |
manny-the-dino
|
| Approved on | Jun 17, 2008 |