Tutorial
Click on thumbnailed images to enlarge
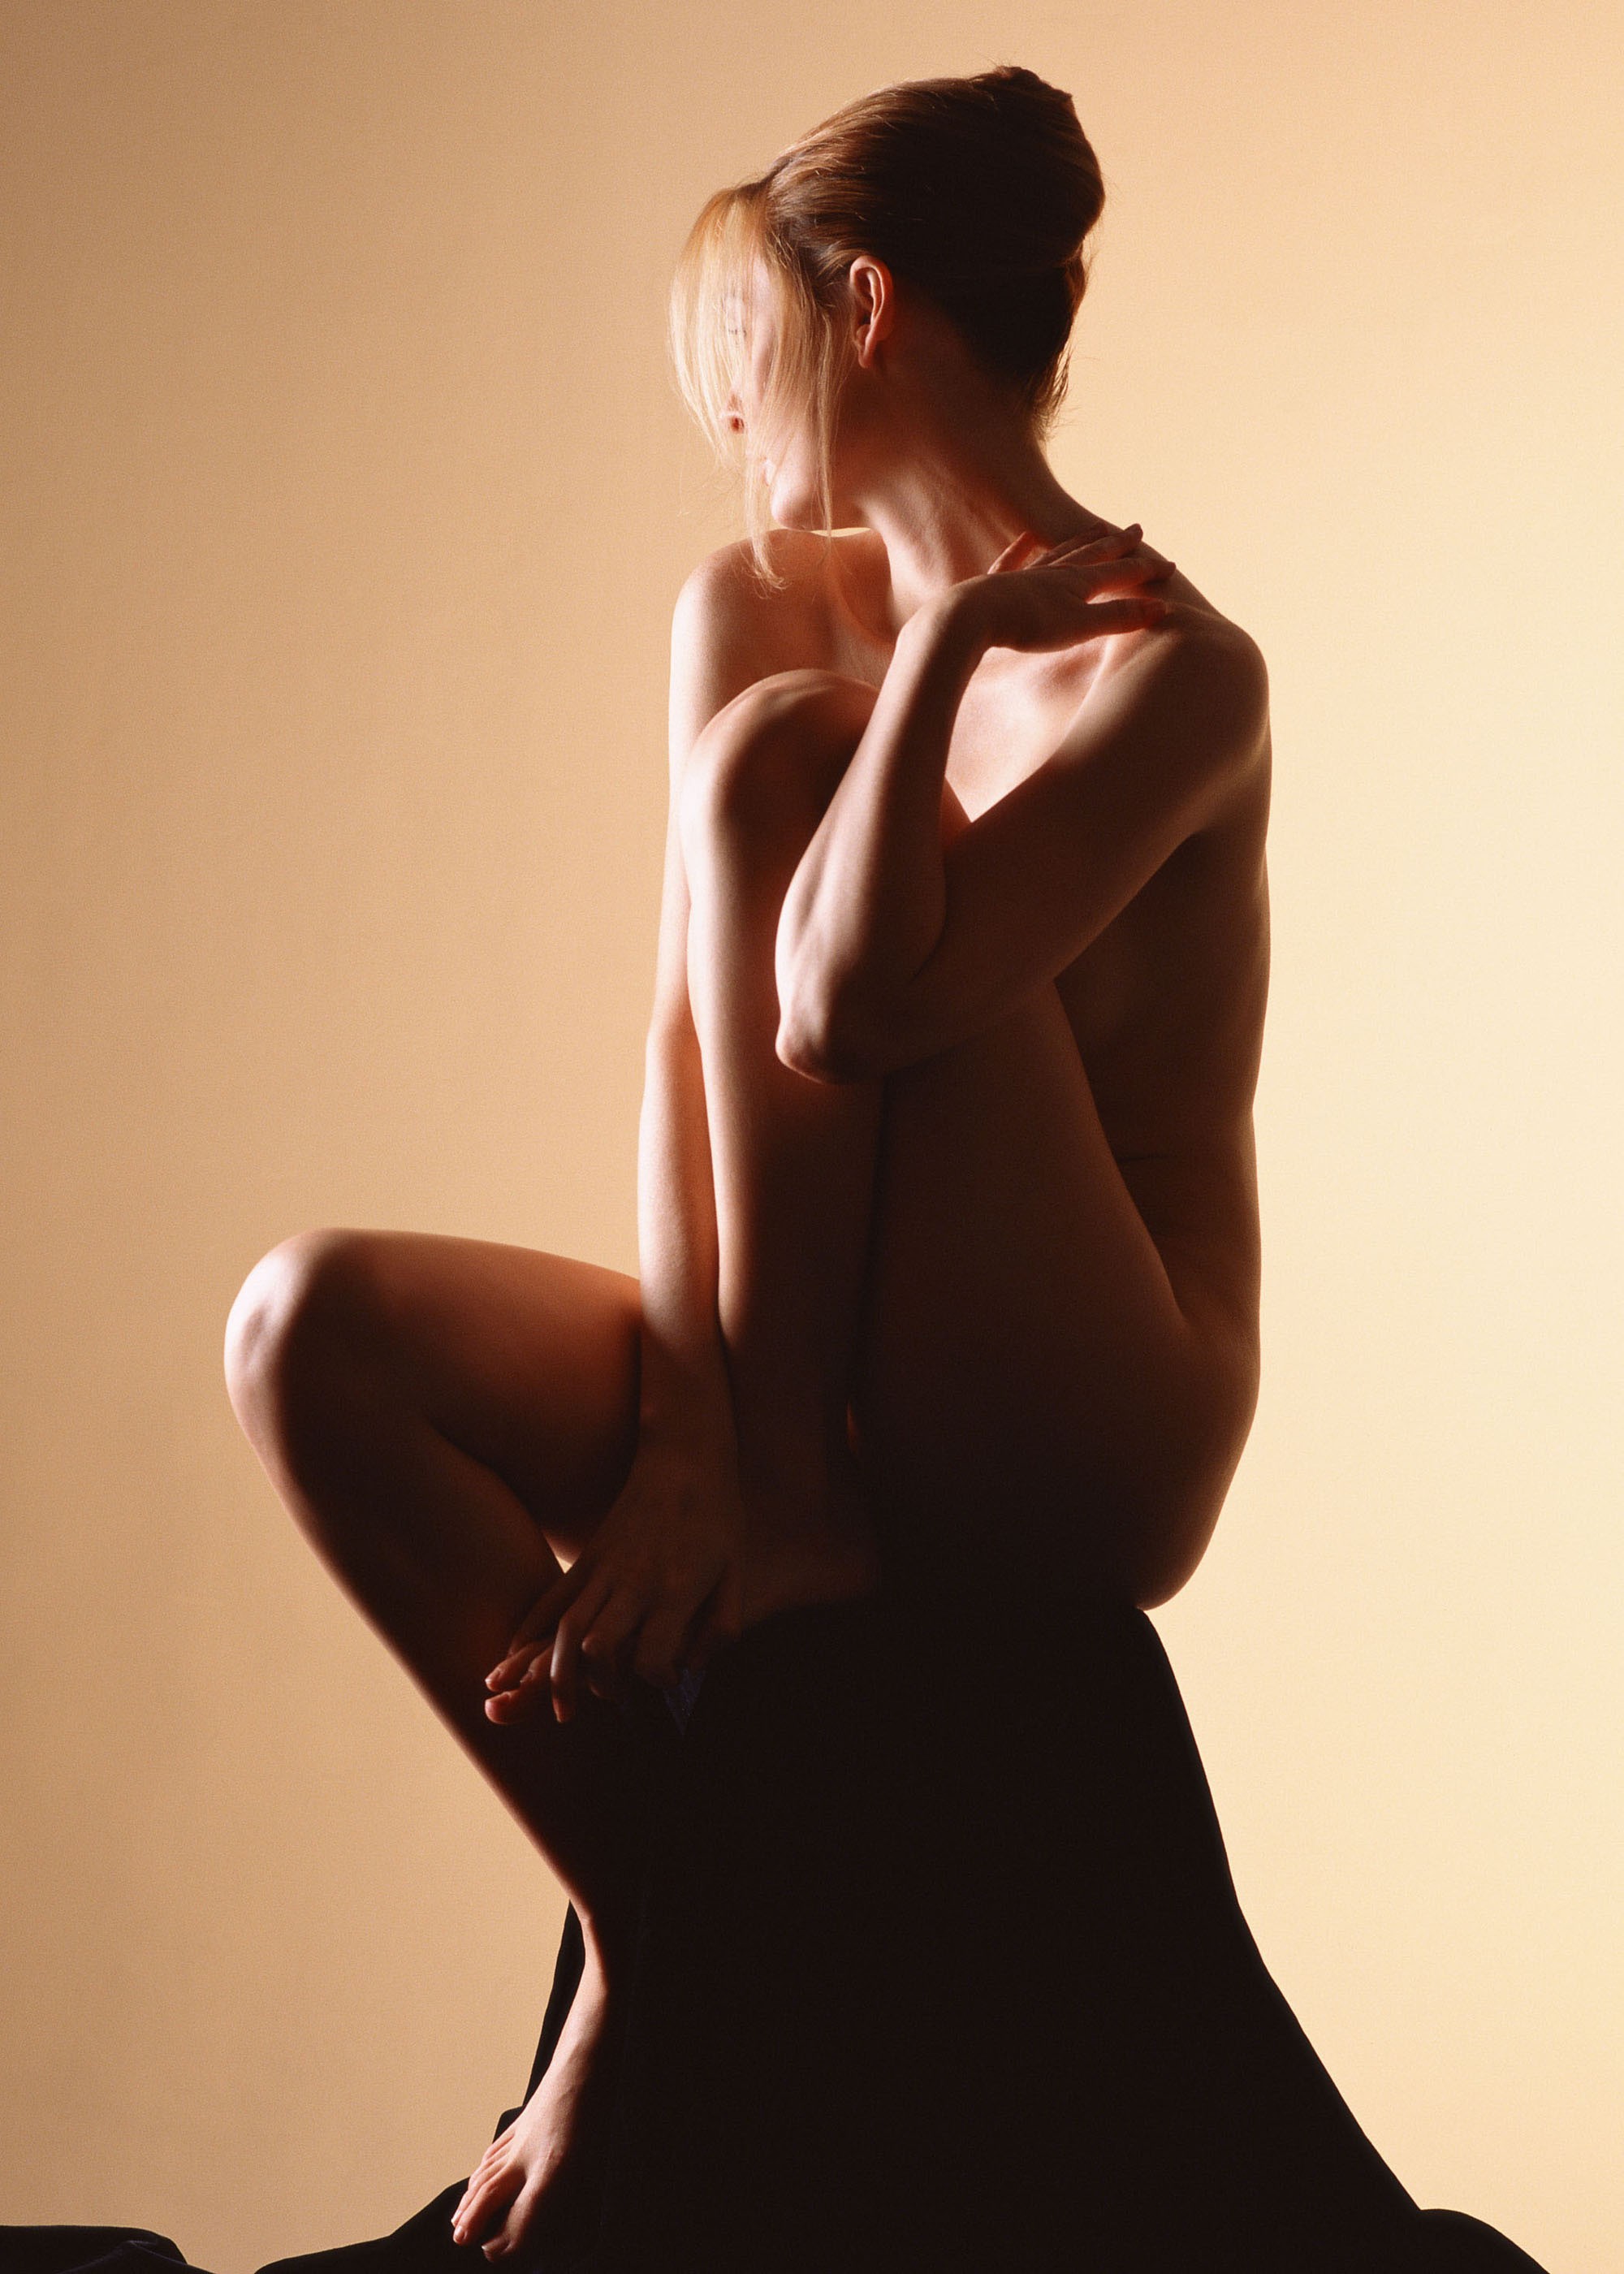
In this tutorial I will show you how to improve the look of a portrait image in a few quick steps. First, we need a picture. A big picture so we can make sure the details are not altered. For this tutorial I will use this picture:
To quickly edit this image, I will not use Photoshop. Instead I will use Reshade Image Enlarger that will to the job as good as Photoshop if not even better. So, here are the settings that I’ve used:
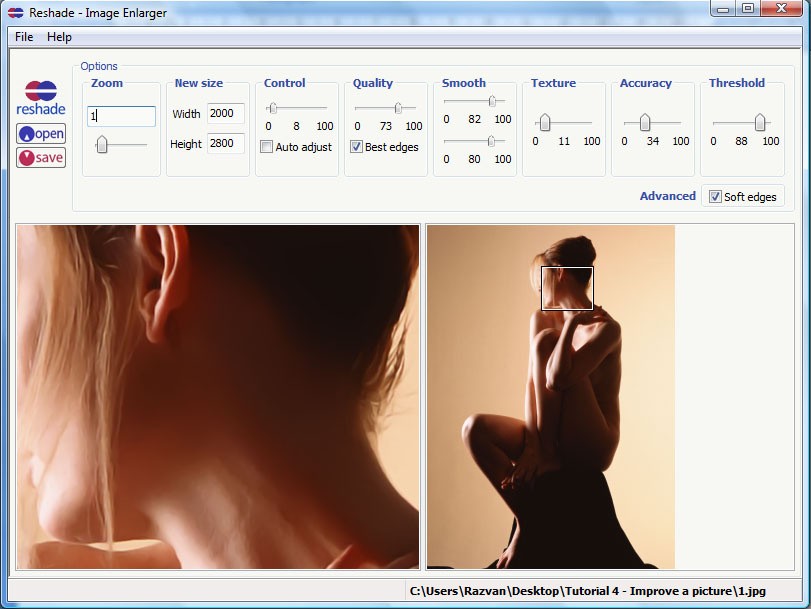
And here is the image:

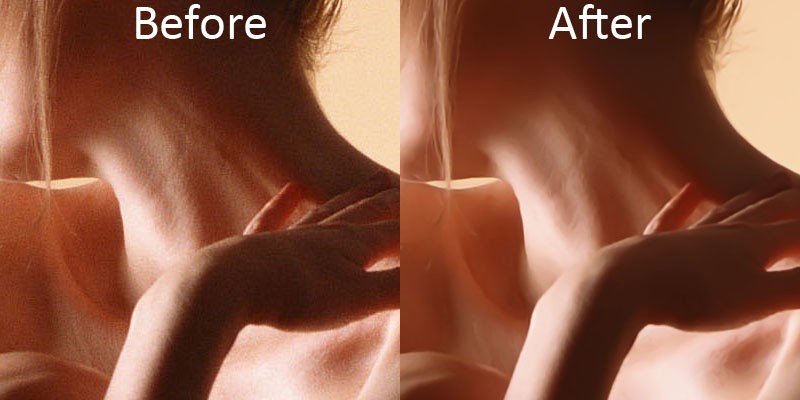
At first, the difference might not look that big, but zoom in and you will see what a big difference there is:
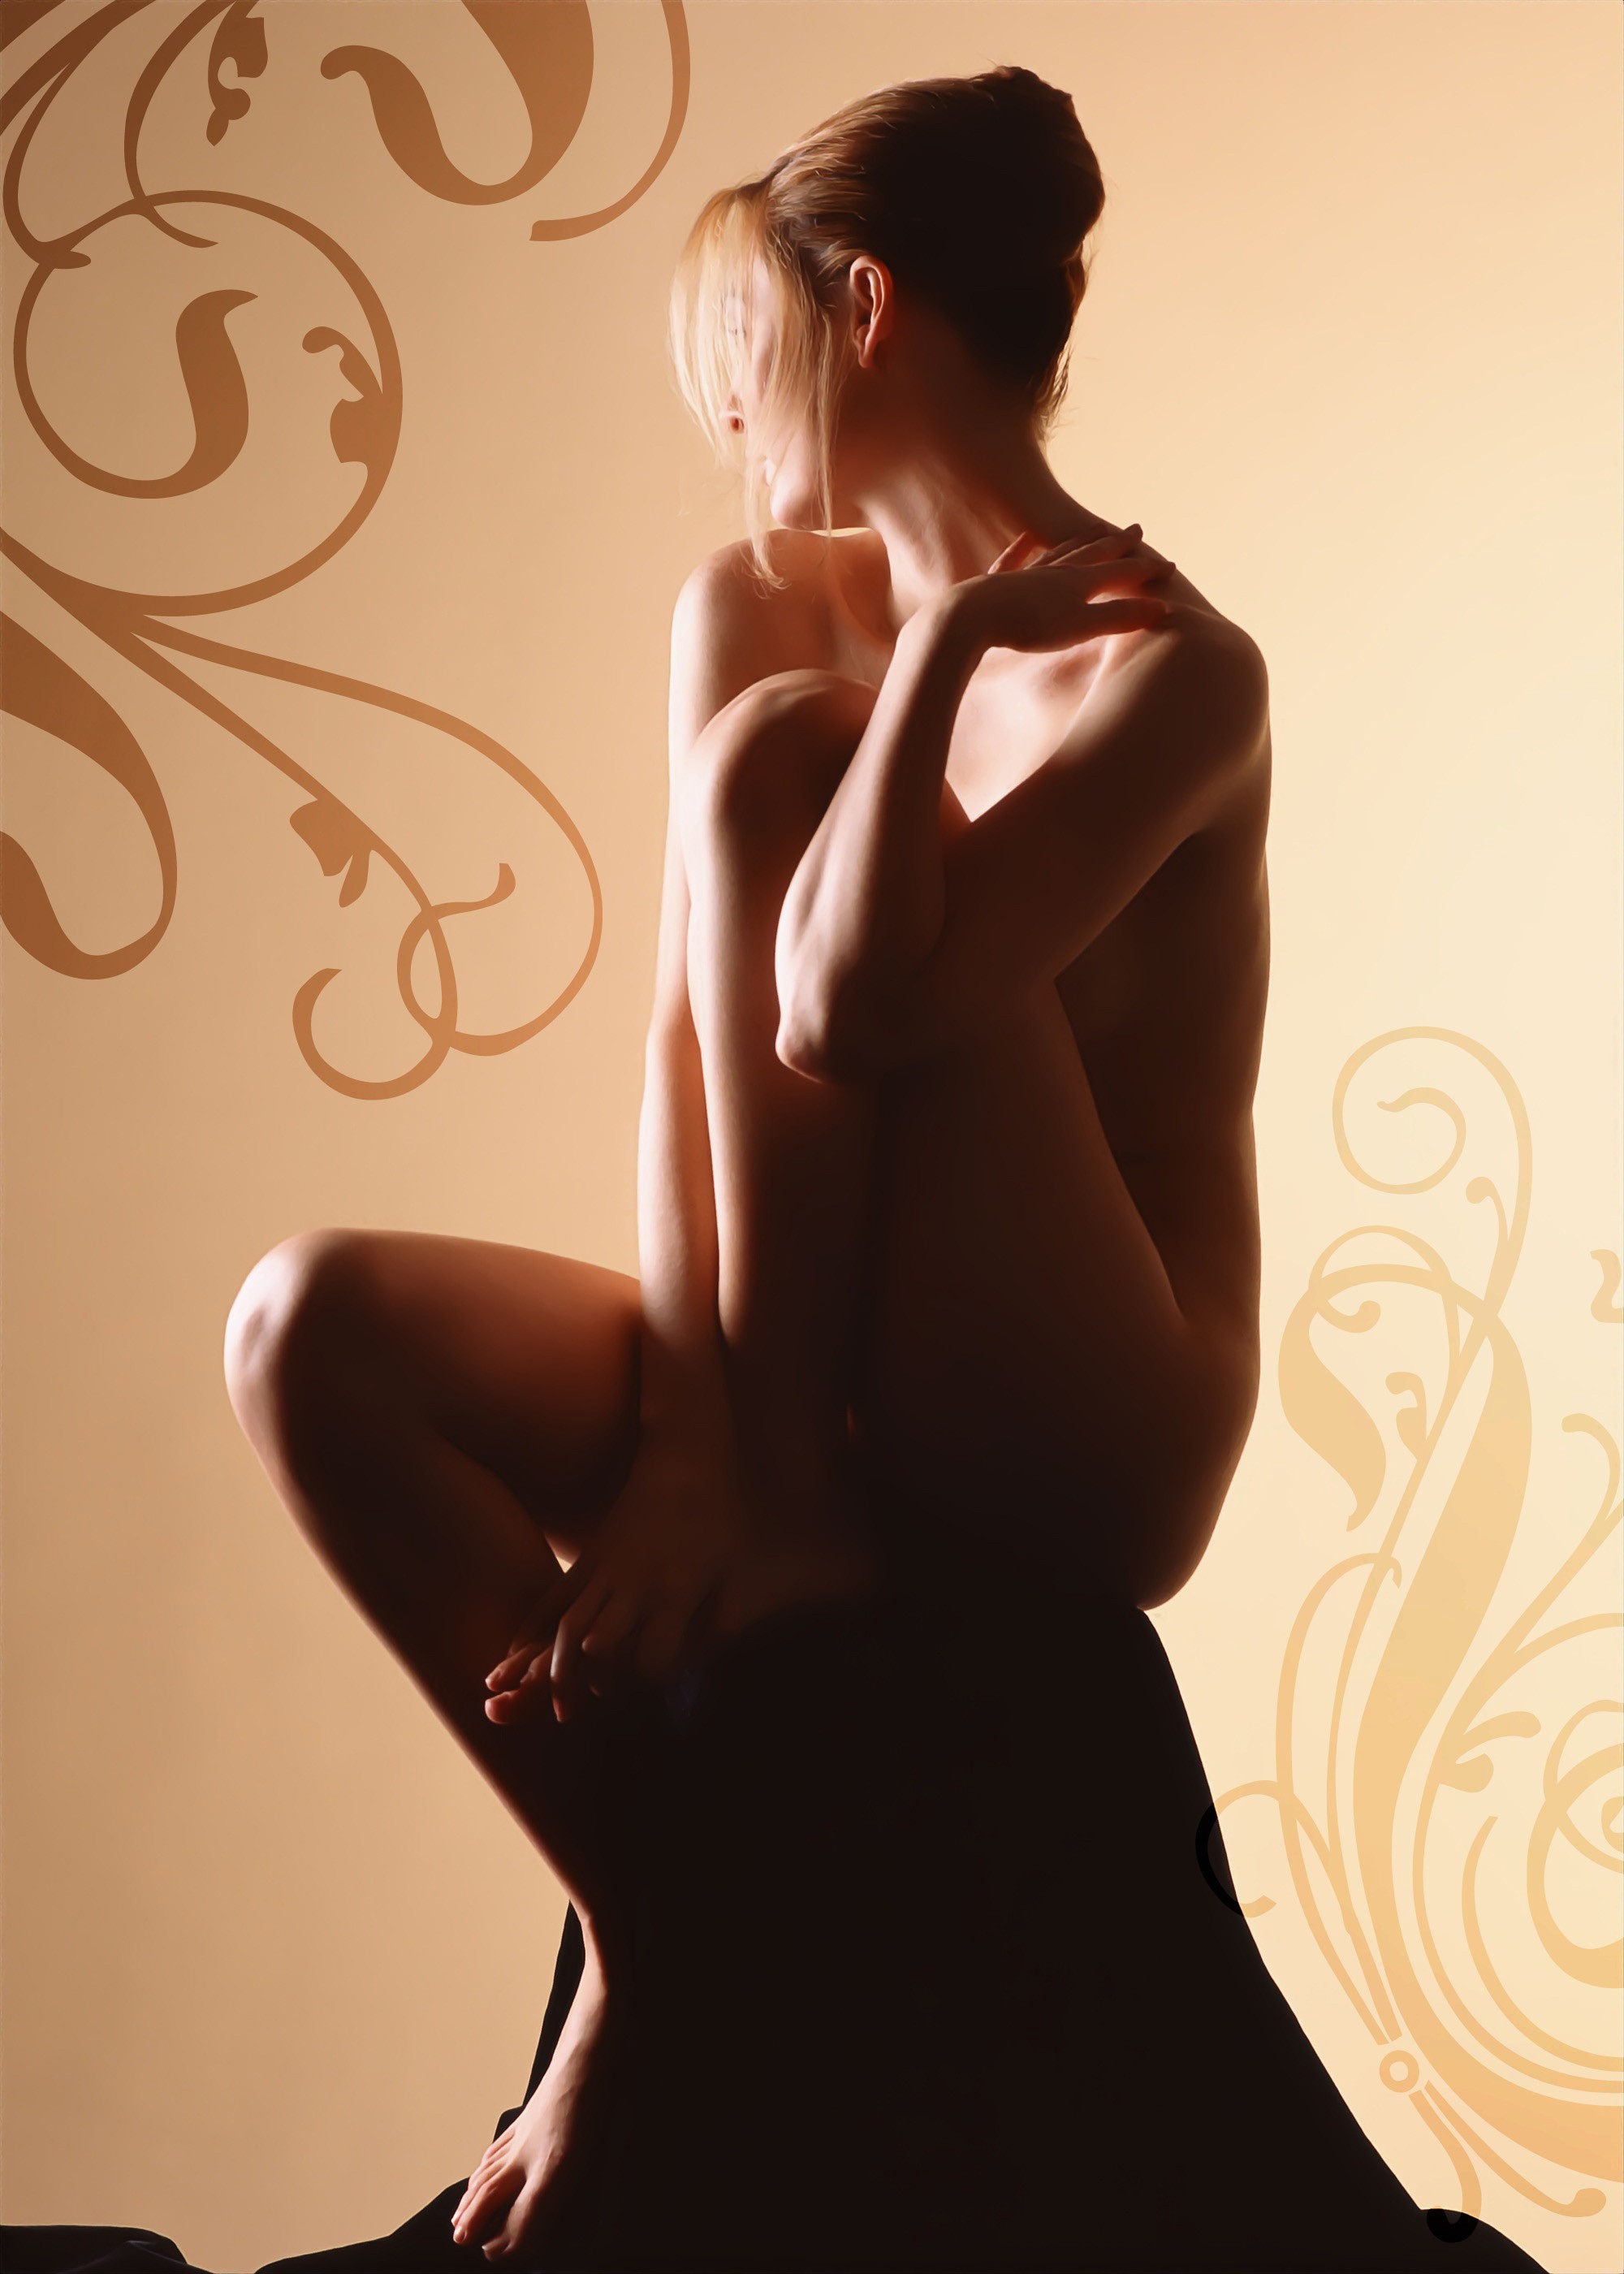
Now let’s add some cool curly lines over the image to give it a classy effect. So, I’ve created two images, using letters from the Rothenburg Decorative font (I’ve cropped some parts from the letters R and S). Here are the images:

Import the images in the project, put them in the corners and select the blend mode to Soft Light (both of them). The final image should look like this:
To quickly edit this image, I will not use Photoshop. Instead I will use Reshade Image Enlarger that will to the job as good as Photoshop if not even better. So, here are the settings that I’ve used:
And here is the image:
At first, the difference might not look that big, but zoom in and you will see what a big difference there is:
Now let’s add some cool curly lines over the image to give it a classy effect. So, I’ve created two images, using letters from the Rothenburg Decorative font (I’ve cropped some parts from the letters R and S). Here are the images:
Import the images in the project, put them in the corners and select the blend mode to Soft Light (both of them). The final image should look like this:
Tutorial Comments
Showing latest 2 of 2 comments

cant find out that with the smooth thing.
By Photoshopisfuture on Feb 22, 2009 1:28 pm

this is awsome! thx :]
By Forsaken-vampiress on Feb 16, 2009 9:50 am
Tutorial Details
| Author |
web
|
| Submitted on | Feb 12, 2009 |
| Page views | 17,699 |
| Favorites | 9 |
| Comments | 2 |
| Reviewer |
manny-the-dino
|
| Approved on | Feb 12, 2009 |