Tutorial
Click on thumbnailed images to enlarge
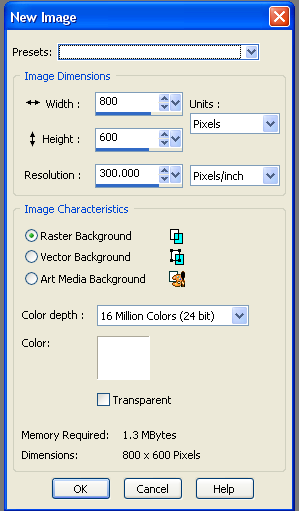
+ Create a new image. File > New/Ctrl+N. A pop-up should appear like the one below. Reset your settings to the ones shown.
+ Click OK and create a new raster layer. Layers > New Raster Layer > OK.
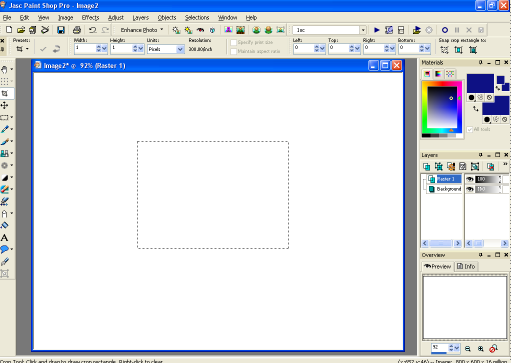
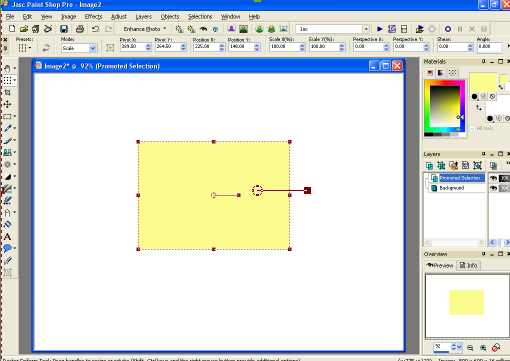
+ Select your Selection Tool ( ) and make a medium sized box in the middle of the image, as shown:
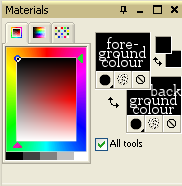
+ Keep with Raster 1, and select your Flood Fill Tool ( ). Change the foreground colour to fcf776.
+ Click inside the selection (still on Raster 1 and still with the yellow colour) and it should fill with the colour fcf776, as shown:

+ Click on the Raster Deform Tool ( ) and click inside the selected area. A pop-up should appear. Click OK.
+ Delete Raster 1 by right-clicking on Raster 1 in the small menu's to the right of the screen, going up to 'Delete' and pressing it.
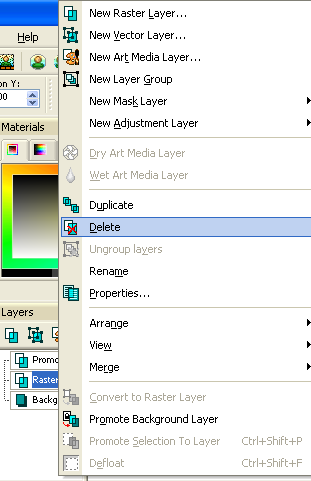
Press 'Yes' when the pop-up appears.
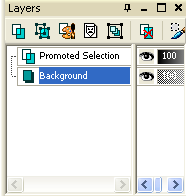
+ You should now be left with two layers. The Background and the Promoted Section.
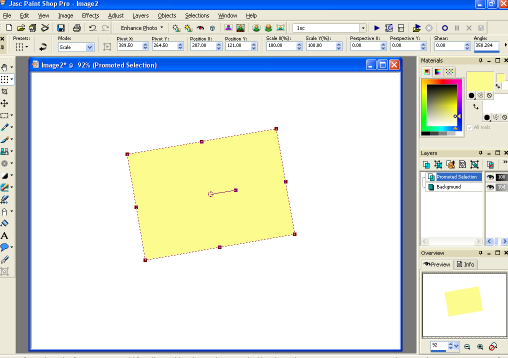
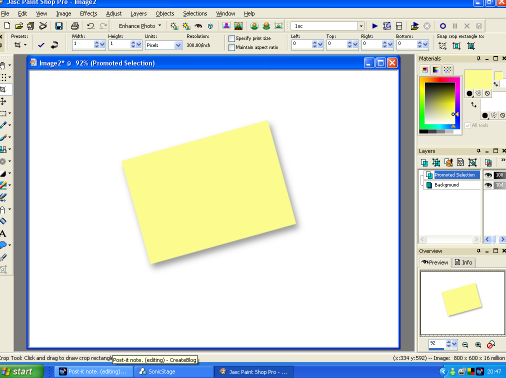
+ Click on the Promoted Section layer and then the Raster Deform Tool. The yellow rectangle should now be surrounded by small dashes with a circle in the middle which is linked to a small square.
+ Move your mouse over the small square and rotate the yellow rectangle to the left a little, as shown:
+ Now go to Effects > 3D Effects > Drop Shadow (click OK) and change your settings to the ones shown:
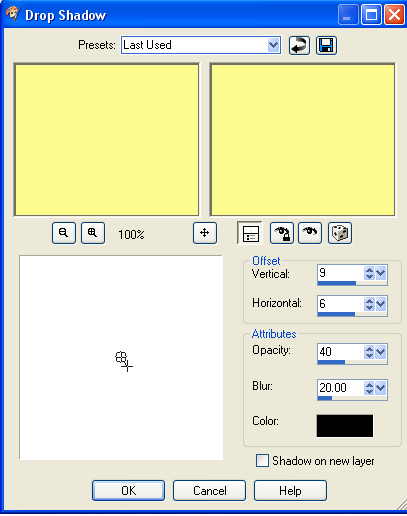
Click OK.
+ Your yellow rectangle should now look like:
+ Crop ( ) the Promoted Section layer to something like:
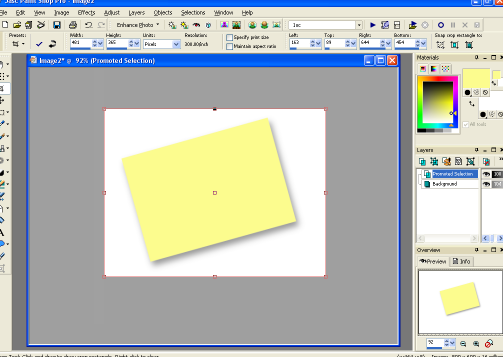
and press the 'tick' ( ).
).
+ And there it is! Your post-it note. =]
+ You could now add some brushes and text to it to make it more authentic:

Brushes by: http://inobscuro.com
+ Click OK and create a new raster layer. Layers > New Raster Layer > OK.
+ Select your Selection Tool (
) and make a medium sized box in the middle of the image, as shown:+ Keep with Raster 1, and select your Flood Fill Tool (
). Change the foreground colour to fcf776.+ Click inside the selection (still on Raster 1 and still with the yellow colour) and it should fill with the colour fcf776, as shown:
+ Click on the Raster Deform Tool (
) and click inside the selected area. A pop-up should appear. Click OK.+ Delete Raster 1 by right-clicking on Raster 1 in the small menu's to the right of the screen, going up to 'Delete' and pressing it.
Press 'Yes' when the pop-up appears.
+ You should now be left with two layers. The Background and the Promoted Section.
+ Click on the Promoted Section layer and then the Raster Deform Tool. The yellow rectangle should now be surrounded by small dashes with a circle in the middle which is linked to a small square.
+ Move your mouse over the small square and rotate the yellow rectangle to the left a little, as shown:
+ Now go to Effects > 3D Effects > Drop Shadow (click OK) and change your settings to the ones shown:
Click OK.
+ Your yellow rectangle should now look like:
+ Crop (
) the Promoted Section layer to something like:and press the 'tick' (
).+ And there it is! Your post-it note. =]
+ You could now add some brushes and text to it to make it more authentic:
Brushes by: http://inobscuro.com
Tutorial Comments
Showing latest 8 of 8 comments

wonderful
now if i could just find some
office supplies brushes for
paintshop :3
By symone610 on Jun 20, 2009 2:17 pm

thx!
By emmasawr on Jan 31, 2009 5:19 pm

wooooooooah wow. i came up with the same outcome sittin here with my jaw dropped just sayin NOOOOOOO WAAAAAAAAAAAYYY!!!! wow. i love this. i have been using psp 9 since it came out and i have never learned htis!! WOW thank u!
By emmijane on Sep 8, 2008 1:23 am

Opps srry i mean to say is--> when i get to the 3d effect i do everything right but when i press ok it just comes out a blur..help!
By Temarigirl92 on May 27, 2008 10:29 pm
r1e9n9e7e@yahoo.com
By Temarigirl92 on May 27, 2008 10:27 pm

how did you get those brushes?
By thatgirlisfamous on Apr 12, 2008 2:04 pm

your outcome is really cute.
"D
By manny-the-dino on Mar 17, 2008 8:09 pm
Tutorial Details
| Author |
PaintMyFace
|
| Submitted on | Mar 17, 2008 |
| Page views | 19,963 |
| Favorites | 36 |
| Comments | 8 |
| Reviewer |
agiri
|
| Approved on | Mar 17, 2008 |