
Tutorial
Click on thumbnailed images to enlarge
Virtual Makeover
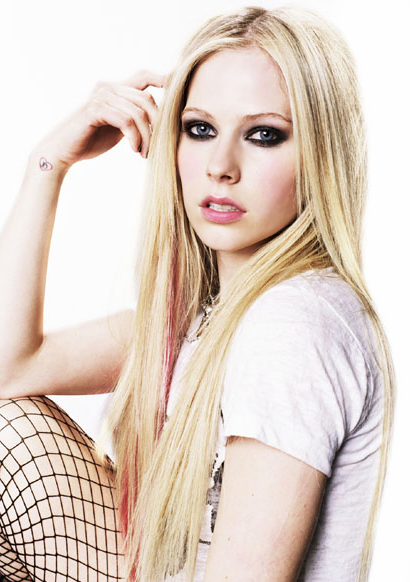
I will be using this image of Avirl Lavigne.
First, soften the skin and get rid of blemishes. Use the Soften Brush with the settings of Size: 5 and Hardness: 50.
Next, we’ll add blush. Create a new raster layer and colour the cheeks with a pinkish colour. I used #ff90d3.
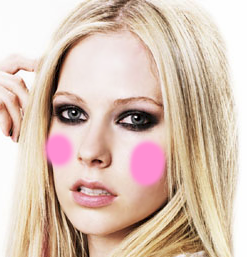
Then, set the raster layer’s opacity to 10%, or whatever you think looks best.
Next, create a new raster layer shade the lips. So again, pick a pinkish colour and colour over the lips. I used #f3137c. It doesn’t have to be perfect because you can erase the parts you don’t want after you set the opacity.

Then, set the opacity to 14%, or whatever you like. Then, erase the parts that go outside of the lip shape.
Now, create a new raster layer for the eyes. Colour over the eyes with a colour close to the original eye colour, or whatever colour you want. I used #4459a2.
After you’ve done that, set the opacity to 26%, or what you like.
When you’re done with the eye colour, create a new raster layer for the eye highlights. Colour in the eye colour with white. This will be where the eye ‘shines’.
Then set the opacity to 8%, or what you think looks best.
Now, create a new raster layer for the eye makeup. Line the eyes with a dark colour, I used #1e1c1d.
Then set the opacity to 28%, or whatever your preference is.
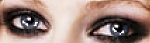
Now your image should look something like this:
Finally, merge all your layers. After they’re all merged, click on your Sharpening Tool. The settings I used are Size: 3 and Hardness: 50.
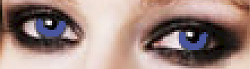
Sharpen the teeth, whites of the eyes, parts of the eye’s colour, and the white dot in the black part of the eye. I marked blue where you should sharpen:
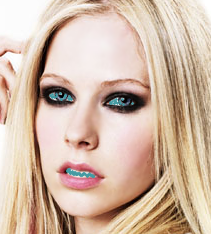
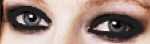
And viola, you’re done! This is how mine turned out:
You can find more tutorials on my website or on my myspace.
I will be using this image of Avirl Lavigne.
First, soften the skin and get rid of blemishes. Use the Soften Brush with the settings of Size: 5 and Hardness: 50.
Next, we’ll add blush. Create a new raster layer and colour the cheeks with a pinkish colour. I used #ff90d3.
Then, set the raster layer’s opacity to 10%, or whatever you think looks best.
Next, create a new raster layer shade the lips. So again, pick a pinkish colour and colour over the lips. I used #f3137c. It doesn’t have to be perfect because you can erase the parts you don’t want after you set the opacity.
Then, set the opacity to 14%, or whatever you like. Then, erase the parts that go outside of the lip shape.
Now, create a new raster layer for the eyes. Colour over the eyes with a colour close to the original eye colour, or whatever colour you want. I used #4459a2.
After you’ve done that, set the opacity to 26%, or what you like.
When you’re done with the eye colour, create a new raster layer for the eye highlights. Colour in the eye colour with white. This will be where the eye ‘shines’.
Then set the opacity to 8%, or what you think looks best.
Now, create a new raster layer for the eye makeup. Line the eyes with a dark colour, I used #1e1c1d.
Then set the opacity to 28%, or whatever your preference is.
Now your image should look something like this:
Finally, merge all your layers. After they’re all merged, click on your Sharpening Tool. The settings I used are Size: 3 and Hardness: 50.
Sharpen the teeth, whites of the eyes, parts of the eye’s colour, and the white dot in the black part of the eye. I marked blue where you should sharpen:
And viola, you’re done! This is how mine turned out:
You can find more tutorials on my website or on my myspace.
Tutorial Comments
Showing latest 6 of 6 comments

i dont have a Soften brush..and i use Jasc Paint Shop Pro :) Can someone help me?
By AdoreShawtyMane on Dec 28, 2010 6:16 am

very pretty :3
By Britanica on Jun 29, 2009 7:51 pm

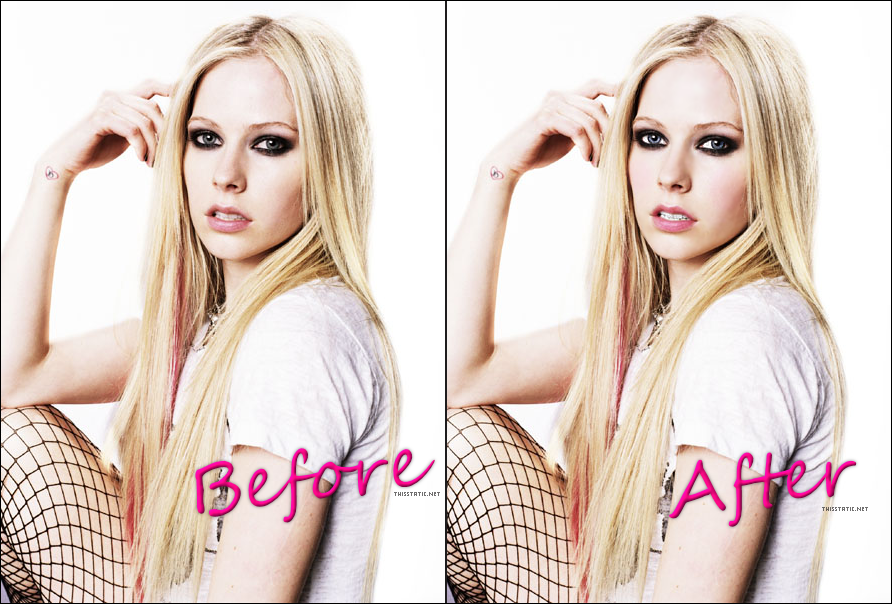
I wish there was more of a difference. To it. Easy to follow tutorial.
By Medi on Mar 12, 2009 4:53 pm

love it !!! i see a diffrence!!!!
By classypinkbarbie on Mar 12, 2009 1:12 am

Copy them, then put the 'Before' picture on a new layer on top of the 'After' picture, you'll see a difference.
By hospitalhorror on Mar 8, 2009 5:51 pm

i see no difference
?
By emileeexhale on Mar 8, 2009 5:22 pm
Tutorial Details
| Author |
hospitalhorror
|
| Submitted on | Mar 8, 2009 |
| Page views | 17,010 |
| Favorites | 19 |
| Comments | 6 |
| Reviewer |
manny-the-dino
|
| Approved on | Mar 8, 2009 |