Tutorial
Click on thumbnailed images to enlarge
I did this tutorial in Photoshop CS3 Extended which is why some of you may have problems. However, that does't mean this tutorial won't work in other versions of Photoshop. Just try it out.
Have you ever wanted to make a custom postage stamp with your face on it? Well now you can with my tutorial! :) I will be using the fabulous Audrey Hepburn...
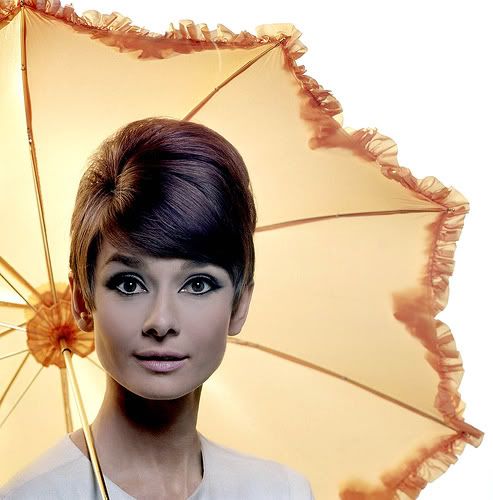
Here's the before:
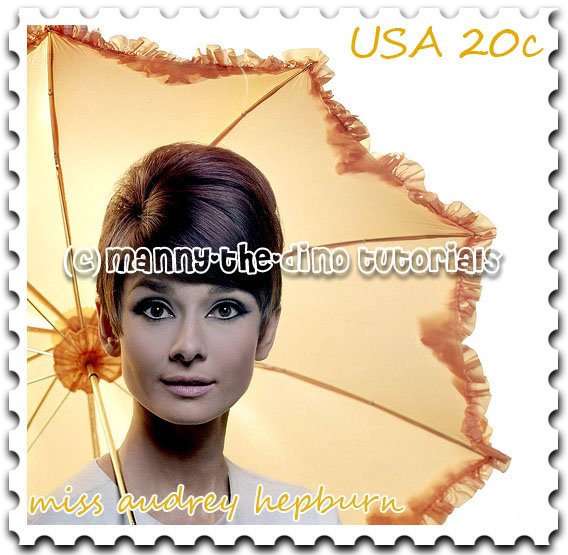
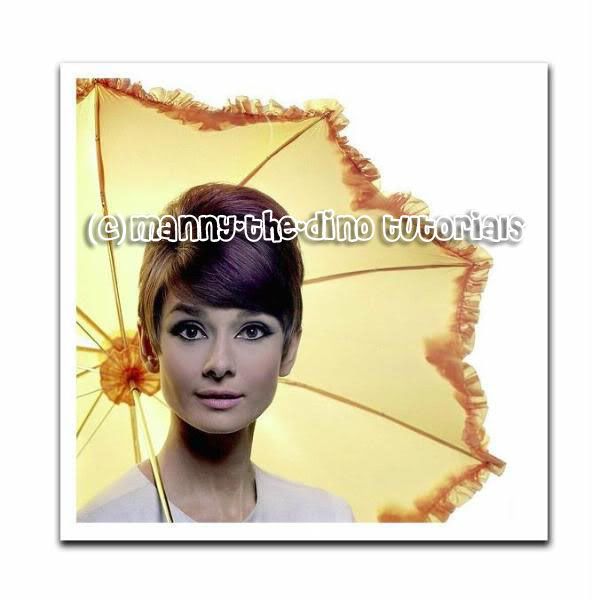
Here's the after:

Let's start!
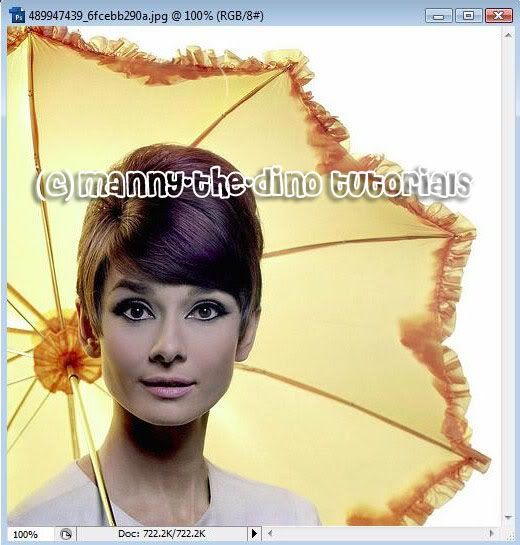
001.Open up the picture you want to use in photoshop.
002.Select the whole image by doing a ctrl+a.
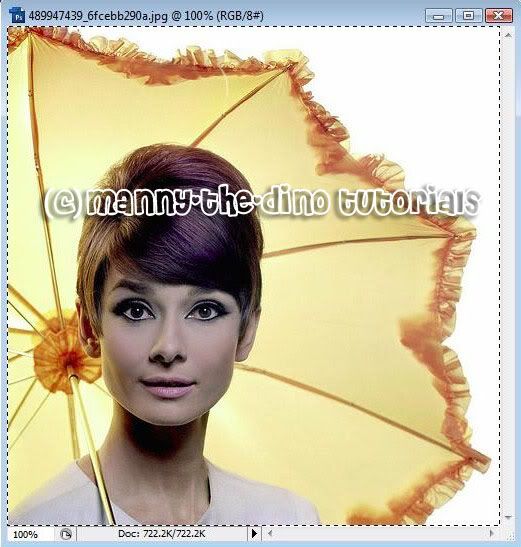
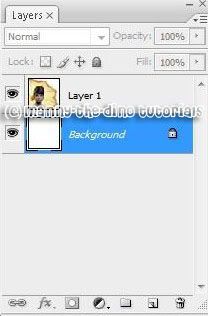
003.Cut the image from the background and put it into a new layer by doing a shift+ctrl+j.
004.Add some white space around your image by going Image>Canvas Size.
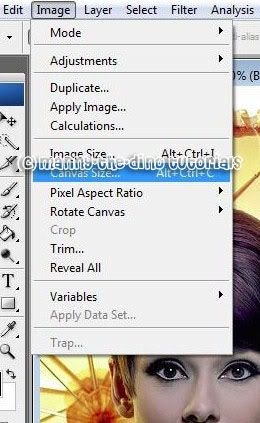
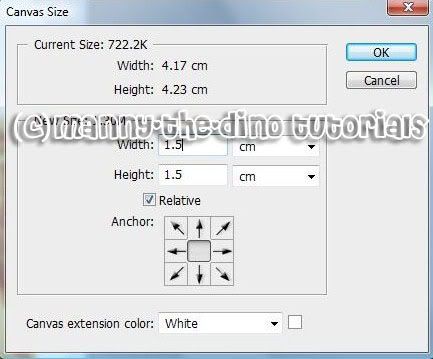
005.When the pop-up appears, apply the following settings:
Width: 1.5cm
Height: 1.5cm
Relative: Yes
Canvas Extension Color: White
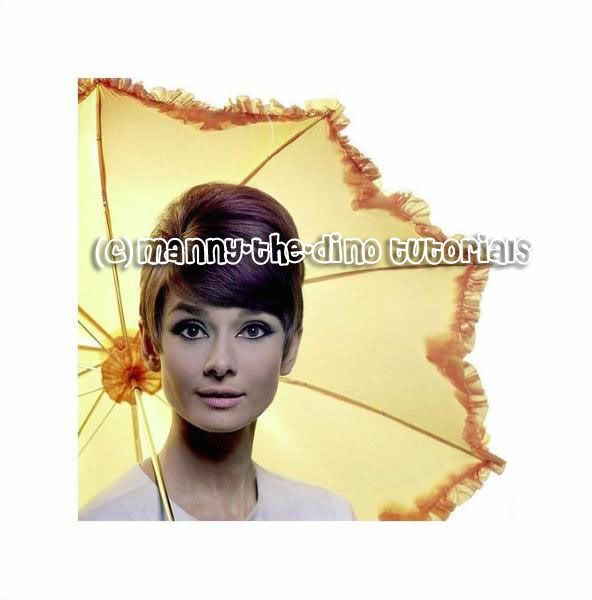
006.Your picture should look like this:
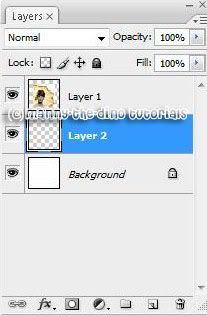
007.On the layers palette hold down ctrl & click on the "Create a New Layer" icon. This will add a new blank layer under the layer you have selected.
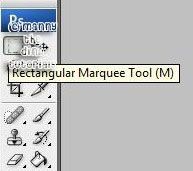
008.Now select the Rectangular Marquee tool.
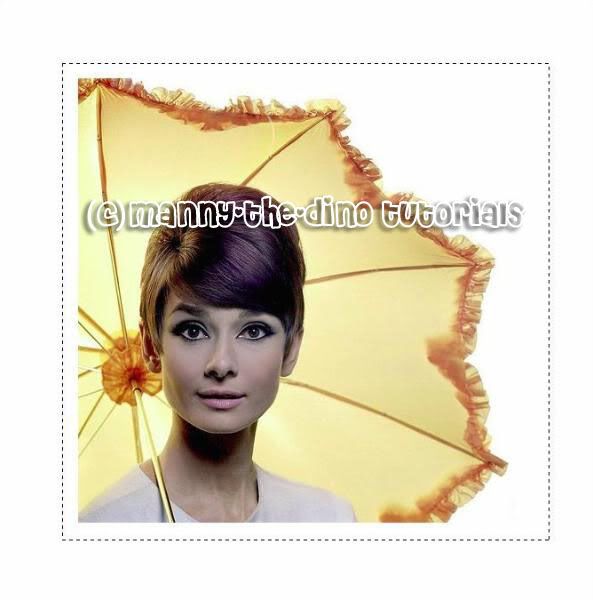
009.Draw a square around your image, leaving an even amount of white space all around. Look at my screenshot below if you're confused.
010.Set your foreground color to white. You can just click on that arrow near your foreground & background colors to switch the colors.

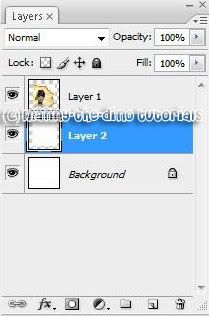
011.Now fill the square you just drew with white by doing an alt+backspace. Press ctrl+d to deselect the marquee. Your layers' paletter should look like this:
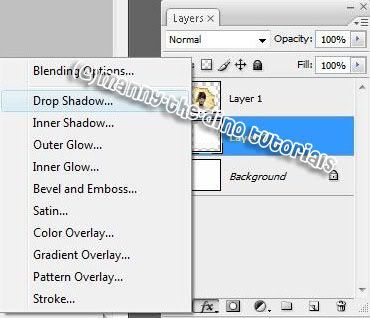
012.With the new white layer still selected, click on the "Add a Layer Style button" at the bottom of the layers palette & choose "Drop Shadow."
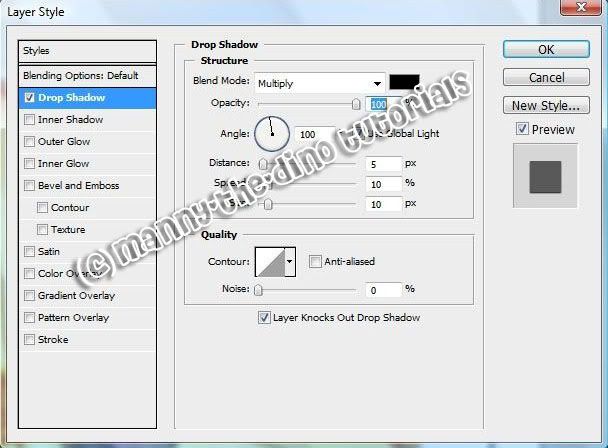
013.Apply the following settings:
Angle: 100
Distance: 5px
Spread: 10%
Size: 10px
014.your image should look like this so far:
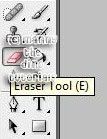
015.Now we’re going to use the Eraser tool as a brush to put the little holes on the border of the stamp.
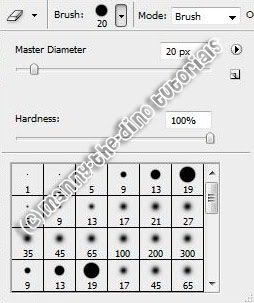
016.Set the mode to Brush, which can be done at the top. Click on the down-arrow beside the Brush preview to pick a brush. Set the brush to 20 pixels and the hardness to 100%.
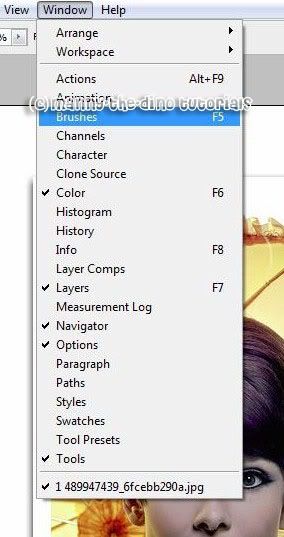
017.Now go Window>Brushes to open the brushes palette.
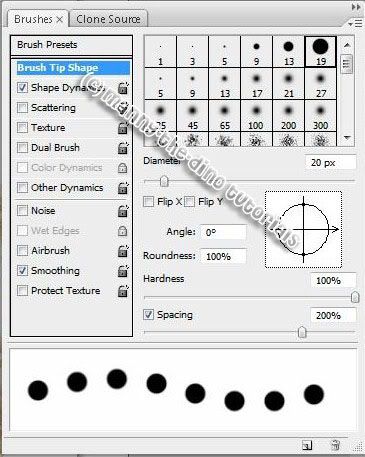
018.When the pop-up appears, click on "Brush Tip Shape" & apply the following settings:
Spacing: 200%
(Make sure the spacing check box is checked first.)
019.Now hold down the ctrl key & click on the white rectangle layer thumbnail (the one with the drop shadow on it). This selects what's in the layer.
 ]
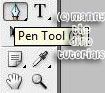
]020.Select the Pen tool.
021.Now go Window>Paths. This will open up the Paths palette.

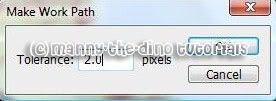
022.Click on the triangle in the top right corner of the paths palette & choose "Make Work Path."

023.Enter 2.0 for your tolerance & click OK.
024.A new path will appear in the paths palette called “Work Path”. Click on this path, click on the triangle at the top right & choose "Stroke Path."
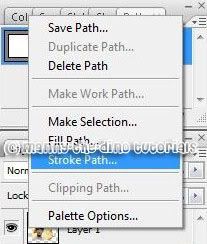
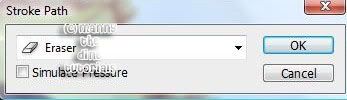
025.When the stroke path dialog box appears, choose "Eraser". Click OK.
026.You will notice that you have your postage stamp effect but there's a thin black line around the image. Don't worry, we can get rid of it. Just go back to the paths palette & click below the Work Path to deselect it. Your image should look like this now:
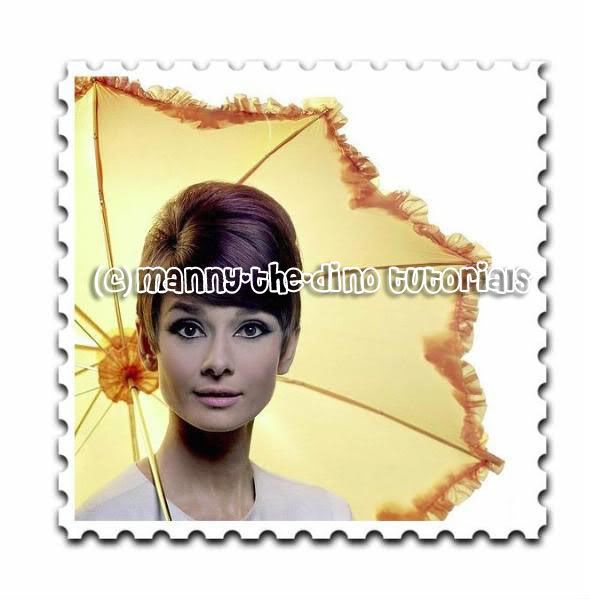
027.Now to finish up & make it look like a postage stamp, add some text & you have your final result! :)
If you got lost or have any questions, comment the tutotial & I'll get back to you as soon as I can. :D
Tutorial Comments
Showing latest 10 of 11 comments

lovelyy (:
x

I'm doing great so far, but I get stuck at step 24. It won't let me click Stroke Path.

very cool! thx♥

awesome! I love this!!!

hi haw do i do it ok i sow the pics but were on what program

Thank You!
Ive been looking for this for literally counting 3 months

cool.
love it

k i reloaded the screenshots onto my photobucket account so they're up now..
enjoy! :)
I'M SORRY GUYS BUT THE PICS AREN'T WORKING RIGHT NOW. I TOLD CB & THEY HAVEN'T RESPONDED YET SO BE PATIENT!
THANKS & SORRY!! :)
Everything was fine even without the pix until number 19. I dont get it from there on because I tried to create the work path but the button was disabled for some reasons...please help!
Tutorial Details
| Author |
manny-the-dino
|
| Submitted on | Oct 22, 2007 |
| Page views | 44,093 |
| Favorites | 80 |
| Comments | 11 |
| Reviewer |
IVIike
|
| Approved on | Oct 22, 2007 |