Tutorial
Click on thumbnailed images to enlarge
Iconesque Colouring pt. 4
Note: I use Photoshop CS, but I'm almost sure that this is translateable into other programs
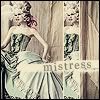
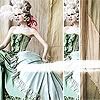
The icon we will be making:
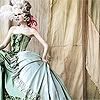
Step One: Grab your base
Step Two:
Taking my rectangular marquee tool, I selected the main area of Le Mistress:
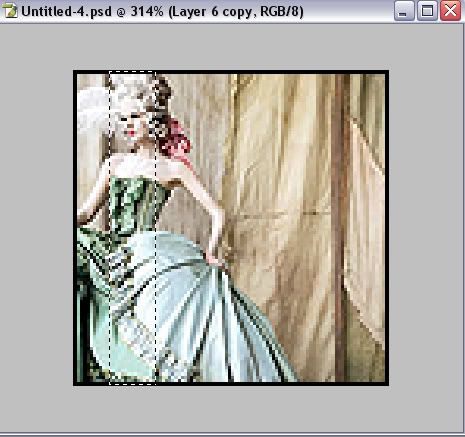
With that selected, I then hit cntrl+c to copy and then pasted it, thus causing it to be on a new layer also, and I moved the selection off to the side a bit. I then took my pencil tool, right click on the brush tool and click Pencil Tool, and selected a 1px brush thing, I zoomed in and outline the two sides of the selection giving me this:
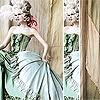
Step Three:
I took a brush, that came from [url=http://community.livejournal.com/iconistas/14867.html]here[/url], and in white, I stamped it off to the right, not quite in the middle of the icon.
Step Four:
I add my mistress text!
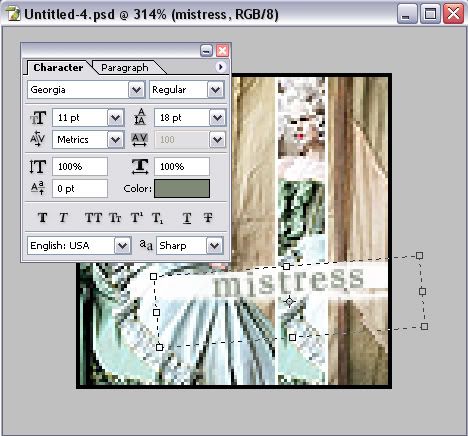
The colour was #7F8977, in Georgia, size 11, with a kerning of 100.
Step Five:
Create a new layer above all this mess, fill it with #FFE8C7 and set it to Multiply.
Step Six:
Create another new layer, fill it in with #080021 and set it to Exclusion.
Step Seven:
Create a new layer, fill it with black ( #000000 ) and set it to Color with a 40% Opacity. This gives it a washed out look, which is way better than the really orange one from before.
Step Eight:
Add a border, and voila! You're done!
Note: I use Photoshop CS, but I'm almost sure that this is translateable into other programs
The icon we will be making:
Step One: Grab your base
Step Two:
Taking my rectangular marquee tool, I selected the main area of Le Mistress:
With that selected, I then hit cntrl+c to copy and then pasted it, thus causing it to be on a new layer also, and I moved the selection off to the side a bit. I then took my pencil tool, right click on the brush tool and click Pencil Tool, and selected a 1px brush thing, I zoomed in and outline the two sides of the selection giving me this:
Step Three:
I took a brush, that came from [url=http://community.livejournal.com/iconistas/14867.html]here[/url], and in white, I stamped it off to the right, not quite in the middle of the icon.
Step Four:
I add my mistress text!
The colour was #7F8977, in Georgia, size 11, with a kerning of 100.
Step Five:
Create a new layer above all this mess, fill it with #FFE8C7 and set it to Multiply.
Step Six:
Create another new layer, fill it in with #080021 and set it to Exclusion.
Step Seven:
Create a new layer, fill it with black ( #000000 ) and set it to Color with a 40% Opacity. This gives it a washed out look, which is way better than the really orange one from before.
Step Eight:
Add a border, and voila! You're done!
Tutorial Comments
Showing latest 2 of 2 comments

I love it. Thanks for making it!
By Anwen on Sep 15, 2008 9:06 pm

wow.
By guccci on Jul 20, 2007 10:16 am
Tutorial Details
| Author |
technicolour
|
| Submitted on | Aug 13, 2006 |
| Page views | 52,527 |
| Favorites | 92 |
| Comments | 2 |