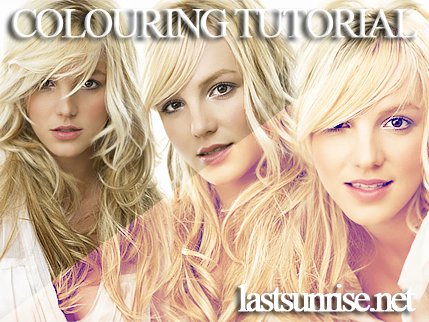
Tutorial
Click on thumbnailed images to enlarge
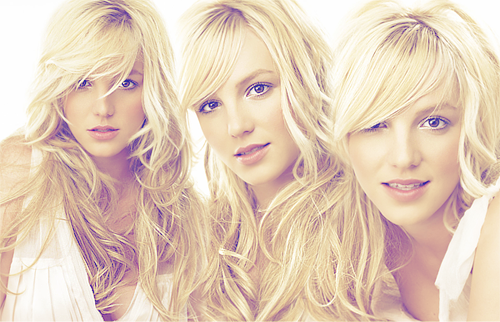
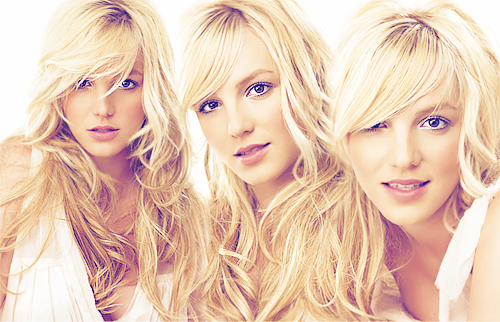
I'm using this blend I made of Miss Spears:
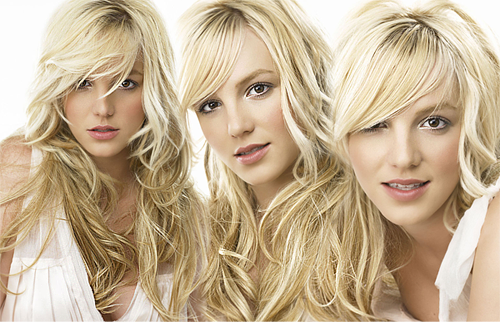
And we're going to turn that into this:
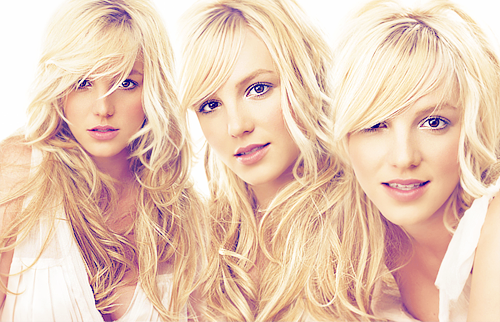
So let's do it.
Open your picture.
REMEMBER that all colour techniques work differently with each image: You have to play around to get what you're looking for.
This is what works with MY images, so you should know what you're doing to use this tutorial.
01 Curves;
After sharpening my image up a bit, I added a new curves layer (Layers > New Adjustment Layer > Curves)
RGB
Input: 24
Output: 32
Input: 136
[i]Output: 176
Input: 255
Output: 255
Blue
Input: 0
Output: 110
Input: 172
Output: 164
Input: 255
Output: 255
This makes the shadows look a lot softer and nicer.
This is what Britney looks like with that set of Curves:
02 Gradient Map;
Okay, go Layers > New Adjusment Layer > Gradient Map.
Now go to the simple gradients:
Choose the brown gradient.
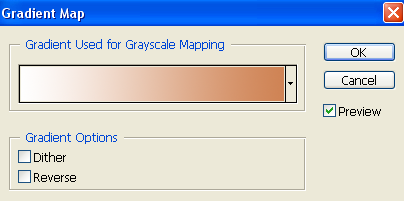
Double click on the gradient.
You get a window like this:
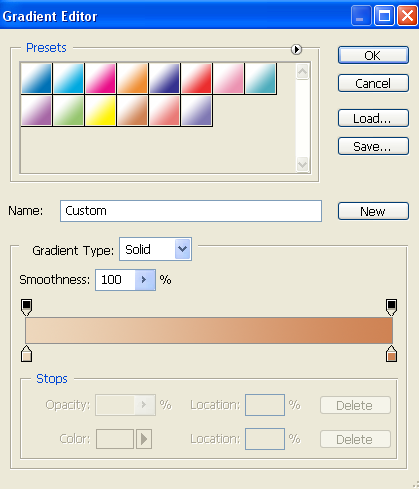
Replace the white colour by clicking on the box on the lower left of the gradient bar.
Then double click at the bottom where it says "Colour".
Select a mid-brown/skin shade to replace the white.
I used the eyedropper tool to grab a colour from Brit's face (edd7bc)
Click OK, and close the gradient window.
Now set this layer to OVERLAY, at 30-50% opacity.
This is the result of that layer:
03 Duplicate;
Duplicate your layer with your image on (select the layer and press CTRL+J).
Drag this layer up to the top of your layers window.
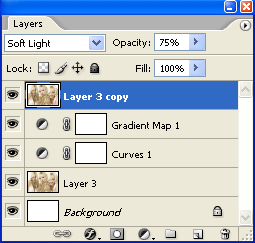
Set this layer to SOFT LIGHT, at around 75% opacity.
This is what your layers window should look like now:
And this is what Ms Spears looks like now:

04 Hue/Saturation;
Now add Layer > New Adjustment Layer > Hue/Saturation.
Hue: -6
Saturation: +11
This doesn't seem like it will make a difference but it does.
Check out Britters now:
05 Final touches;
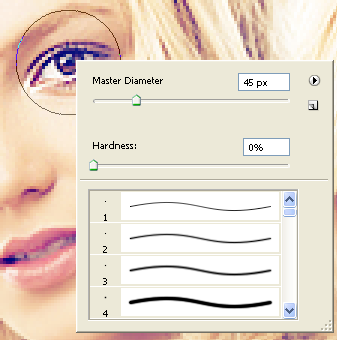
I then merged my layers, and burned Britney around the eyes.
My Burn Tool brush is set to shadows with an exposure of 39%.
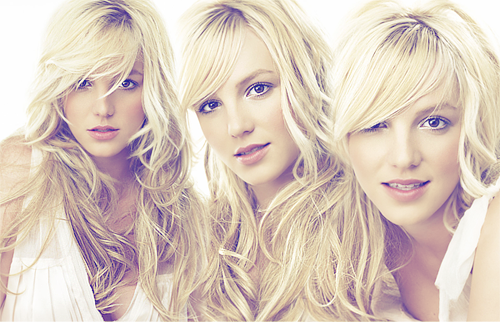
Finally, Britney is all done:
You now have your final product. Save For Web > Save as PNG for best quality, especially if you have used text.
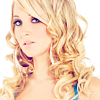
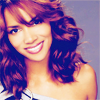
Some icons with the same effects:

Tutorial Comments
Showing latest 10 of 15 comments

Does this work for Photoshop Cs3? :/

so pretty...

I absolutely love this tutorial, it worked great with cs4!!! thank you bunches!!

Curves:
The sets of curves are for each different point,
Like, the curves have 2 points when you open them up, one at the top, one and the bottom,
And then if you click on the line in the middle, it adds another point,
So basically, the different sets of curves are for each point:
So one point should be 24 input, 32 output,
The next point should be 136 input, 176 output
And the last point should be 255 input, 255 output.
And you go along like that.
Hope that helps somewhat?
I'm not very good at explaining :P
i don't get the stuff with the curves o_O
What version of photoshop do you have, because I only have CS2 and thats where my gradient came from.
Sorry but might I ask where you got your gradients? Or was a default? Cuz I don't have it. o_o
I don't know anything about Photoshop Elements at all, sorry. :(

I have the same version of Photoshop & I don't get how to do the curves thing 3 times too. o__o;; help please ?
i have photoshop elements 5.0 and when i try to get the curves layer, it wont let me... what do i go to? someone please help [;
Tutorial Details
| Author |
aliiicimo
|
| Submitted on | Jul 9, 2009 |
| Page views | 13,981 |
| Favorites | 72 |
| Comments | 15 |
| Reviewer |
manny-the-dino
|
| Approved on | Jul 10, 2009 |