Tutorial
Click on thumbnailed images to enlarge
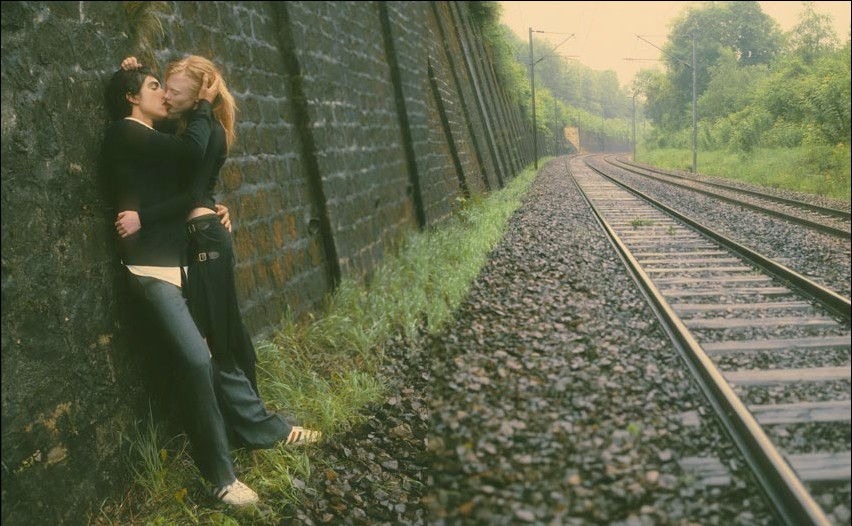
Okay, I was messing around with pictures. I came up with some really cool stuff and put it all together randomly for you guys. lol. Now, open your photo. I'm using this one from Eugenio Recuenco.
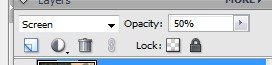
Step One: Duplicate your background (ctrl+j). Set to Screen at 50%.
I can't provide a picture for this part, sorry.
Step Two: We are going to add a radial blur. So go to Filter>Blur>Radial Blur. Apply my settings:
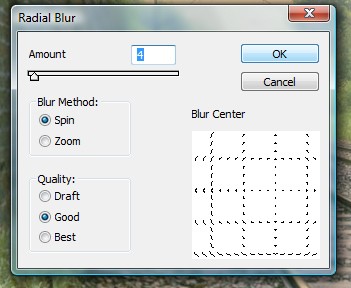
Also, in the white preview area. Offset the center so that it hovers around the distant point of the railroad (if you are using the same picture). If you are not using the same picture, keep the photo intresting by not keeping the center.
It should look close to this:
It may look no different but look at the girl's hand. See?
Step Three: Next, select the Pologonal Lasso Tool. Or which ever you are most comfortable using. Also depends on your photo.
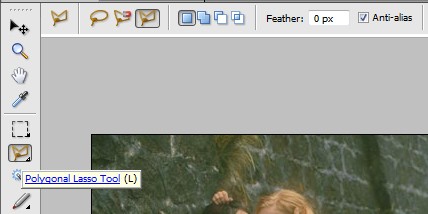
Draw around the area of the guy and girl (or your subject). Make sure you are on the same layer we applied radial blur too and NOT the background layer. It doesn't have to be perfect!
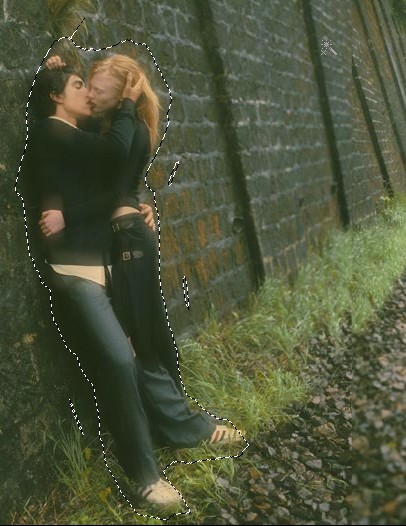
Step Four: Copy the selection (ctrl+c) and paste (ctrl+v) onto a NEW LAYER! Set this to Normal and Opacity to 20%.
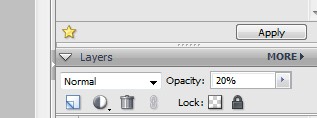
Once again, looks like it doesn't do anything to your photo but it does.
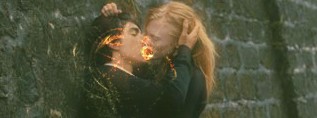
Step Five: The kiss effect! Whoo-hoo. I used this picture:
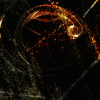
but you can use any with this kind of glow thing. I don't know what to call it, lol.
Open this as a new picture and DO NOT PASTE ONTO YOU PICTURE!
Step Six: Select the black area with the Magic Wand Brush. Now go to Select>Inverse. Copy this new selection (ctrl+c).
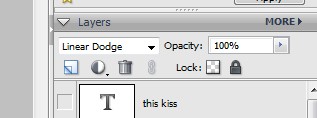
Step Seven: Paste (ctrl+v) the selection onto a NEW LAYER! Set the layer to Linear Dodge, 100%.
Step Eight: Position the glow over the lips.
You can rotate the glow some as I did. Just move it however you would like.
Step Nine: Use a grungy-ish brush to remove the edges on the glow selection. Otherwise, you may see the edges and the "square." I also removed the glow from the faces (not all of it) but NOT THE LIPS so that you can see them.
OPTIONAL SECTION! SKIP TO STEP 16 IF NOT USED!
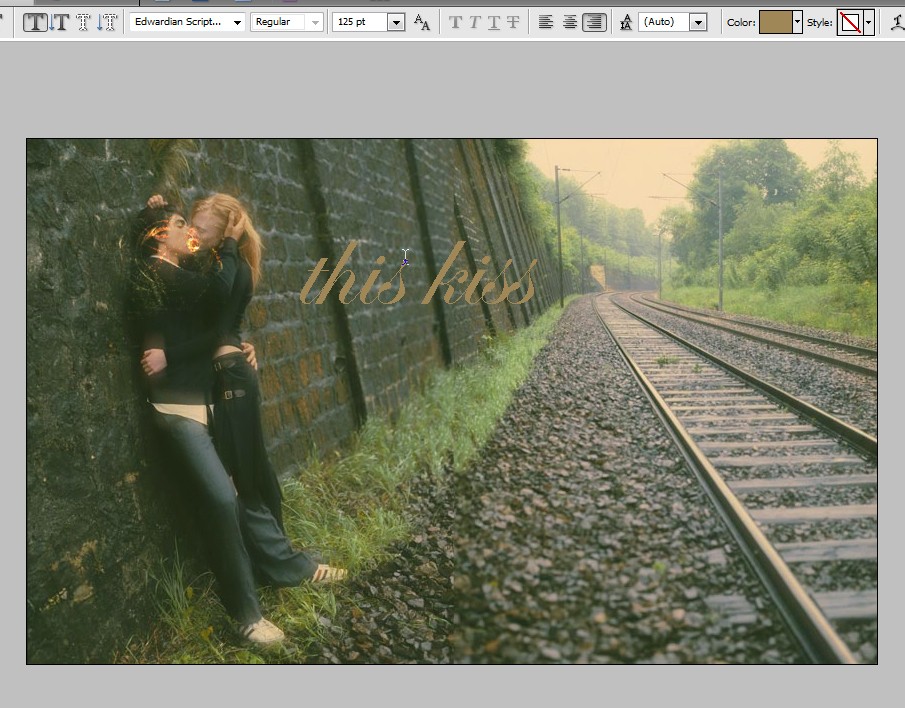
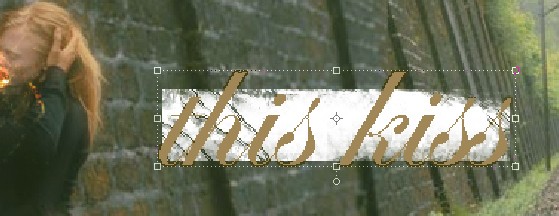
Step Ten: Add your font! I used this (a08757) colour and the font: Edwardian Script ITC size 125 pt. Your font can be whatever colour but I used this dull brown because it reflects the style of something we add later to the photo. If you are using a different photo/colour scheme make certain to change this style later on in the photo. (I will let you know what I'm talking about so you're not so confused later. haha.) Take a look at my example (and settings for font):
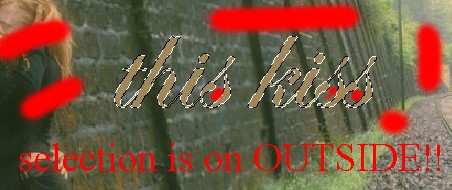
[b]Step Eleven: Here's where we get a bit complicated. Using your Magic Wand tool (red) and these settings,

(ON YOUR FONT LAYER) click any point around the outside of the font. Now, press and hold the shift key to select each section inside each "s." (Depending on font/words.) Shown here:
Step Twelve: Now go to Select>Inverse.
Step Thirteen: Create a new layer but KEEP THE SELECTION! Select this Layer.
Step Fourteen: Edit>Stroke.
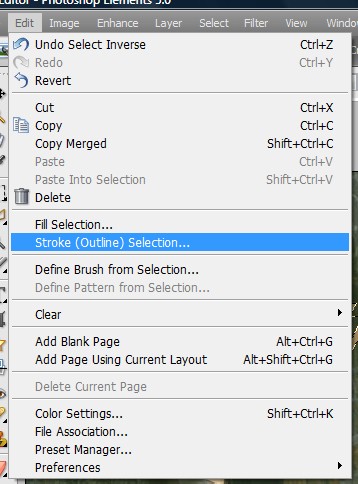
Settings: (color: 434016)
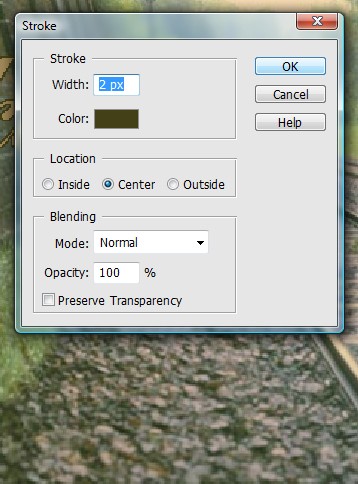
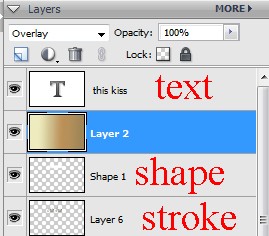
Click okay. Move stroke layer under the font layer.
Step Fifteen: Okay. This is all freestyle. So I'm only including one picture. Use your shape tool and create a shape to go underneath your font. I used a plain rectangle and white. Use grungy brushes (or a style to fit your photo) and take off the edges to make it less boring. Move this layer ABOVE the Stroke Layer but UNDERNEATH the font layer. Notice how it covers your storkes? That's what ya want.
Step Sixteen: Almost done! :) I used a preset Gradient but incase it isn't a preset for you...this matches the size of the photo we are using. So you can copy it on to the photo as a new layer. Set this to Overlay, 100%. It goes ABOVE THE SHAPE and UNDERNEATH THE FONT.
FINISHED PROJECT! :)

STEALING IS WRONG!
AFTERNOTE:
Haha, I know that was totally random and weird considering most of them applied to that picture but i hope you can pull some knowledge from this. lol. Enjoy.
Step One: Duplicate your background (ctrl+j). Set to Screen at 50%.
I can't provide a picture for this part, sorry.
Step Two: We are going to add a radial blur. So go to Filter>Blur>Radial Blur. Apply my settings:
Also, in the white preview area. Offset the center so that it hovers around the distant point of the railroad (if you are using the same picture). If you are not using the same picture, keep the photo intresting by not keeping the center.
It should look close to this:
It may look no different but look at the girl's hand. See?
Step Three: Next, select the Pologonal Lasso Tool. Or which ever you are most comfortable using. Also depends on your photo.
Draw around the area of the guy and girl (or your subject). Make sure you are on the same layer we applied radial blur too and NOT the background layer. It doesn't have to be perfect!
Step Four: Copy the selection (ctrl+c) and paste (ctrl+v) onto a NEW LAYER! Set this to Normal and Opacity to 20%.
Once again, looks like it doesn't do anything to your photo but it does.
Step Five: The kiss effect! Whoo-hoo. I used this picture:
but you can use any with this kind of glow thing. I don't know what to call it, lol.
Open this as a new picture and DO NOT PASTE ONTO YOU PICTURE!
Step Six: Select the black area with the Magic Wand Brush. Now go to Select>Inverse. Copy this new selection (ctrl+c).
Step Seven: Paste (ctrl+v) the selection onto a NEW LAYER! Set the layer to Linear Dodge, 100%.
Step Eight: Position the glow over the lips.
You can rotate the glow some as I did. Just move it however you would like.
Step Nine: Use a grungy-ish brush to remove the edges on the glow selection. Otherwise, you may see the edges and the "square." I also removed the glow from the faces (not all of it) but NOT THE LIPS so that you can see them.
OPTIONAL SECTION! SKIP TO STEP 16 IF NOT USED!
Step Ten: Add your font! I used this (a08757) colour and the font: Edwardian Script ITC size 125 pt. Your font can be whatever colour but I used this dull brown because it reflects the style of something we add later to the photo. If you are using a different photo/colour scheme make certain to change this style later on in the photo. (I will let you know what I'm talking about so you're not so confused later. haha.) Take a look at my example (and settings for font):
[b]Step Eleven: Here's where we get a bit complicated. Using your Magic Wand tool (red) and these settings,
(ON YOUR FONT LAYER) click any point around the outside of the font. Now, press and hold the shift key to select each section inside each "s." (Depending on font/words.) Shown here:
Step Twelve: Now go to Select>Inverse.
Step Thirteen: Create a new layer but KEEP THE SELECTION! Select this Layer.
Step Fourteen: Edit>Stroke.
Settings: (color: 434016)
Click okay. Move stroke layer under the font layer.
Step Fifteen: Okay. This is all freestyle. So I'm only including one picture. Use your shape tool and create a shape to go underneath your font. I used a plain rectangle and white. Use grungy brushes (or a style to fit your photo) and take off the edges to make it less boring. Move this layer ABOVE the Stroke Layer but UNDERNEATH the font layer. Notice how it covers your storkes? That's what ya want.
Step Sixteen: Almost done! :) I used a preset Gradient but incase it isn't a preset for you...this matches the size of the photo we are using. So you can copy it on to the photo as a new layer. Set this to Overlay, 100%. It goes ABOVE THE SHAPE and UNDERNEATH THE FONT.
FINISHED PROJECT! :)
STEALING IS WRONG!
AFTERNOTE:
Haha, I know that was totally random and weird considering most of them applied to that picture but i hope you can pull some knowledge from this. lol. Enjoy.
Tutorial Comments
Showing latest 5 of 5 comments

Very good :D
By cutiepoppie on Aug 14, 2009 9:49 am

this is cute :]
By penis-chan on Sep 17, 2008 12:21 pm
i thought it looked kind of bad at first but the gradient changed it all! i love itt ;)
By munkyfacgrl on Jul 10, 2008 8:55 pm

i agree!
its a totally
rad tutorial!!
^^
kudos!
By retromunky on Jun 13, 2008 9:12 pm

wow. this is a really awesome effect! You give a lot of detail in your steps aswell, which is very good!
:3
By vogueXdirge on Jun 13, 2008 2:13 pm
Tutorial Details
| Author |
digitalivory
|
| Submitted on | Jun 12, 2008 |
| Page views | 28,534 |
| Favorites | 44 |
| Comments | 5 |
| Reviewer |
Synesthesia
|
| Approved on | Jun 12, 2008 |