Tutorial
Click on thumbnailed images to enlarge
**NOTE**
I did this tutorial in Photoshop CS3 Extended which is why some of you may have problems. However, that doesn't mean this tutorial won't work in other versions of Photoshop. Just try it out.
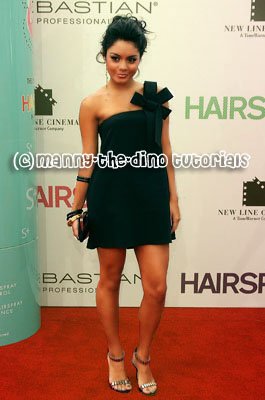
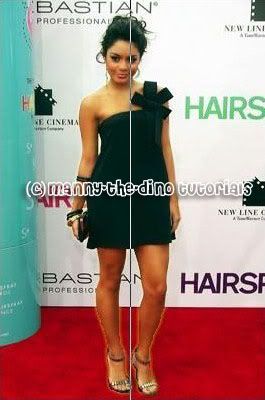
Want to cool vintage effect & make your subject sort of "pop" at the same time? Once again, you've come to the right place, doll. Vanessa Hudgens will be my subject this time. Here's the before:

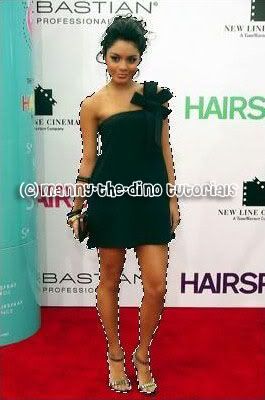
Here's the after:

Let's start!
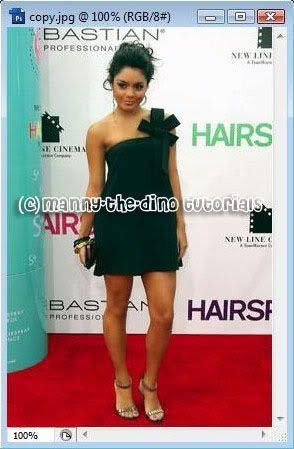
001.Open up your photograph.
002.Select the tool you're most comfortable with such as the Pen Tool (P), Polygonal Lasso Tool (L), etc. I'm going to use the Quick Selection Tool (W).

003.Select your object.
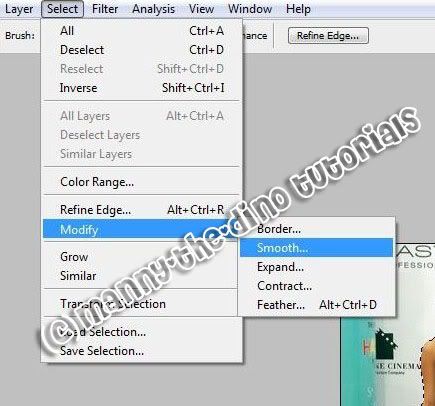
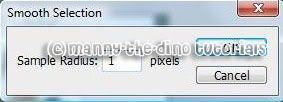
004.If you used the Quick Selection Tool (W) like I did, do this step. If you didn't go to the next step or read on to learn something. Go Select>Modify>Smooth. The reason behind doing this step is that sometimes the Quick Selection Tool (W) makes your selections not so smooth. So smoothing it out won't hurt & it'll make your subject look better.
005.Enter 1 as your pixels. You don't want to enter a high number becauase ps will smooth your selection too much & it will look rounded.
006.Once that is done, do a ctrl+j.

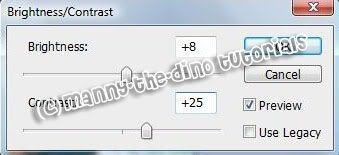
007.Now go Image>Adjustments>Brightness/Contrast.

008.Enter 8 as your brightness & 25 as your contrast.
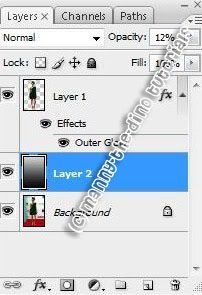
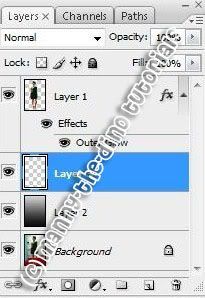
009.Hold down ctrl while clicking on the Create new Layer icon to make a new layer between your "Background" & "Layer 1" layers.

010.Now select your Gradient Tool (G).

011.Select your "Black, White" gradient.

012.Apply a gradient from the bottom to the top of the image.
013.Change that layer's opacity to 12%.
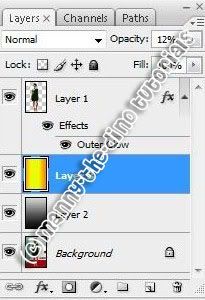
014.Create a new layer.
015.Select your "Orange, Yellow, Orange" gradient.

016.Apply the gradient from left to right.

017.Bring that layer's opacity down to 12%.
018.And you have finished. You have your final product! ")
If you got lost or have any questions, comment the tutotial & I'll get back to you as soon as I can. :D
I did this tutorial in Photoshop CS3 Extended which is why some of you may have problems. However, that doesn't mean this tutorial won't work in other versions of Photoshop. Just try it out.
Want to cool vintage effect & make your subject sort of "pop" at the same time? Once again, you've come to the right place, doll. Vanessa Hudgens will be my subject this time. Here's the before:
Here's the after:
Let's start!
001.Open up your photograph.
002.Select the tool you're most comfortable with such as the Pen Tool (P), Polygonal Lasso Tool (L), etc. I'm going to use the Quick Selection Tool (W).
003.Select your object.
004.If you used the Quick Selection Tool (W) like I did, do this step. If you didn't go to the next step or read on to learn something. Go Select>Modify>Smooth. The reason behind doing this step is that sometimes the Quick Selection Tool (W) makes your selections not so smooth. So smoothing it out won't hurt & it'll make your subject look better.
005.Enter 1 as your pixels. You don't want to enter a high number becauase ps will smooth your selection too much & it will look rounded.
006.Once that is done, do a ctrl+j.
007.Now go Image>Adjustments>Brightness/Contrast.
008.Enter 8 as your brightness & 25 as your contrast.
009.Hold down ctrl while clicking on the Create new Layer icon to make a new layer between your "Background" & "Layer 1" layers.
010.Now select your Gradient Tool (G).
011.Select your "Black, White" gradient.
012.Apply a gradient from the bottom to the top of the image.
013.Change that layer's opacity to 12%.
014.Create a new layer.
015.Select your "Orange, Yellow, Orange" gradient.
016.Apply the gradient from left to right.
017.Bring that layer's opacity down to 12%.
018.And you have finished. You have your final product! ")
If you got lost or have any questions, comment the tutotial & I'll get back to you as soon as I can. :D
Tutorial Comments
Showing latest 10 of 13 comments

cool
By Janess on Dec 26, 2008 11:11 pm

Dead links! >:|
By TheOn3LeftBehind on Aug 15, 2008 9:00 pm
i see a dead link !
By sine on Aug 10, 2008 11:05 pm

thats hott
thanks
By kimboxxkimi on Jul 4, 2008 6:17 pm

i NEED TO WORK
ON THiS ALiL MORE
WHEN i OUTLiNE HER
BUT i LOVE iT..
THANKX
By JUiCEYFRUiT on Jun 12, 2008 12:41 pm

Another GREAT Tutorial!
By Ladii-J-Gfx on Apr 23, 2008 1:20 am
turned out great =D
By letsgetfamousx on Apr 3, 2008 8:06 am

[; lovin it!
By oneroot on Feb 25, 2008 2:27 pm

this rocks
By shambrea on Feb 12, 2008 8:47 pm

very nice ^^
By cereazlinda on Feb 10, 2008 10:14 pm
Tutorial Details
| Author |
manny-the-dino
|
| Submitted on | Jan 30, 2008 |
| Page views | 36,572 |
| Favorites | 118 |
| Comments | 13 |
| Reviewer |
sweetasphyxia
|
| Approved on | Jan 31, 2008 |